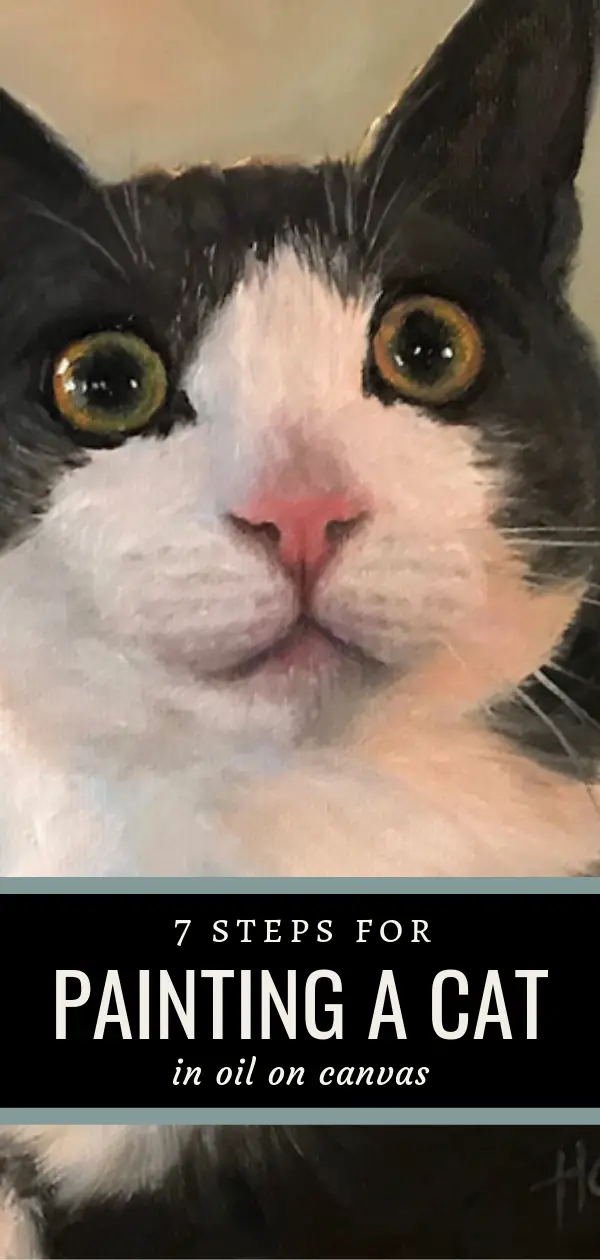
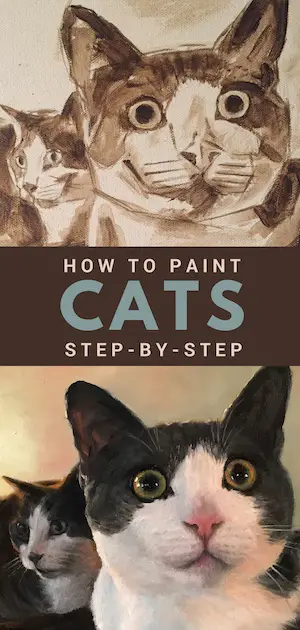
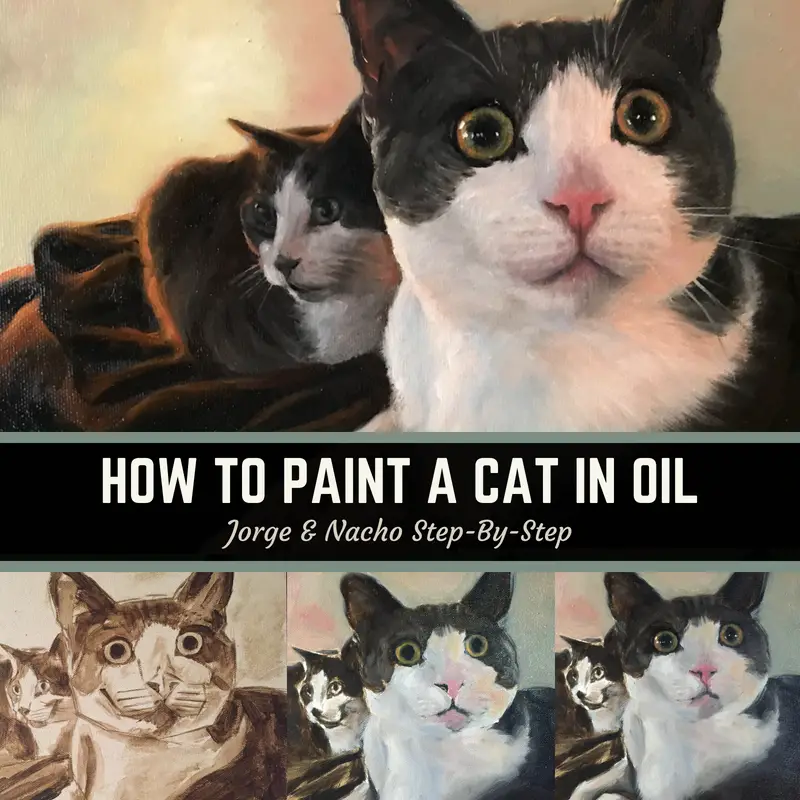
Today I’m going to show you how to paint a cat step-by-step in oil in 7 steps. I’ll show you how I start the portrait and my approach for creating life-like and expressive eyes.
Watch Out Dogs, Cats Are Looking To Steal Your Spot
While I’ve only painted a few cat portraits recently, it’s significantly more than I’ve done in many years. Dogs have always been the majority of my pet portraits, but I’m beginning to think cats are gaining more social status in society.
It makes sense with all the funny cat videos on YouTube and the growing popularity of events like CatCon (ya, that’s a thing). And it also makes sense when I get to paint cats like Jorge & Nacho, as seen in the finished painting below.
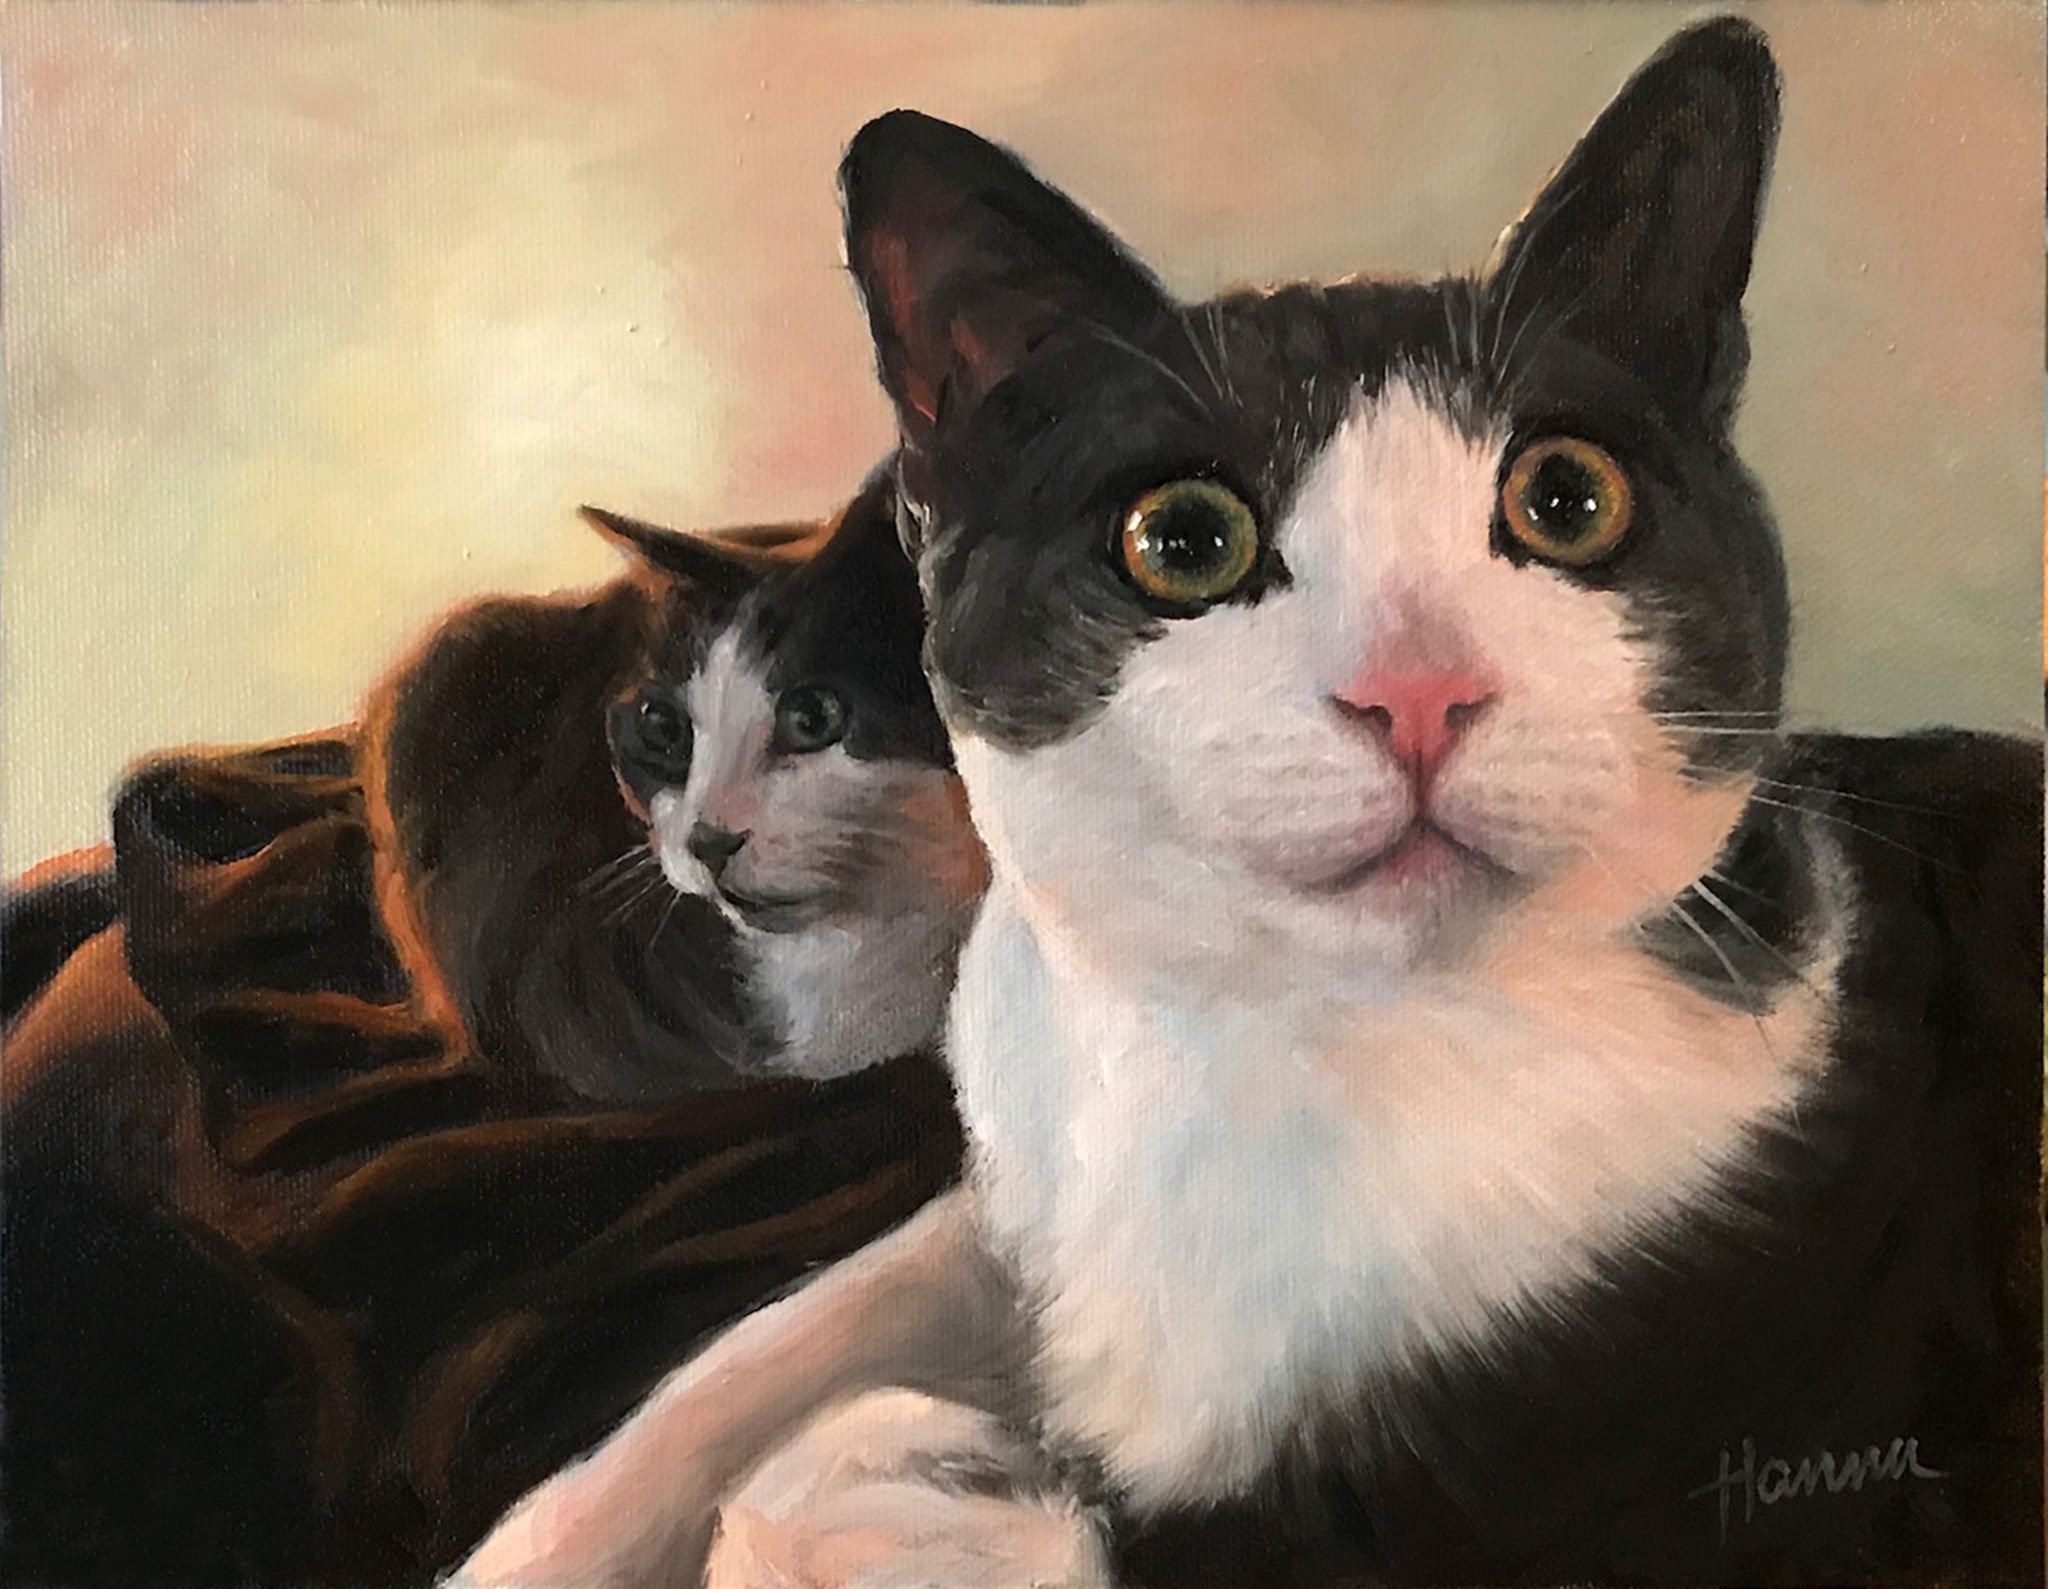
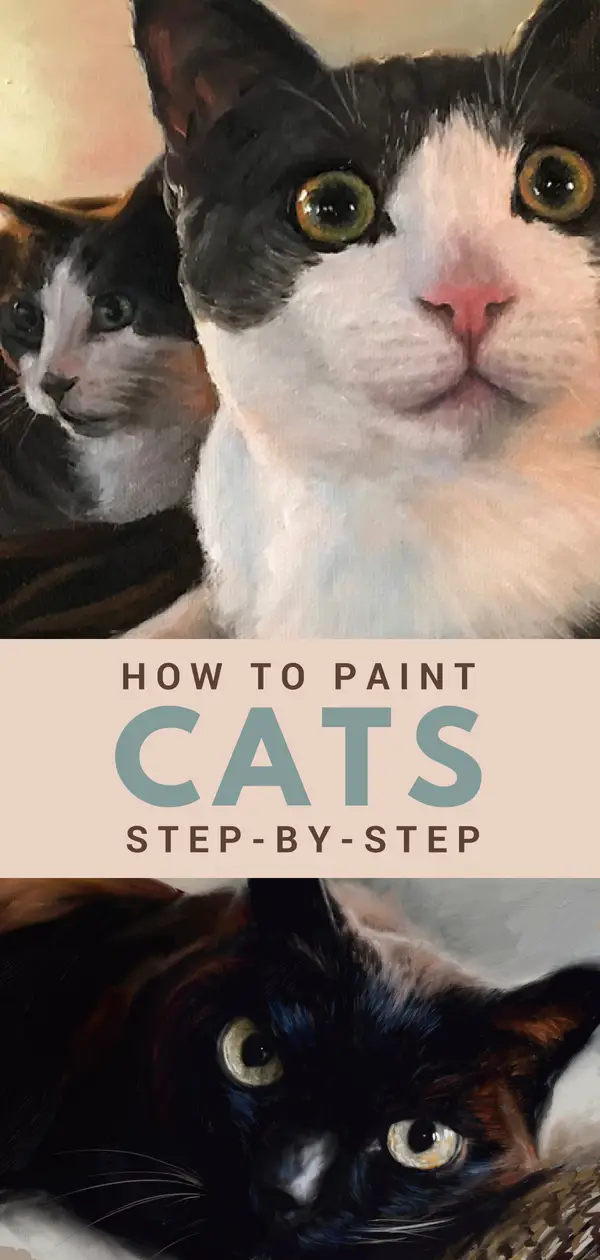
Cool cats, Jorge & Nacho – Oil on canvas panel
H I L A R I O U S
When I was asked if I could paint a couple of beloved cats for a friend’s sister I was hesitant. After all, I’ve always had a block when it comes to painting cats. I simply don’t connect to them the same way I do to dogs. However, after one look at the hilarious photo I would be working from, I couldn’t wait to get started.
Nacho, the cat in the foreground, completely cracks me up. I’ve never smiled so much while doing a painting. He was making me want to get a cat and I KNOW my dog, Penelope, would not be into that at all.
Step 1 – How To Paint A Cat From Dark To Light
I always start the sketch in burnt umber and then build from dark to light to establish values, trying not to pollute my lighter colors. This is a good rule of thumb that I sometimes forget to follow, but not this time!
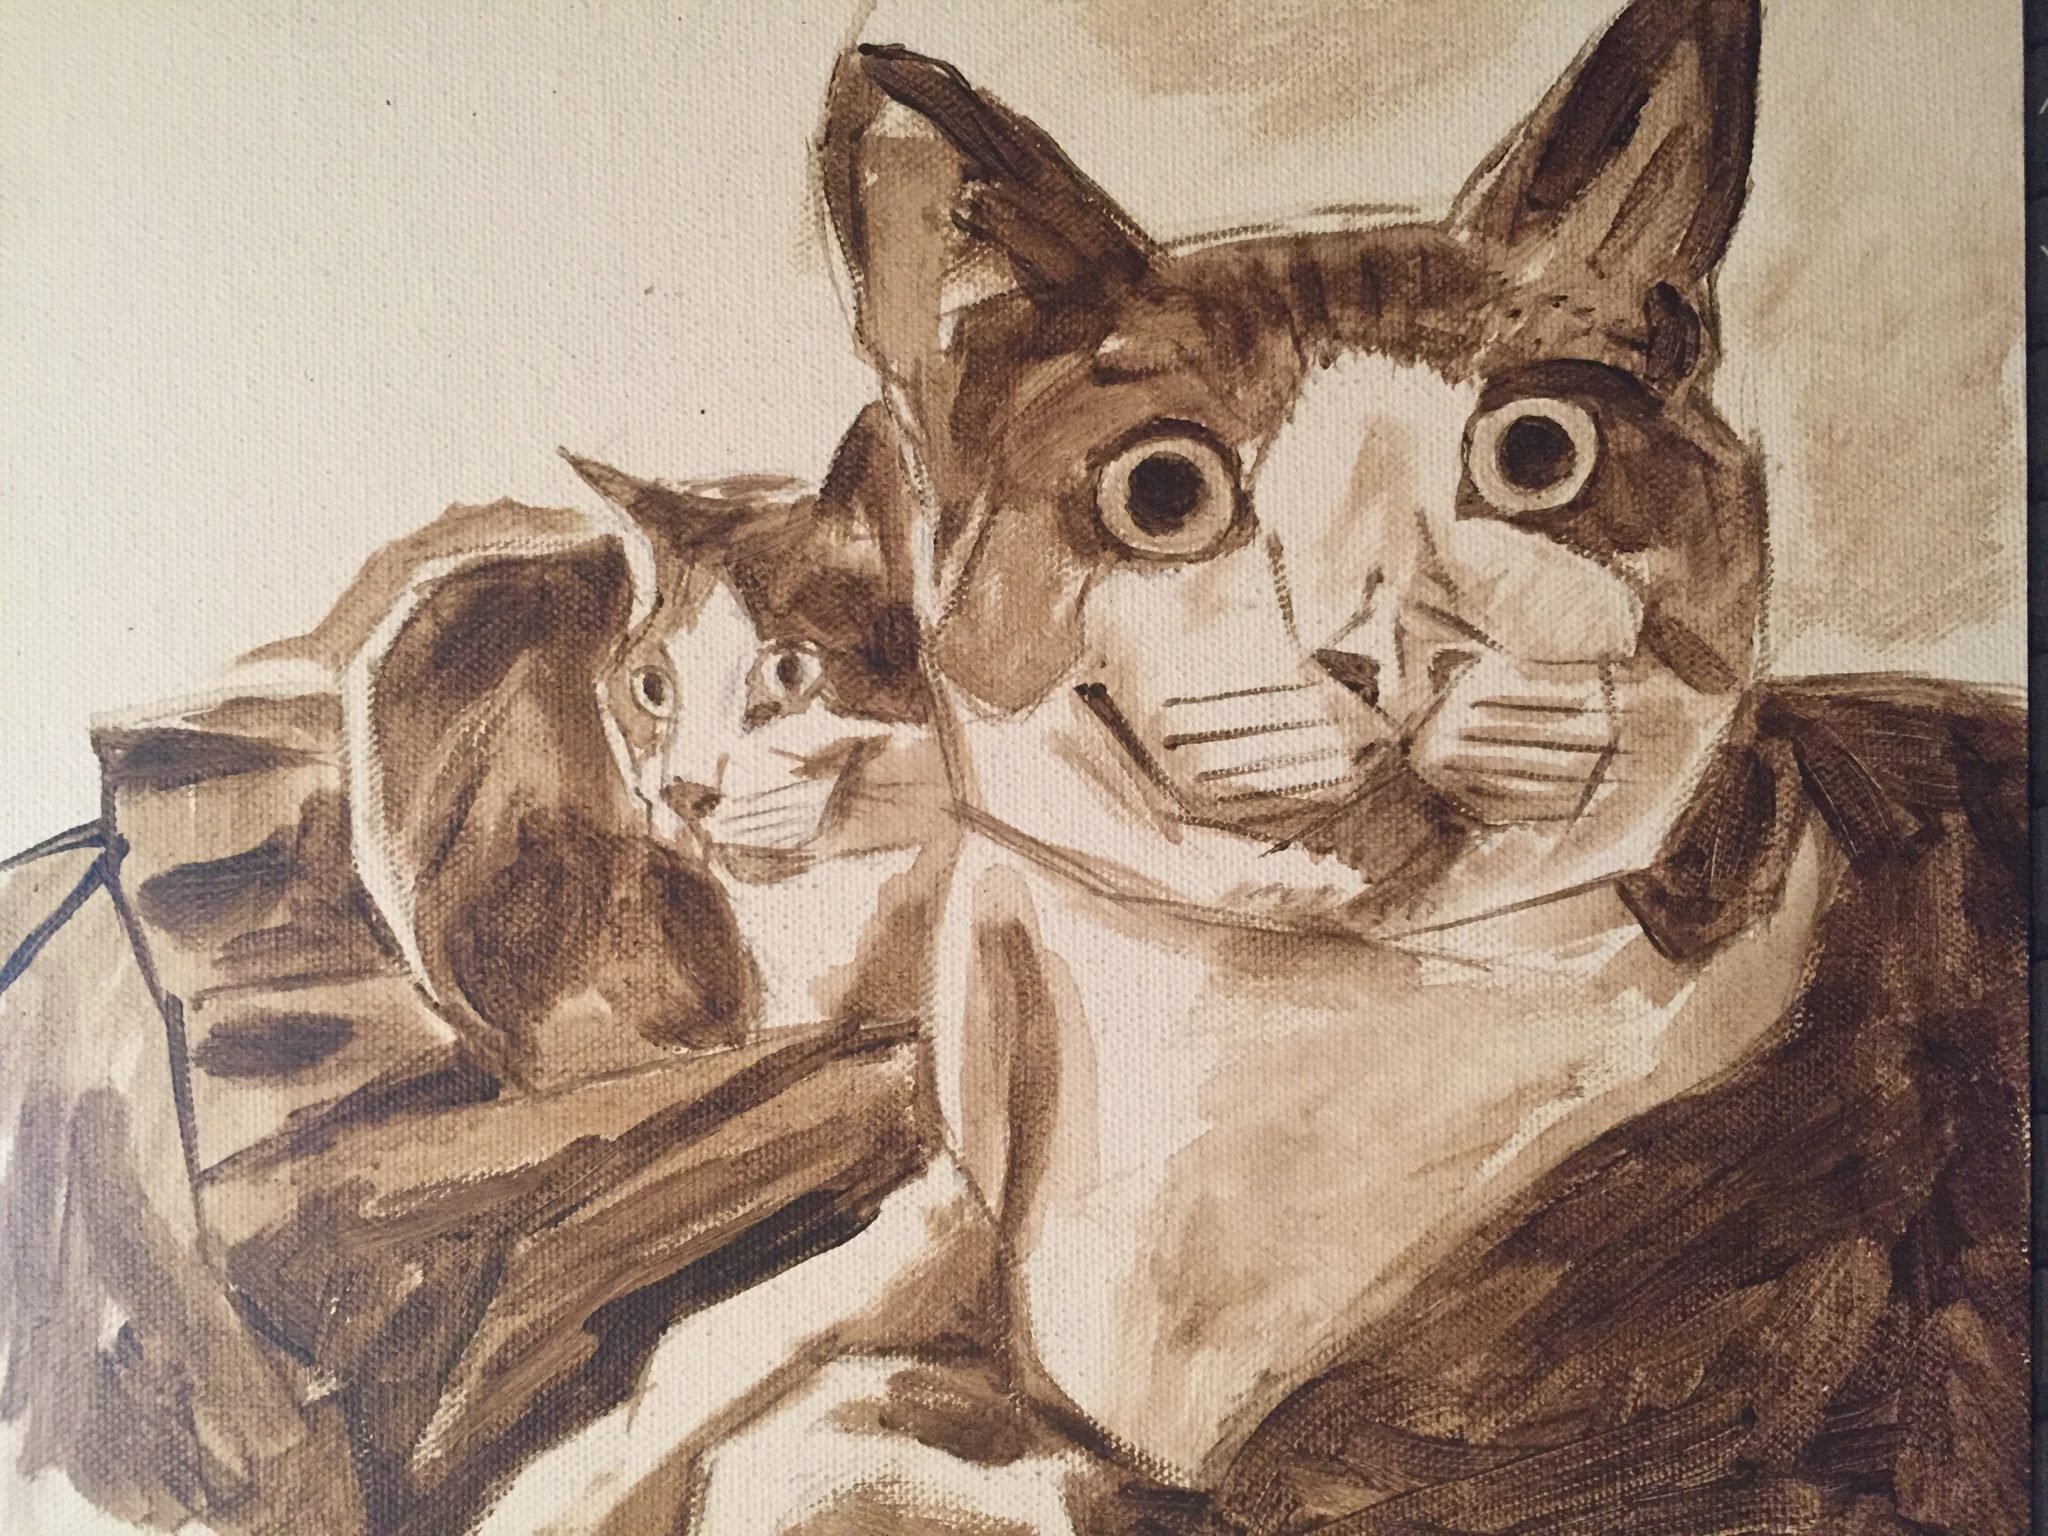
For step 1, I start with a rough sketch in burnt umber
I am using an acrylic primed cotton canvas panel to do this painting, so I was able to do the rough sketch with acrylic burnt umber and water. If it had been an oil primed canvas, I would have sketched in with oil paint using odorless mineral spirits to thin the paint down.
Step 2 – How To Paint A Cat; Adding Background
The image below is more like steps 2, 3 and 4, but I forgot to take images so I’ll walk you through what I did. I started by blocking in the dark colors with a mixture of burnt umber and ultramarine blue. After that, I blocked in the background so I could blend out the edges of the cat while the paint was still wet. The background is more of a warm grey with some blues, yellow ochre, and cad red mixed in here and there to add lighting effects. All of the oil paints used here are from Gamblin.
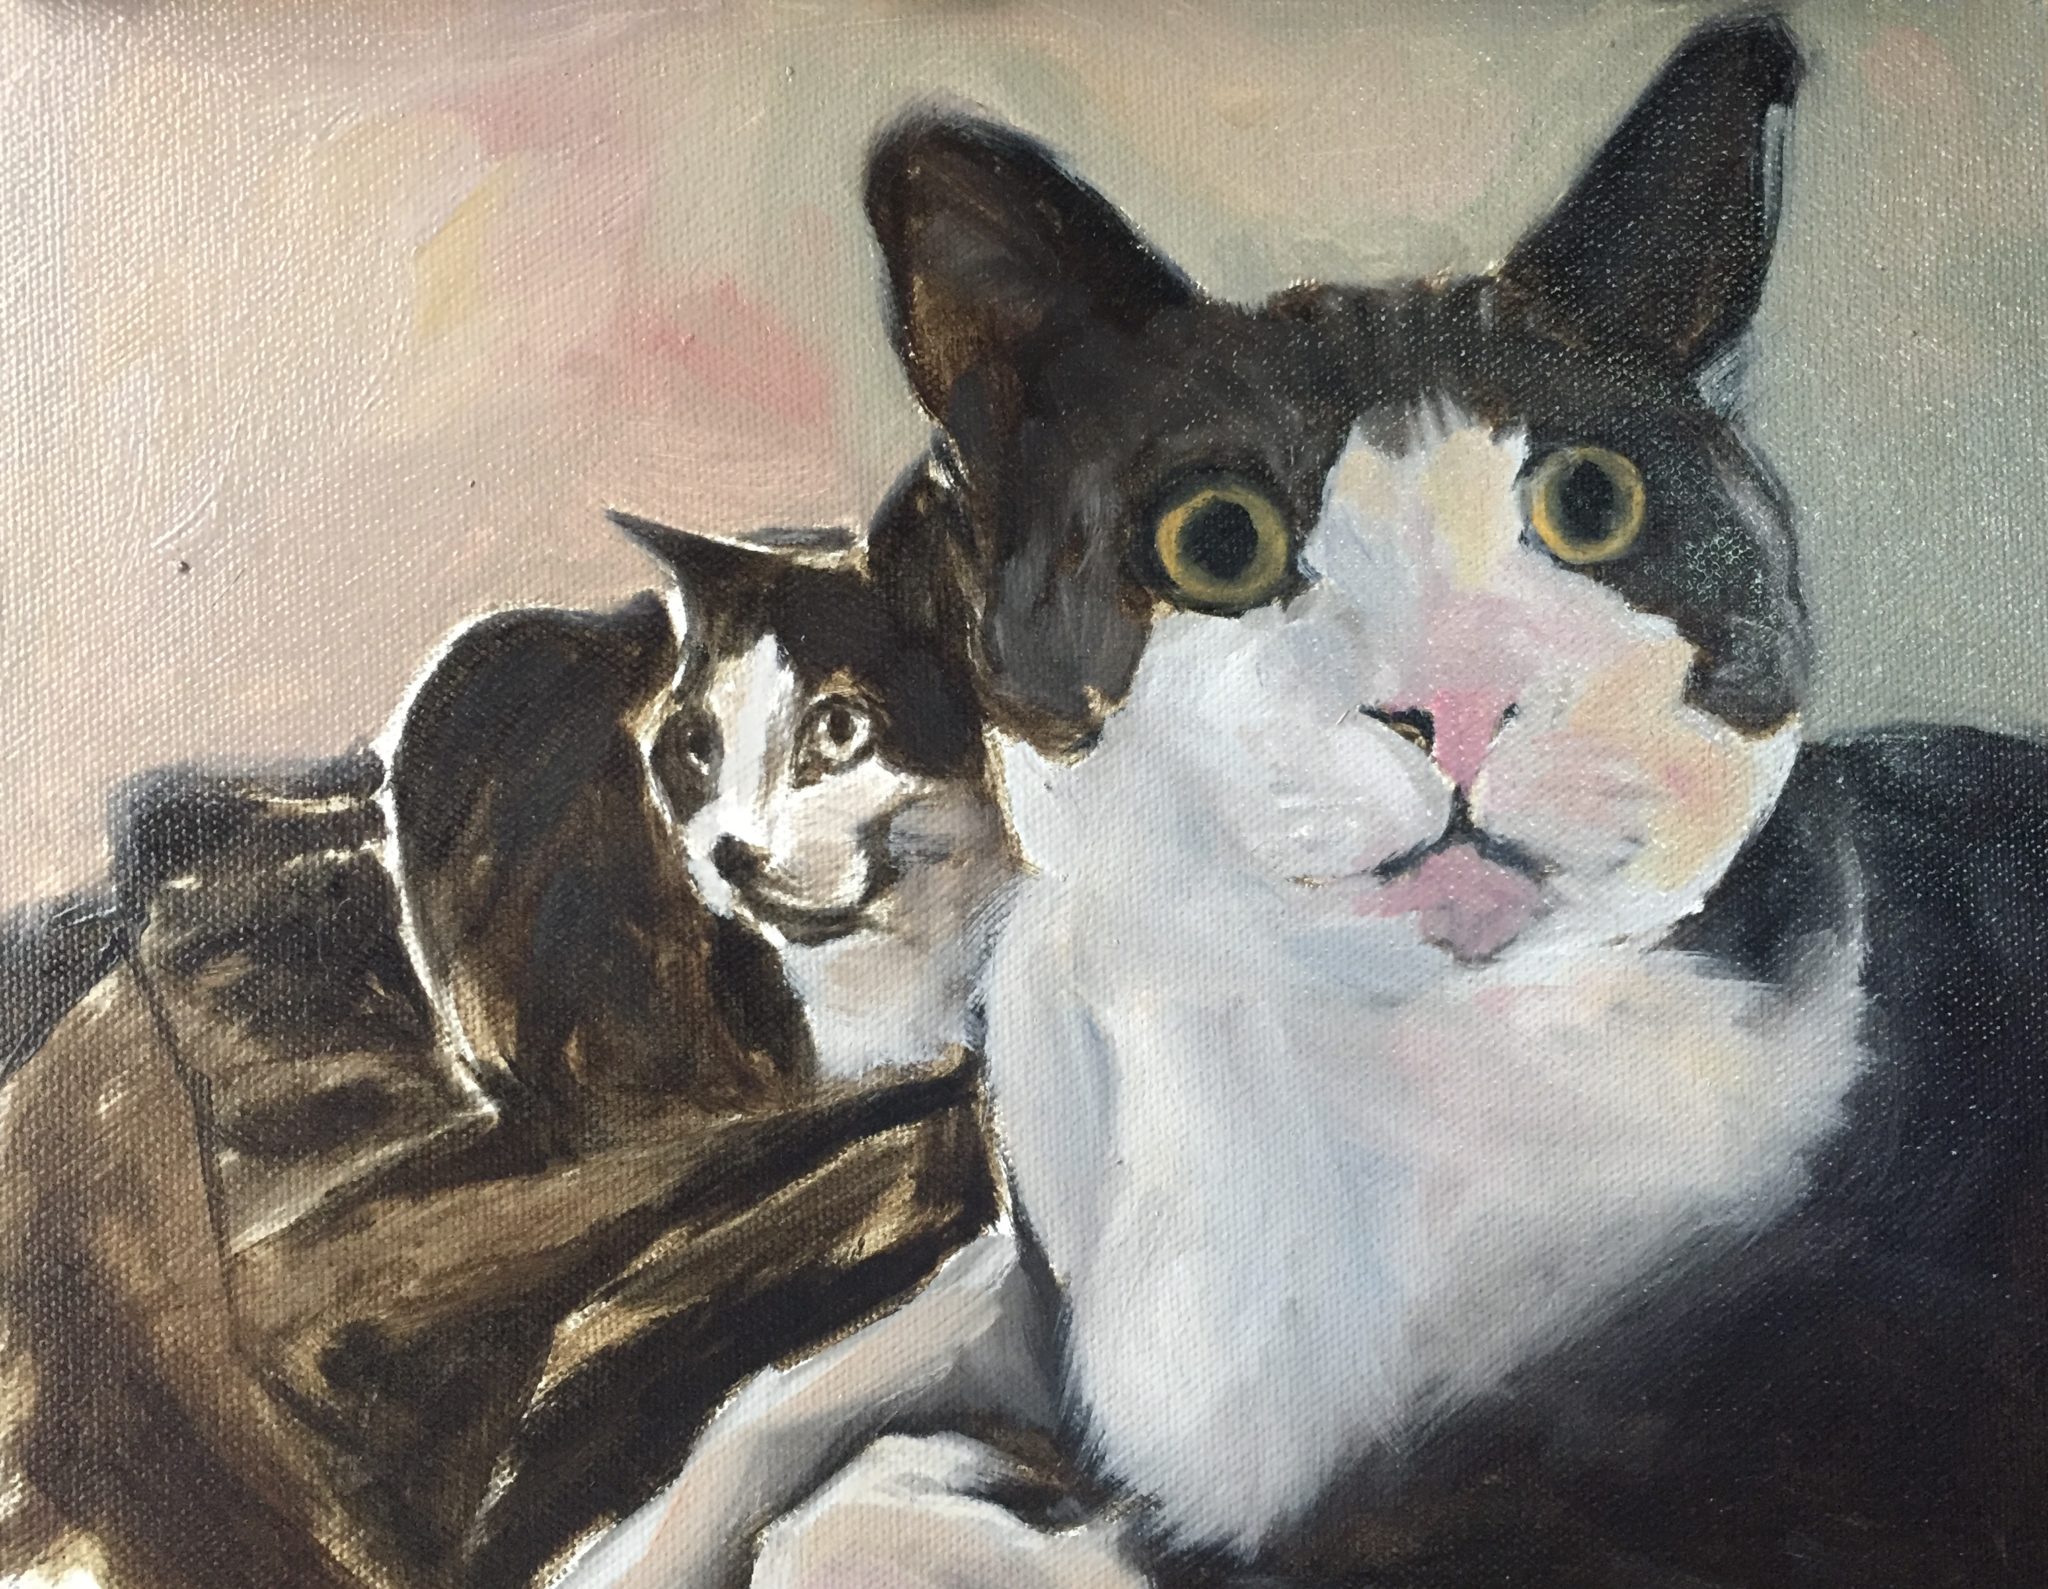
Step 2 – blocking in dark areas, the background and the eyes
It’s All About The Eyes For Me
You can see where I started Nacho’s eyes above. A lot of artists save the eyes until last, but that is impossible for me to do.
As you can see, the eyes look very flat in the beginning. I started to get a little anxiety at this point because I’m never sure if I’m going to be able to capture the magic of a realistic eye.
Step 3 – Paint A Cat’s Eyes
In step 3 of “How To Paint A Cat”, I continue working on the eyes. Adding a few simple highlights makes the eyes come alive. I’ve painted a lot of eyes over the years and it never gets old when I see a set of gorgeous eyes suddenly staring back at me.
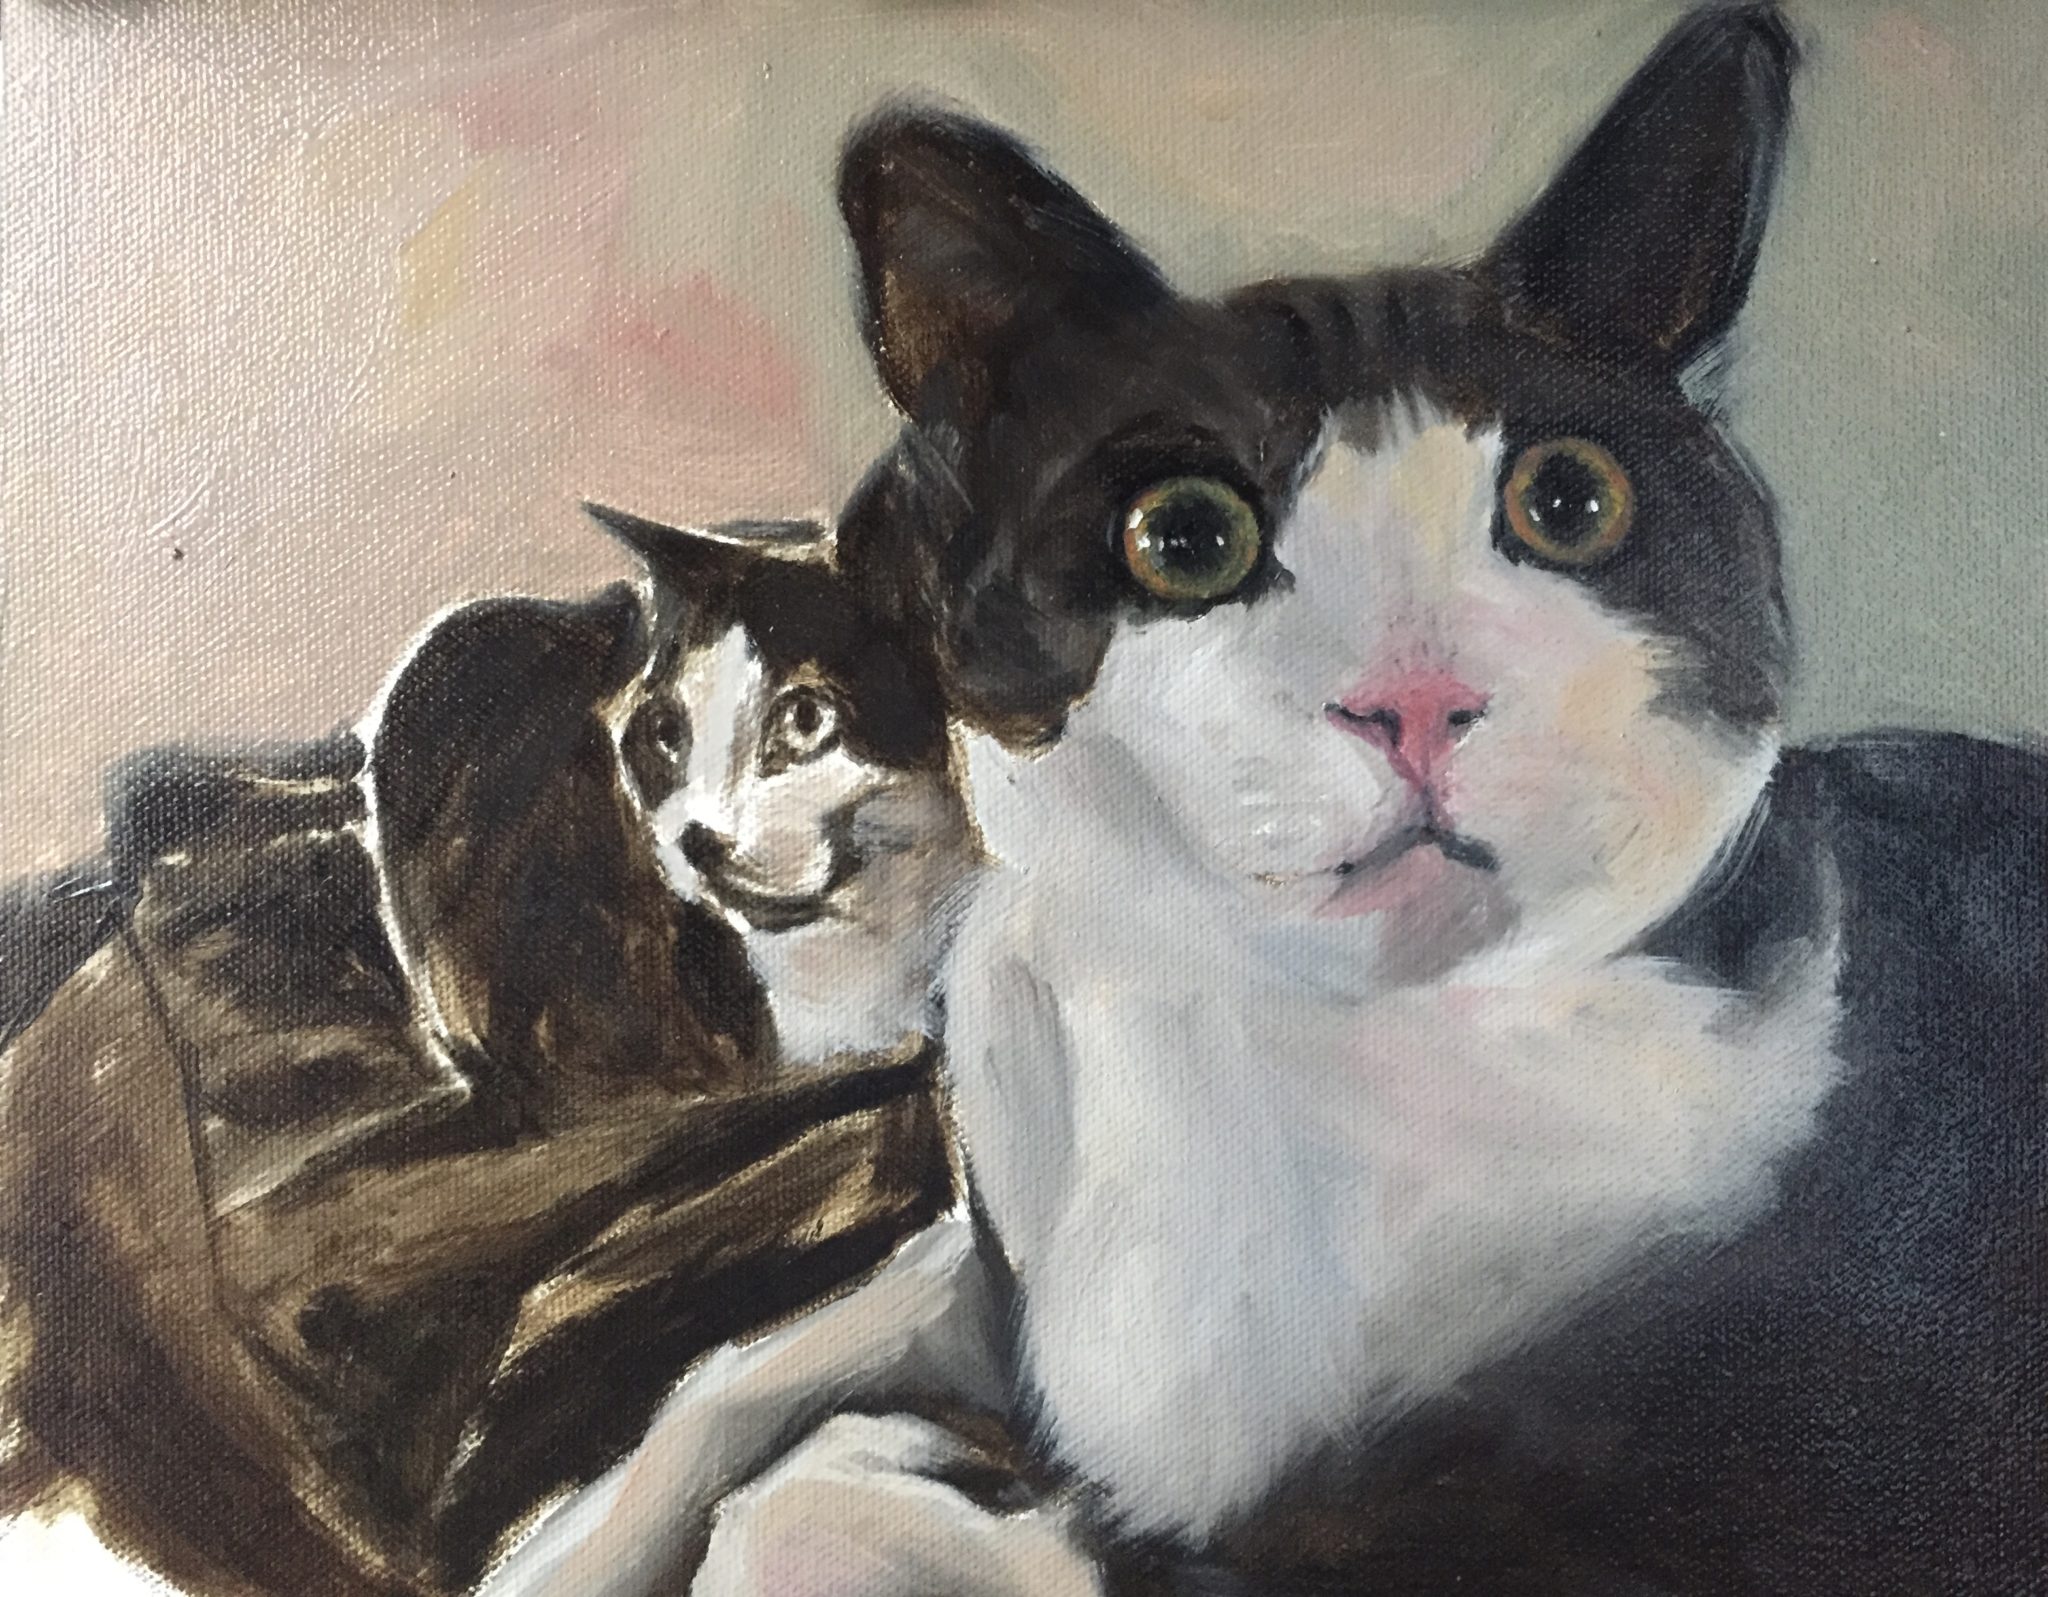
In step 3 I added highlights to the eyes to finish and moved on to creating the form on the body
I also started defining the nose a little more on Nacho. Since these cats are lit from behind, there wasn’t strong contrast lighting across the face to help me define features easily. This was a challenge because I had to rely on creating subtle value differences to help create dimension.
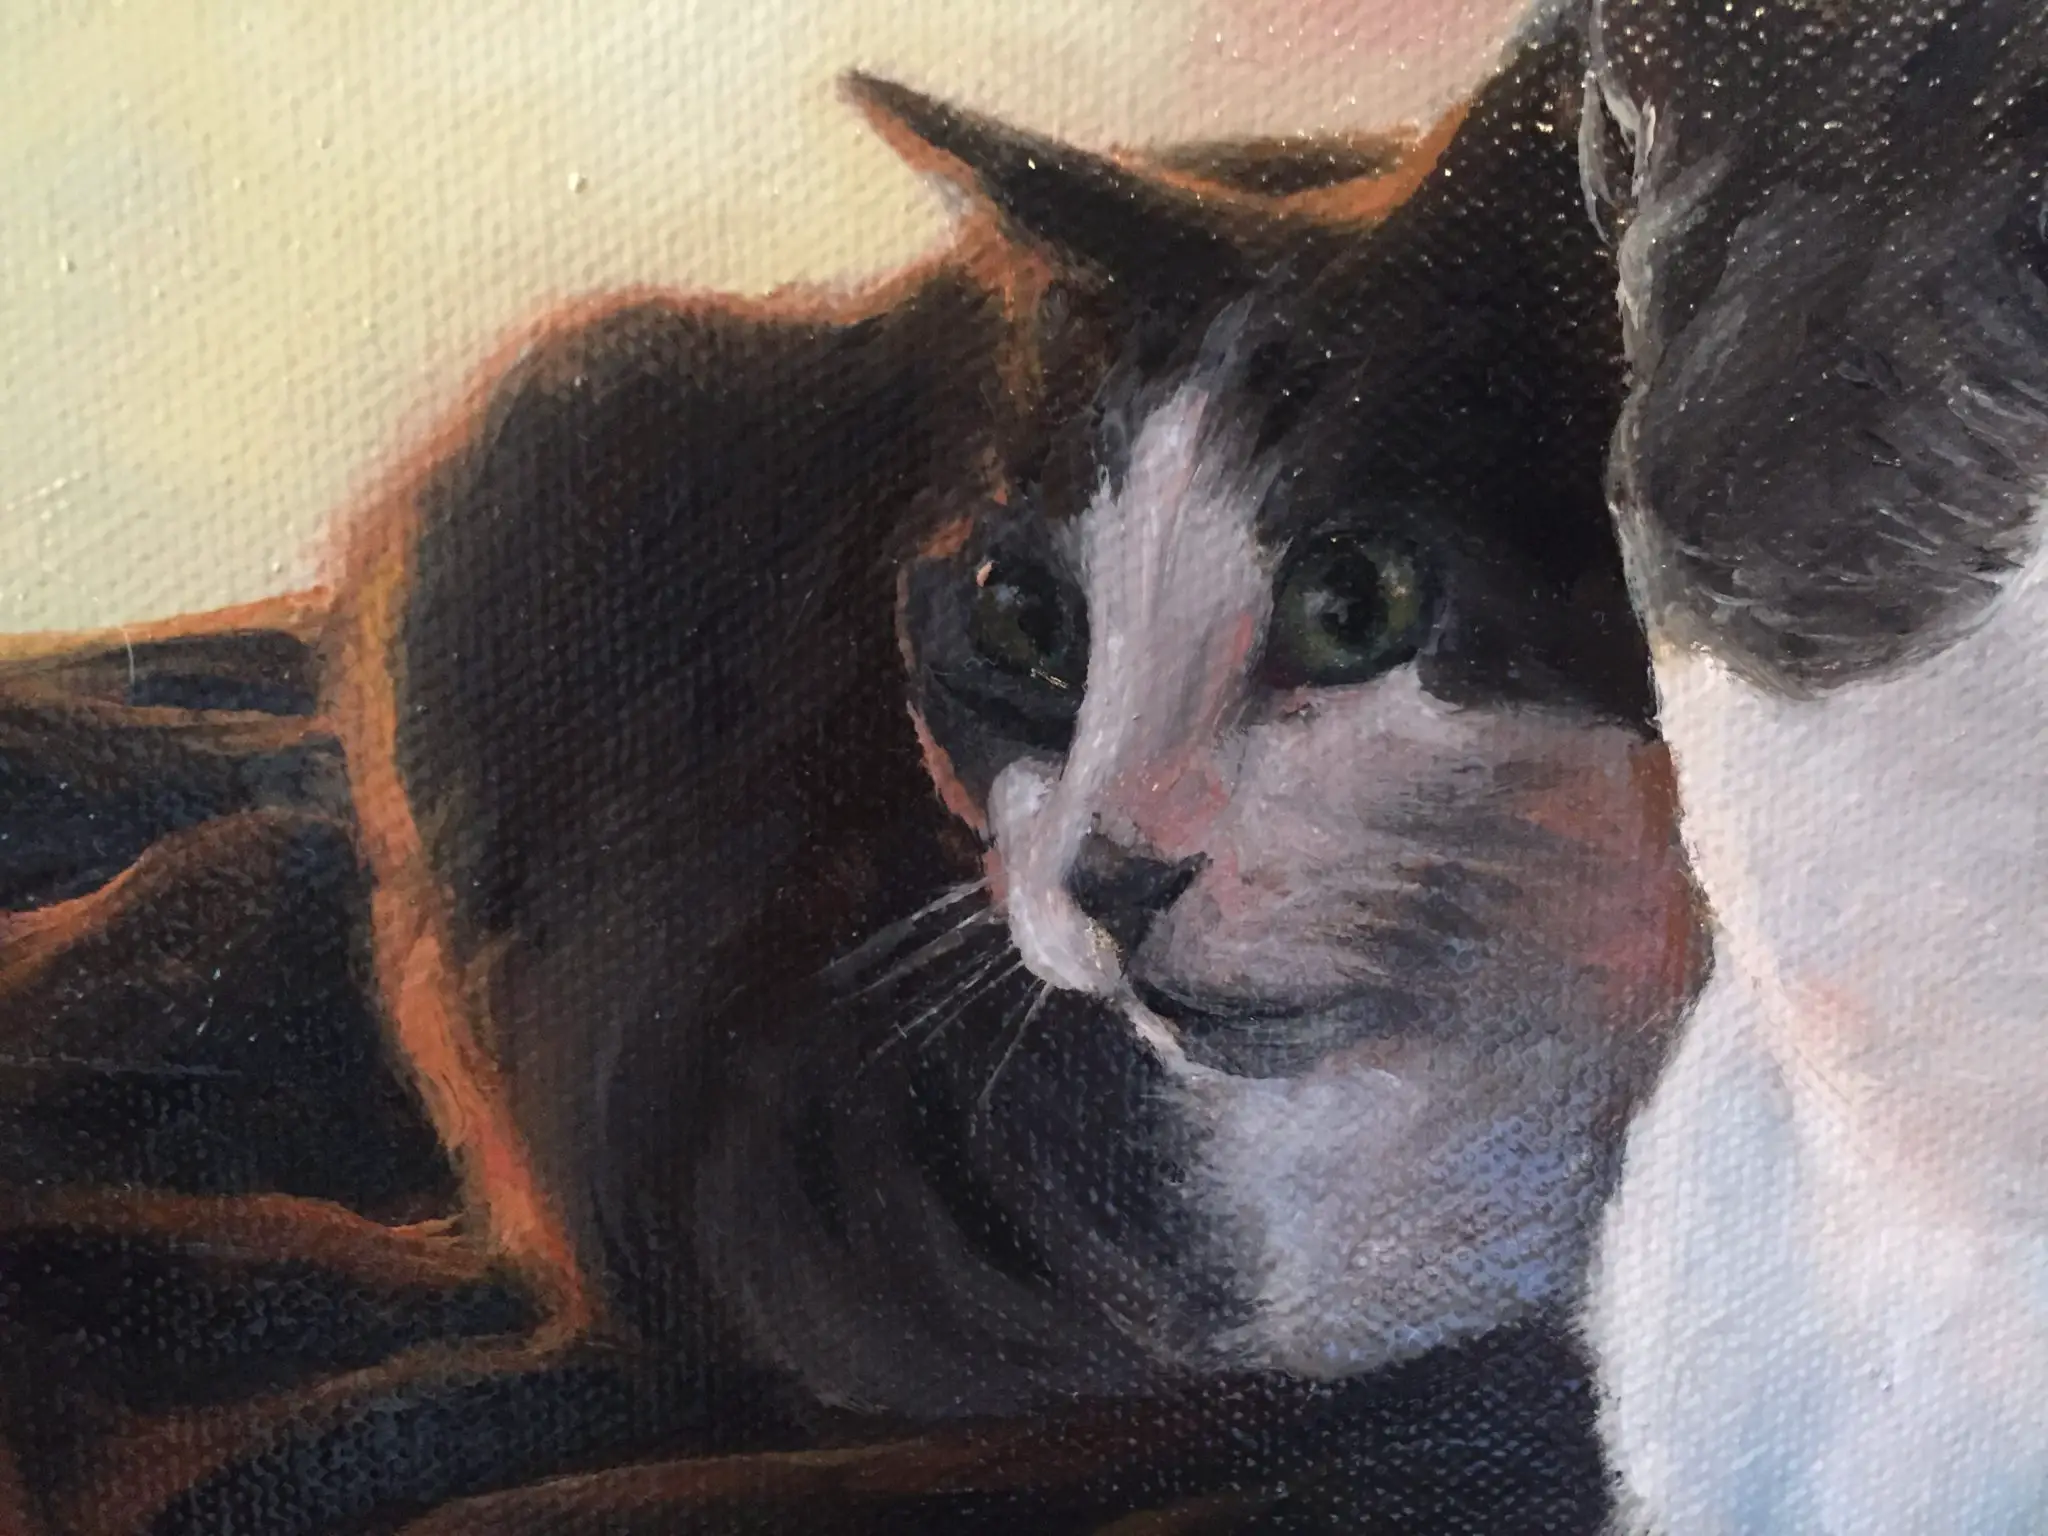
The Fur Nearly Made Me Crazy
For some reason, I was delusional enough to think that the fur would be easy to paint. As I mentioned above, when you don’t have strong contrast it’s more difficult to establish form. In the image below you can see that I was using subtle color changes to create the shape. It’s very abstract when seen up close, but stepping back frequently helps to see how the shapes start to come together by painting with the correct values. Using a grey scale and value finder is key here.
Close-up on Nacho. Is this fur or just blobs of paint?
There always comes a point in every painting I do where it feels like I’m going to fail big time. Working on the fur in this painting was where the fear of failure started to creep in.
My instinct is to paint as photo-realistic as I can, but I’ve found that not to be a satisfying outcome. Also, if I tried to paint every individual hair on a pet I would never finish the painting.
The human brain is brilliant at filling in gaps to make things look “real”. Leaving some loose and messy brushwork visible in the final painting isn’t a big deal as long as the values are right. In the close-up above you can see how undefined the brushstrokes are. By doing this it gives the viewer’s mind something to play with even though they may not be conscious of it.
I think this is one of the many reasons why people like looking at art. It’s entertaining in a virtually imperceptible way.
Step 4 – Matching Values When Painting A Cat
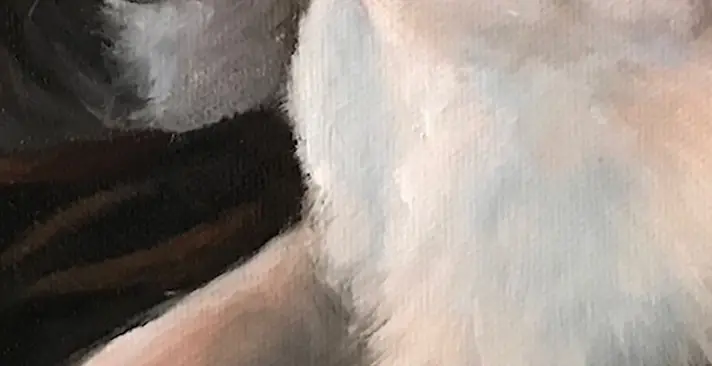
In the image below, you can see how I’ve been working the subtle variations of color in the white fur. I’ve blocked in some darker areas on Nacho’s face knowing that I will be going back in to add highlights. Stepping back to check and make sure the values are correct is crucial.
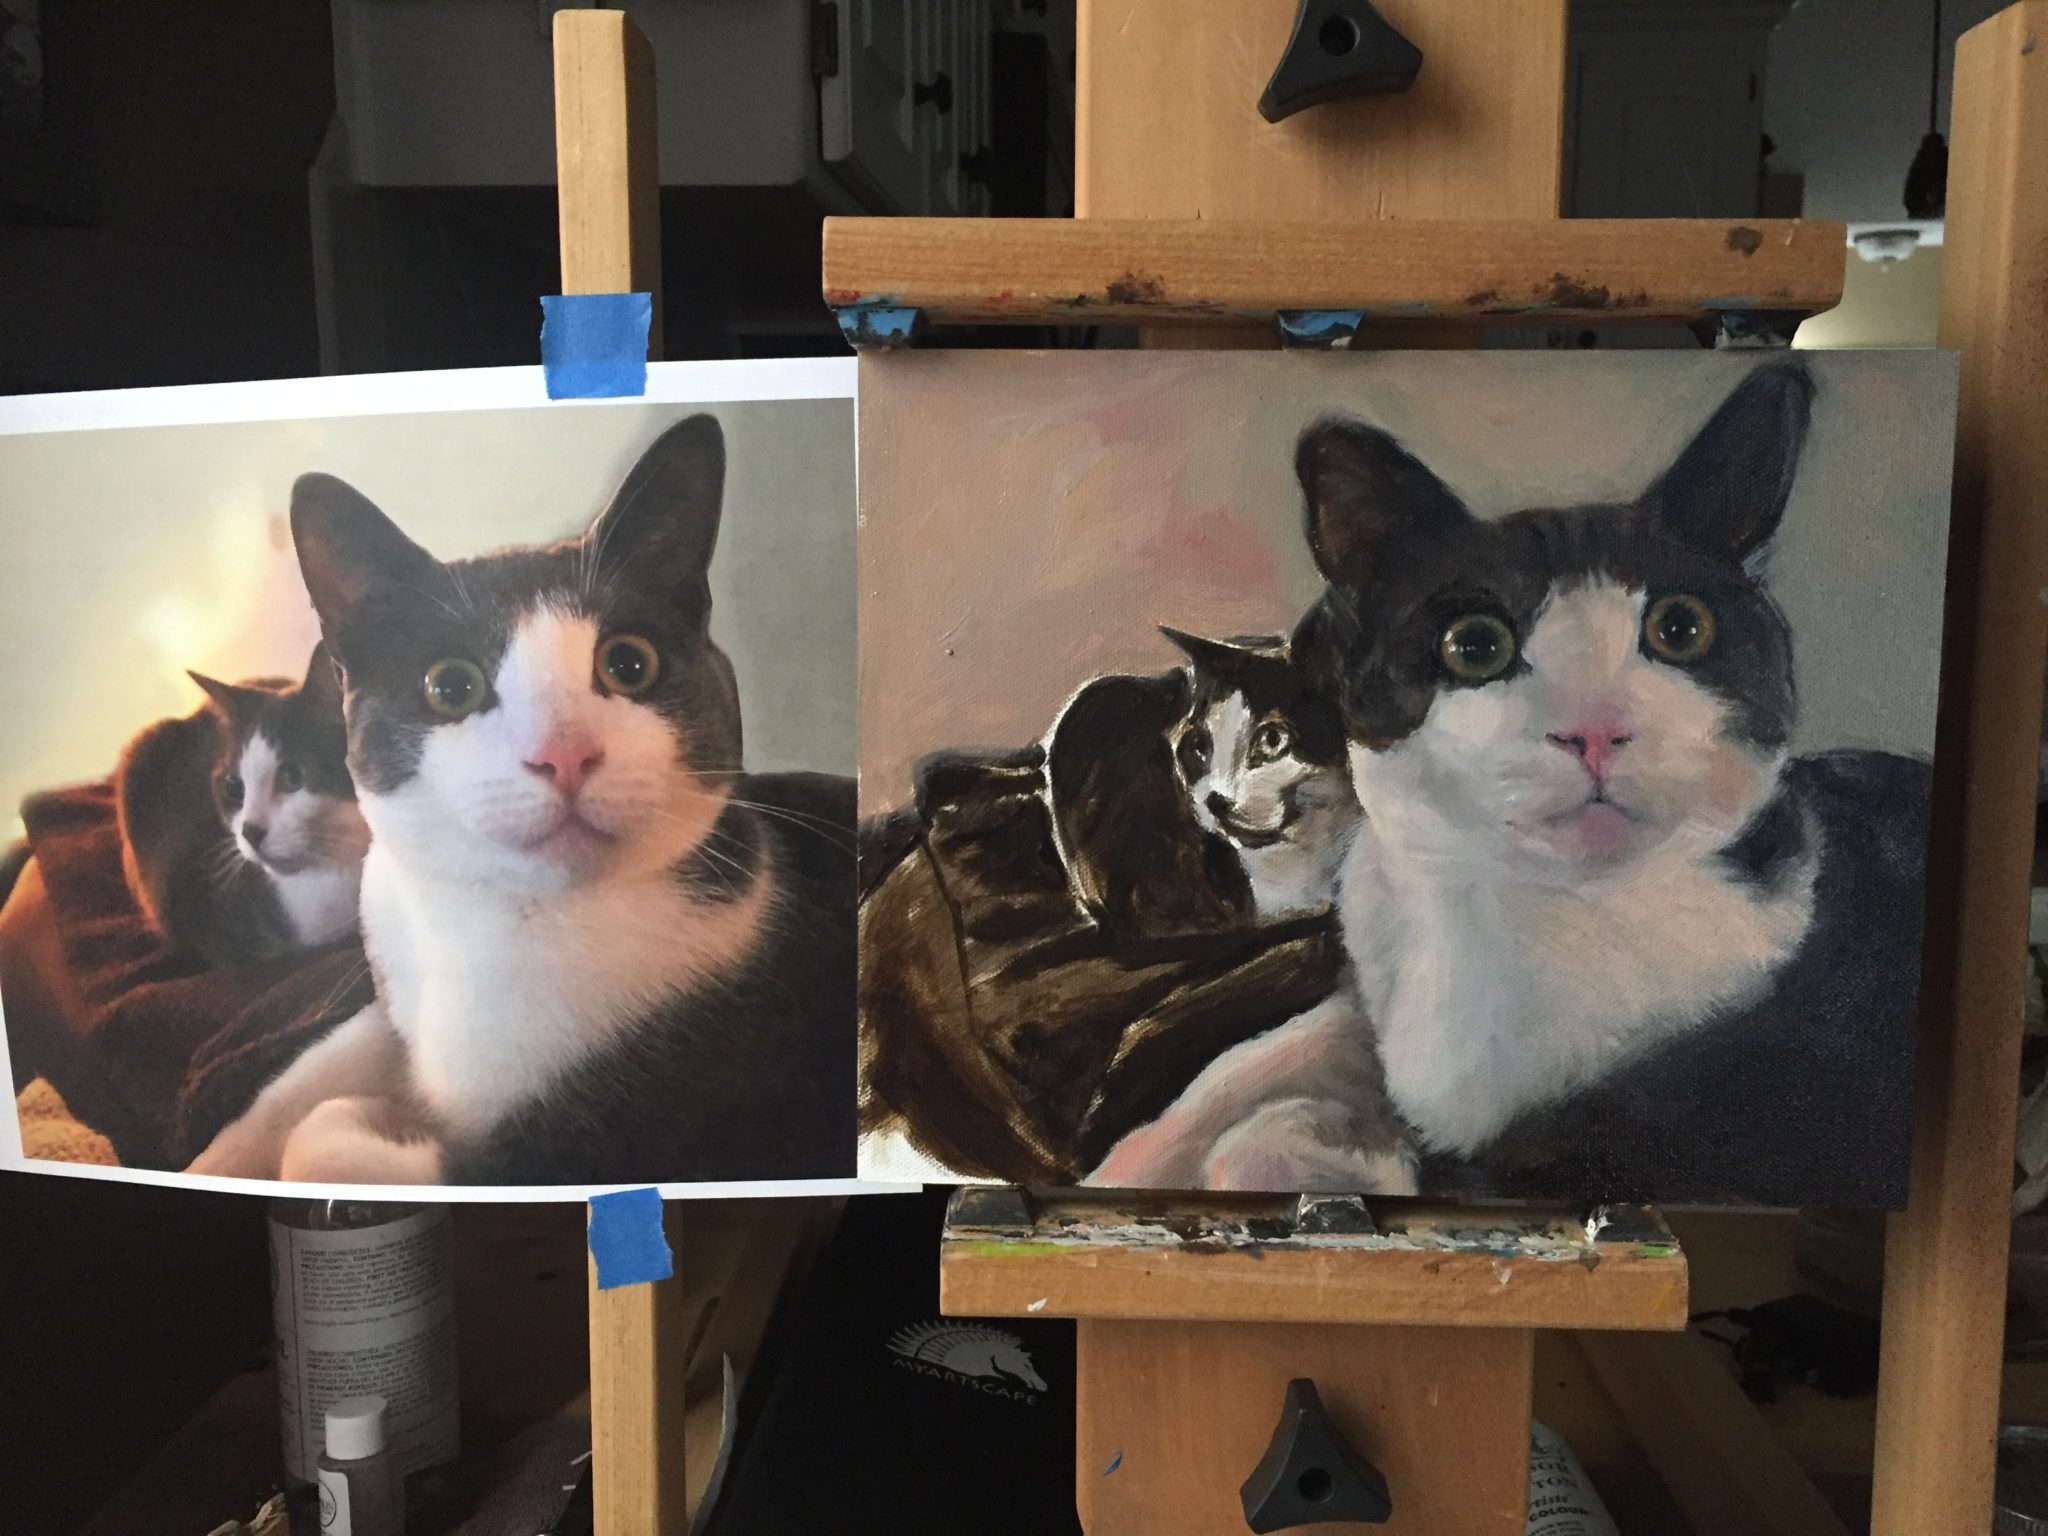
In step 4 of “How To Paint A Cat”, I take a step back to double-check my work and continue to work on getting the values correct
You can also see that I’ve taped up the reference image next to the painting on my easel. (I’ve still not made the effort to attach the print out to a piece of cardboard to eliminate distortion due to the print bending.)
One tip with painting fur is to start darker than what you see so you can build up to the highlights. You will get more dimension and drama.
Step 5 – How To Paint A Cat; Working Through A Mental Block
In step 5 I started to focus attention on Jorge, the small cat in the background. I was putting him off because he was so tiny and I wasn’t sure how to paint him. To get around this, I worked on other areas to allow my subconscious mind to percolate on tougher parts. Then I took a deep breath and jumped in.

Step 5 of “How To Paint A Cat” was all about figuring out my approach for painting Jorge
Jorge was only a couple inches wide so I had to switch to some smaller brushes. I approached him in a similar way to Nacho. Dark areas got blocked in first and then the mid-tones went in. Keeping him loosely painted was key.
Step 6 – How To Paint A Tiny Cat Simply
Below you can see Jorge near completion. I had to keep him simple and not get too caught up in the details since he is in the background. I used some yellow ochre and cad red to add highlights on his fur. For his eyes, I put in some darker greyish-green colors and then added a couple of muted highlights. These highlights are dark grey. It’s easy to think these reflections should be white, but rarely is anything we see around us a pure white color. Ultimately, we live in a world made of varying shades of grey.
In step 6 I continued to work on Jorge, keeping things simple and trying to not overwork too much
Step 7 – How To Paint A Cat; Give Your Brain A Break
As I finish a painting, I take a lot of breaks and come back with fresh eyes to compare the original image to the painting. This is where I look for differences and make final adjustments. With realism, it’s easy to get carried away making things perfect. What I try to do is get to a point where it looks “real” from a distance and more painterly within a couple of feet. At this point, I consider the painting finished.
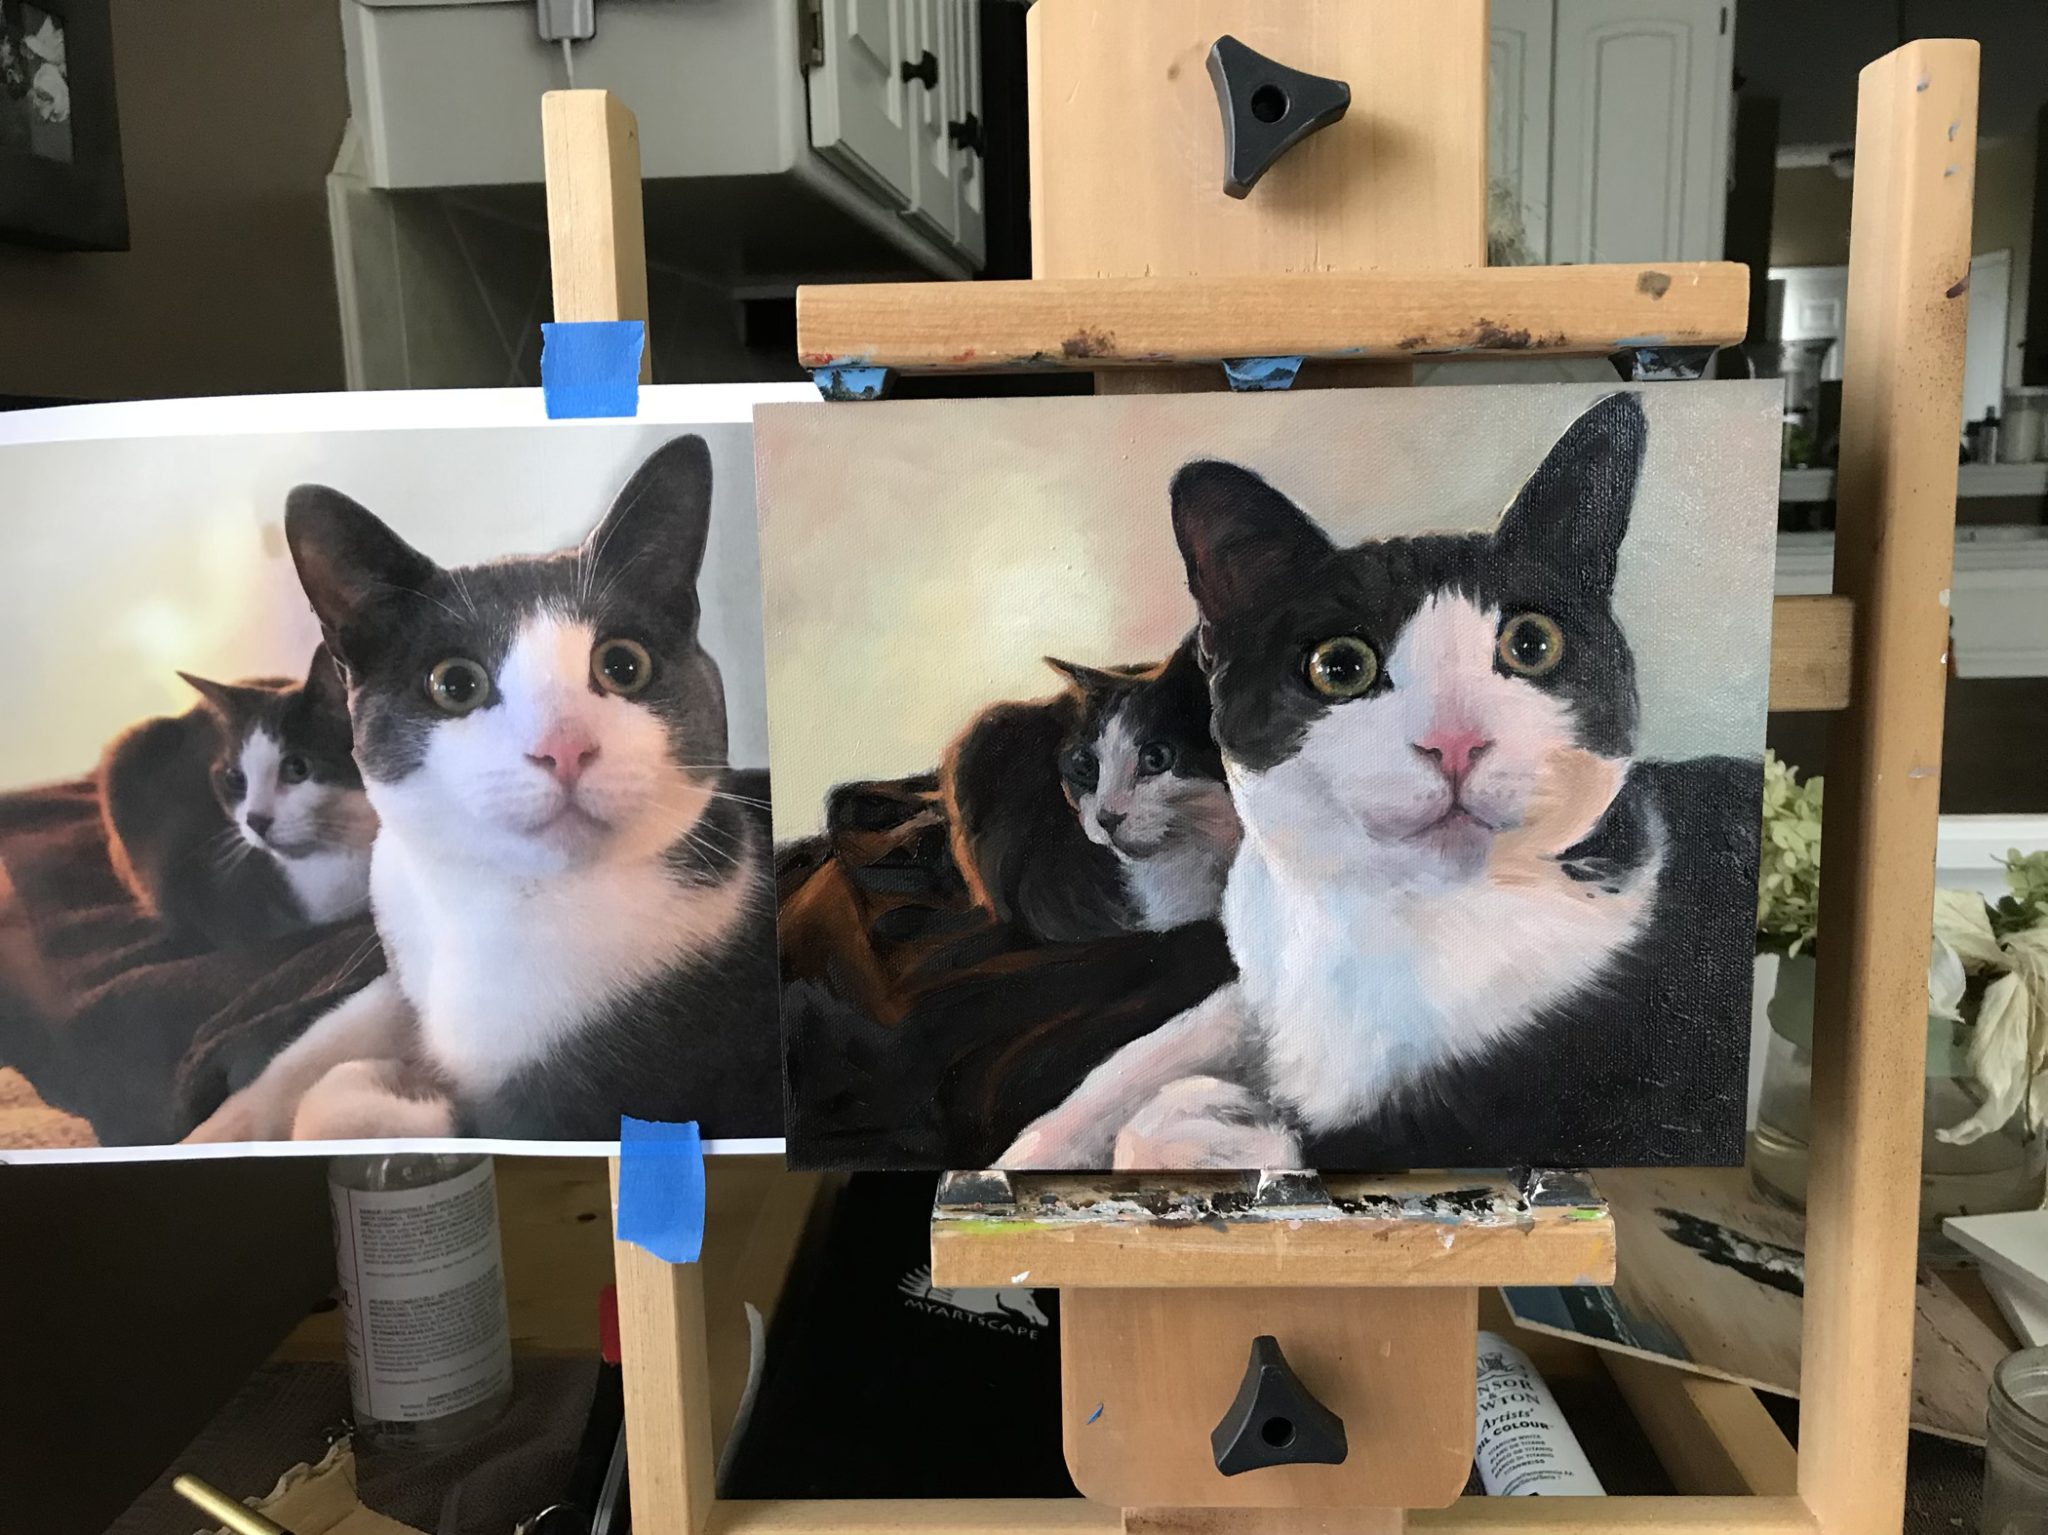
Step 7 has me stepping back again to check for differences and make small corrections
The Finished Painting Of Jorge & Nacho:
Voila – the finished painting for “How To Paint A Cat Step-by-Step”
I was anxious about painting Jorge and Nacho because are such an important part of people’s families now. Because of this, I need to make sure the work resonates emotionally. Of course, I “know” can’t control that aspect, but I don’t know how to convince myself of that.
In the end, this has to be one of my favorite pet paintings I’ve ever done. The personality of these cats won me over and I had a great experience doing their portraits.
Helloooo Prescott!
Just when I thought it couldn’t get any better than Jorge & Nacho, I was asked to paint this gorgeous Maine Coon by a dear friend. Isn’t he just about the most dreamy cat you’ve ever seen?
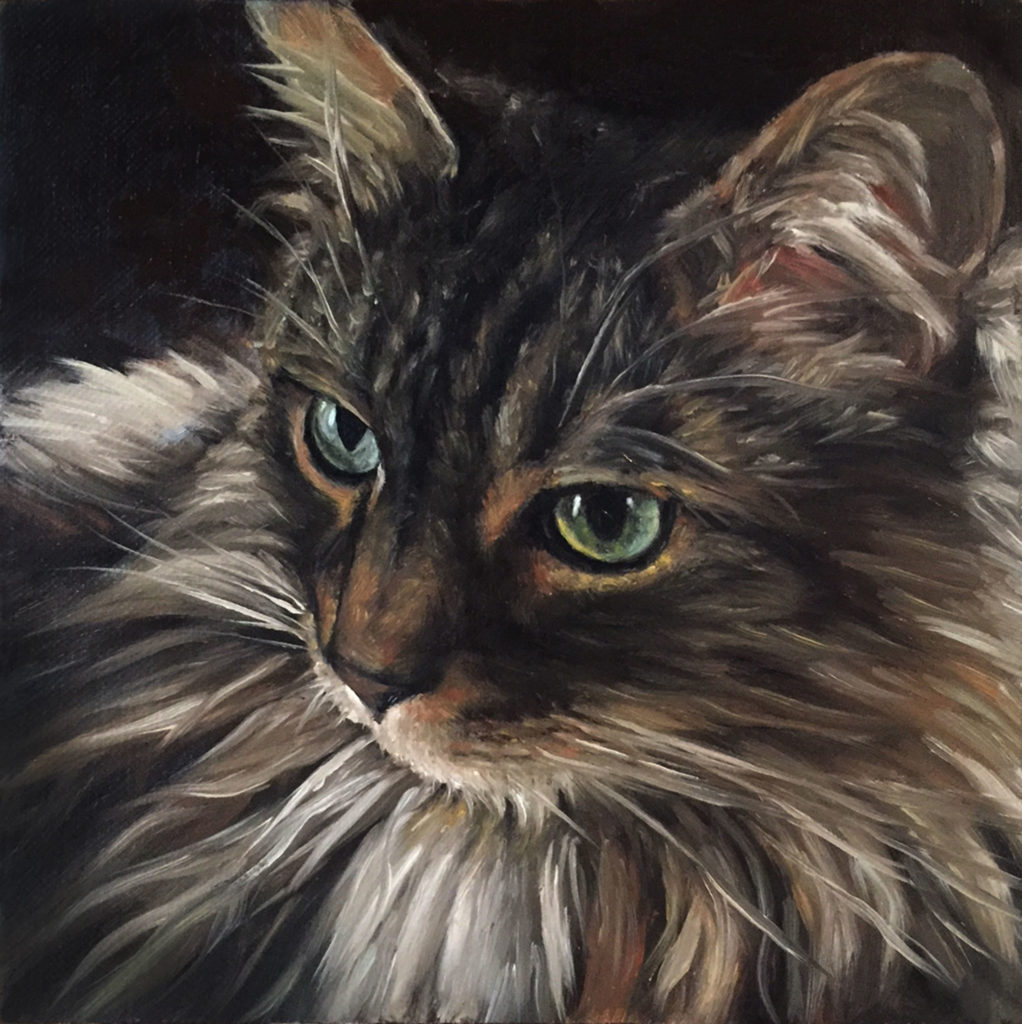
Prescott – Oil on panel
This painting is very small – only 6″x6″. However, Prescott’s beautiful eyes allow the work to have a huge presence.
I don’t think the painting above is the final version, but it’s pretty close. What I did with Prescott was have his eyes be the focal point, being as clear and bright as possible, and then allow the fur to be loose and messy. Again, the fur was the bigger challenge for me but I was happy with the outcome.
You can learn more about how I painted Prescott here.
Call Me Crazy, But I Needed To Paint Another Cat
After I finished up my cat commissions, I started to miss them. To remedy this, I found a beautiful black cat image on a free stock photo site and knew I had to paint it to get in a little practice. This time I put down the brushes and picked up the iPad Pro.
As you may remember from a previous post, I’ve been learning a digital program called ArtRage. This program has helped me practice art in a whole new way.
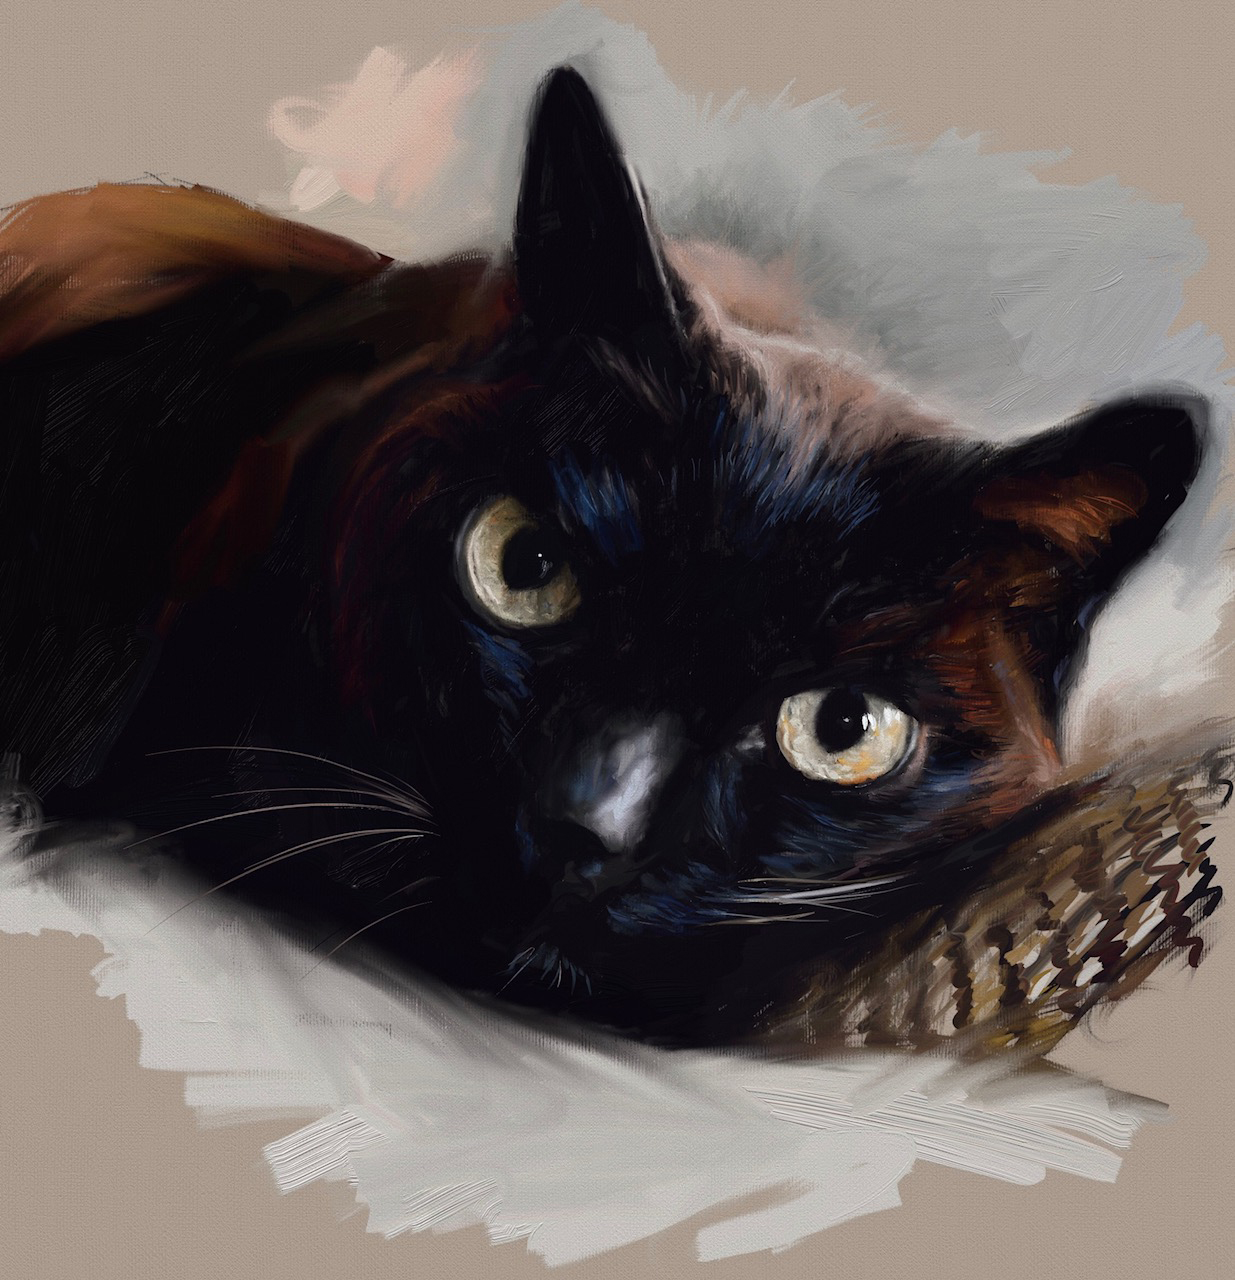
Black Cat (I need a better title!) – Digital painting
Once again, it was the cat’s eyes that were the focal point of this work. They were more of a challenge than I expected due to the subtleties of color in the iris. This time the fur was much easier because with a black cat you only need to paint the highlights.
What did surprise me about painting the fur was achieving the “softness” of it on the top of the cat’s head. I simply smeared a glob of milk chocolate color around. I was going to fix it but then realized it worked so I left it alone.
As it turned out, this image of a black cat was a prediction of a cat I would get nearly a year later. Charlotte looks exactly like this picture. Funny how things work out.
Where Did The Term “Crazy Cat Lady” Come From Anyway?
As I was writing this post, I couldn’t help but wonder where the term “crazy cat lady” came from. If curiosity is getting the best of you too, The Boston Globe wrote this very informative article that will tell you all about it.
Thanks For Stopping By The Studio…
Other Popular Digital & Oil Painting Tutorials:
The #1 Way To Improve Your Painting
10 Tips For Painting A Dog Portrait
https://shelleyhannafineart.com/tips-for-painting-a-dog-portrait
iPad Painting Tutorial – How To Paint A Cat
https://shelleyhannafineart.com/paint-a-cat/
Tips For Painting Silver Objects
https://shelleyhannafineart.com/painting-silver-objects/
How I Paint On The iPad – A Step-By-Step Portrait In ArtRage
https://shelleyhannafineart.com/paint-on-the-ipad-step-by-step/
7 Portrait Painting Tips For Traditional And Digital Painters
https://shelleyhannafineart.com/portrait-painting-tips/
How To Paint A Dog Portrait Step-By-Step In Oil
https://shelleyhannafineart.com/how-to-paint-a-dog-portrait/