
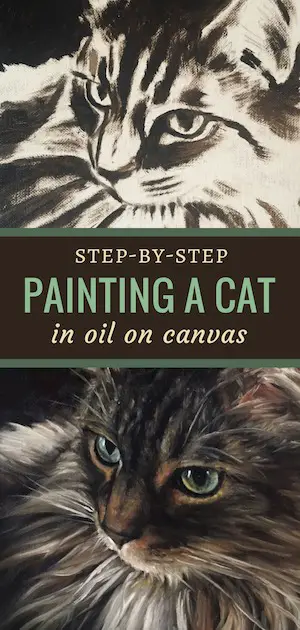
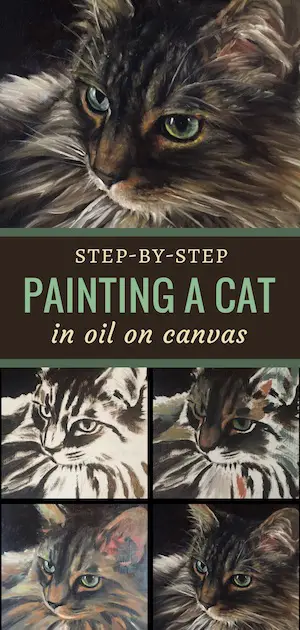
Painting a cat in oil can be a lot of fun. Today I will show you my 9-step process for painting this beautiful cat. You may have seen him featured in a previous post on painting cats, but I thought he deserved his own post since I found some of his progress shots.
I do both traditional and digital painting tutorials featuring pets, people and still life so feel free to check out other posts on my site.
Painting A Cat In Oil Step 1: Block In Darks
This painting is very small and done on a 6″x6″ primed portrait panel using Gamblin oil paints. I would recommend painting on a much larger canvas as this is very small for portrait painting. I really love these oil primed linen panels, but feel free to paint on any canvas you have available.
The first thing I do is loosely sketch in the cat with charcoal, comparing to a reference photo that is exactly the same size.
You can use your charcoal stick and thumb to measure key points from the reference photo over to the canvas. Or you can use a proportional divider to help measure key points. If you’re working from a reference photo that is a different size than the canvas, you can use a grid to help you get the drawing in more accurately. The reference and canvas should be the same proportion i.e. 6×6 photo, 10×10 canvas.
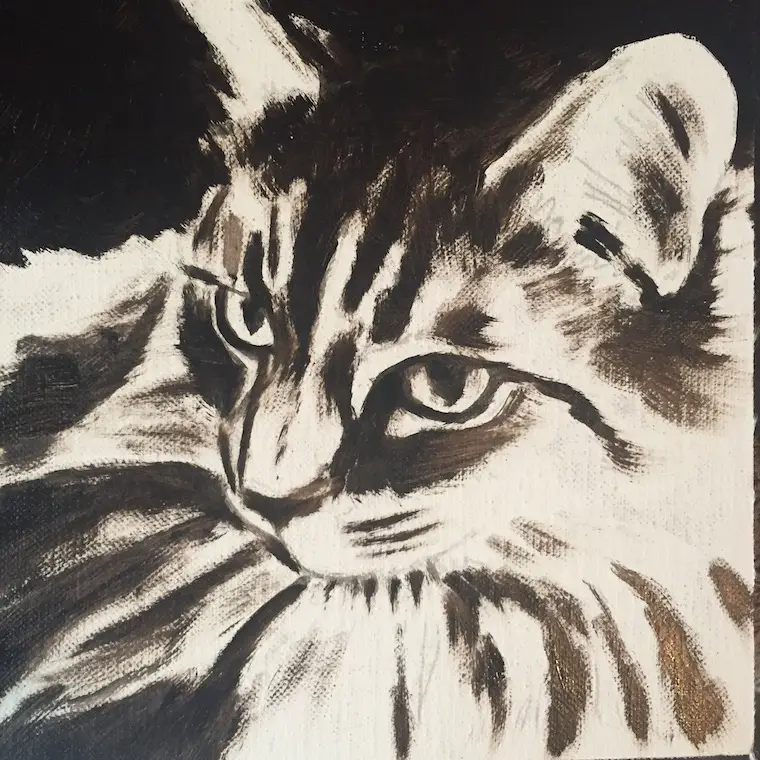
Painting in the dark areas
Above you can see where I have started to paint in the dark areas first to help me establish the values in the portrait. This was done with burnt umber and ultramarine blue using a filbert brush. I use Gamblin oil paints. If you don’t want to buy a whole set, you can get tubes from Dick Blick along with any other art supplies you might need.
Painting A Cat Step 2: Add Mid-Tone Values
After establishing the dark areas, I went in and added some mid-tone values to various parts of the painting. Below I’ve blocked in the eyes and added some complementary colors in blue, green and orange tones. These will mix with the paint I add later, making those colors less apparent.
Adding in some mid-tones and complementary colors
Painting with complementary colors adds visual interest. I can dial-up or dial-down the complementary colors depending on how much drama I want to add to the painting. These types of colors vibrate with each other, adding energy and visual excitement to the work. With this painting, the complements will be very subtle.
I couldn’t help myself, had to paint an eye
Painting A Cat In Oil Step 3: Be Impatient?
As usual, I jumped in and started painting the eyes. It’s just so much fun for me to do. If you cover up the two highlights, you can see that I’m starting out simply by blending in some greens and blues on the edges. I added a little more brightness and detail to the eye as seen in the next step below but easily could have left this alone.
Notice how the addition of the two highlights starts to make the eye look glassy. I love that part. Make sure when you do highlights to start with a darker tone like a medium to light grey and then add a small amount of a brighter white to it.
Struggling a bit with how to paint the fur
Painting A Cat In Oil Step 4: Build Up Mid-Tones
In step 4 of painting a cat, I’ve continued painting mid-tones after the eye detour. You can see how my complementary colors are blending into the paint a little more. I’m trying to keep my brush strokes loose and not get too caught up in details. It’s important to focus on keeping the values correct. Adding details comes at the end (unless you stop and do the eyes in the middle as I did.)

Starting to add lighter tones
Painting A Cat In Oil Step 5: Don’t Freak Out
The photo above is really washed out so the painting looks like a complete mess. It didn’t look quite this bad in real life. When you get to this stage, things can start to look like they are falling apart. This is the stage where I question whether I’m going to be able to make a beautiful painting or fail miserably. This, unfortunately, is normal for me. If I remember it’s part of my process, I push through and get on with painting.
Above I’ve added more highlights and painted red tones in his ear. All of this will blend into future brush strokes.
Re-establishing dark areas
Painting A Cat In Oil Step 6: Re-establish Dark Areas
After adding the mid-tones and highlights in step 5, I went back in on step 6 to re-establish the dark areas. There is a back and forth process for me with the darks and lights to get the values correct. I’m sure there is a more efficient way to do this, but it’s how I paint currently. 😉
Adding more detail to the fur
Painting A Cat In Oil Step 7: Add In Details
After getting those dark areas back, it was time to get some detail work in the fur. I don’t want to go for hyper-realism, so it’s always a bit of a struggle to know how detailed to get while maintaining an abstract brush stroke. This is something I am continually working on. If I have the values right, the details don’t make much of a difference. However, I always feel the urge to add in as much detail as possible to get to a perfect representation.
Because of my constant internal battle between hyper-realism and realism that maintains an abstract quality, I make sure to step back from my painting or take breaks and come back with fresh eyes. What I want to achieve is a painting that looks real from a distance, but looks like a painting up close.
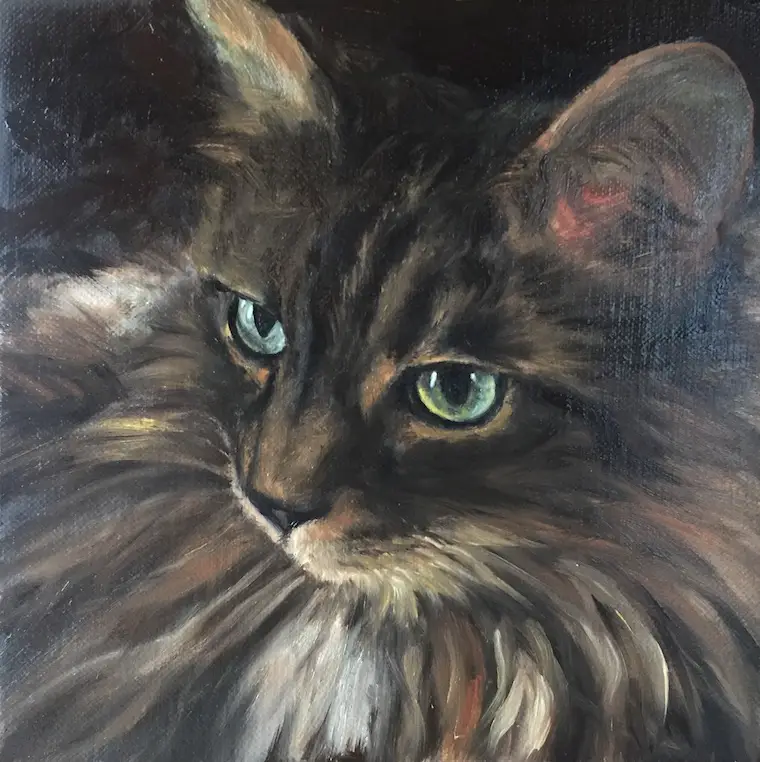
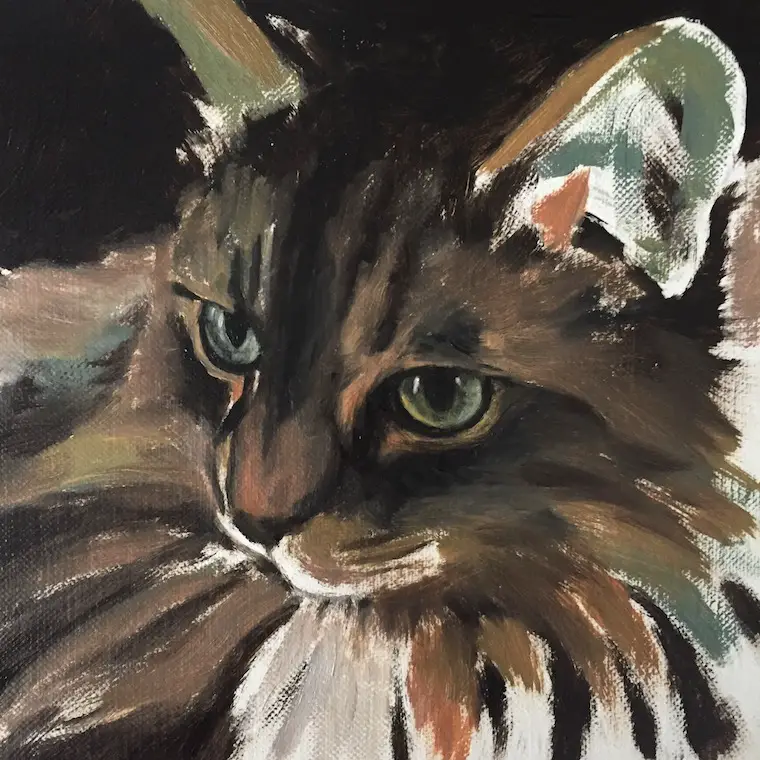
Adding in some more highlights on chin and darkening areas that I made too light once again
Painting A Cat In Oil Step 8: Adding Highlights
Step 8 in Painting A Cat is focused on adding more highlights. This time I concentrated on getting the lighter tones on the chin. I also knocked down any highlighted tones elsewhere on the painting that have gotten too bright.
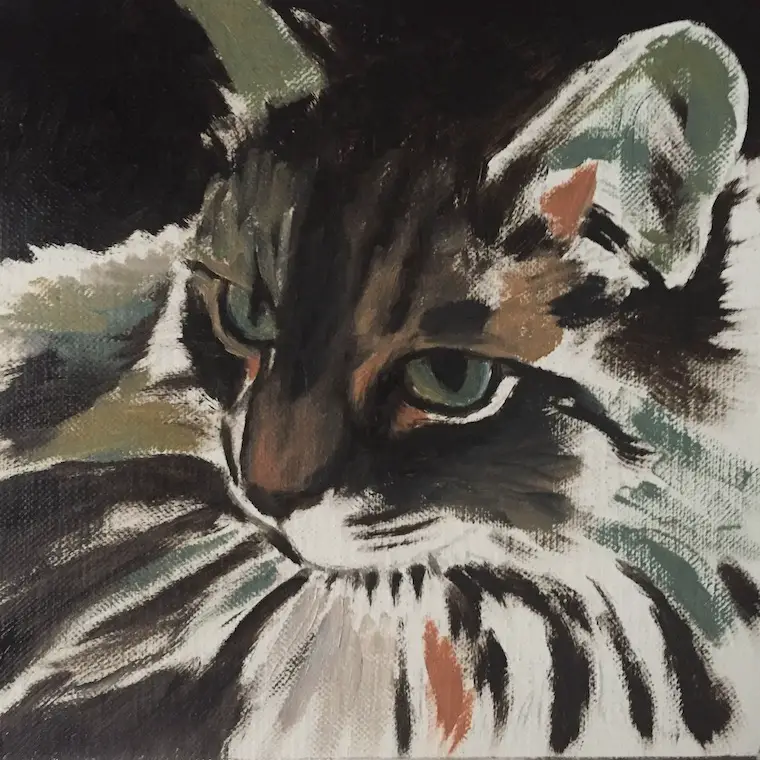
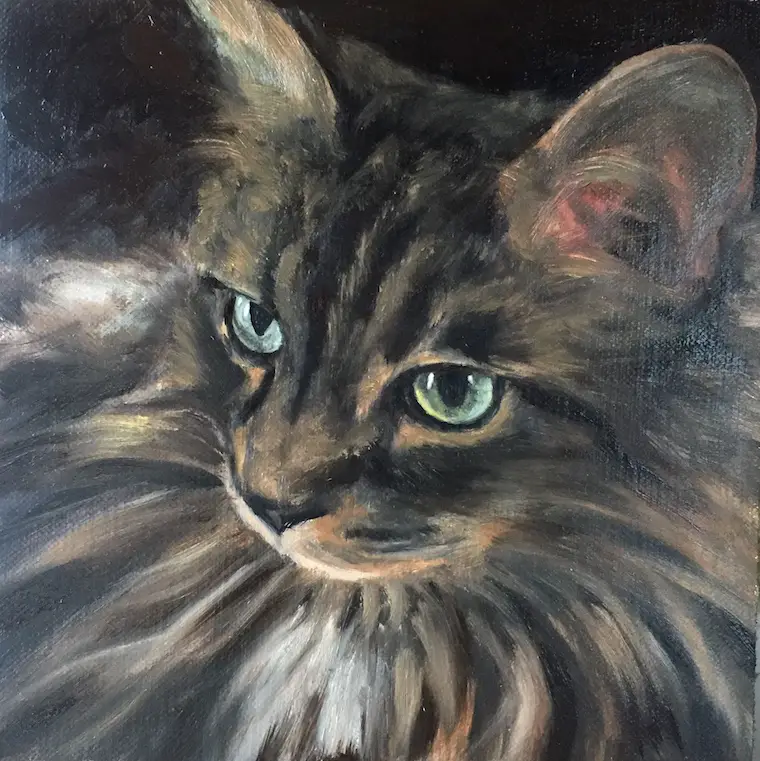
Building more layers on the fur
Painting A Cat In Oil Step 9: You Don’t Have To Be Perfect
Above you can see that I’ve finished up detailed work in the ear and refined areas of fur on top of the head. In the photo below, you can see how loose the brush strokes are with the fur. Nobody would ever view the painting this closely. This is to illustrate that you don’t have to have perfection in laying down the paint to achieve realism.

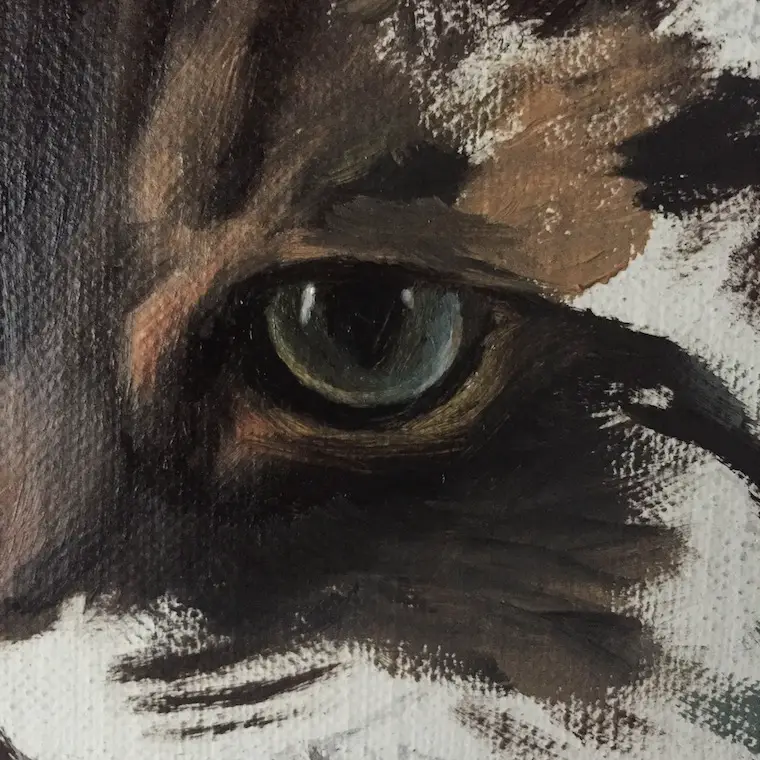
A close-up of the abstract quality in the fur and a detail shot of the eye
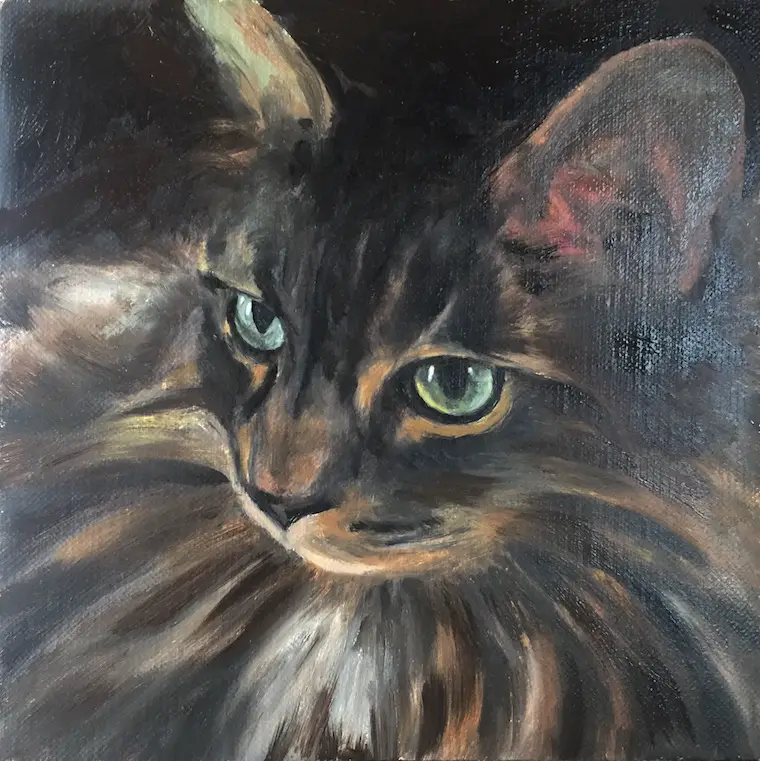
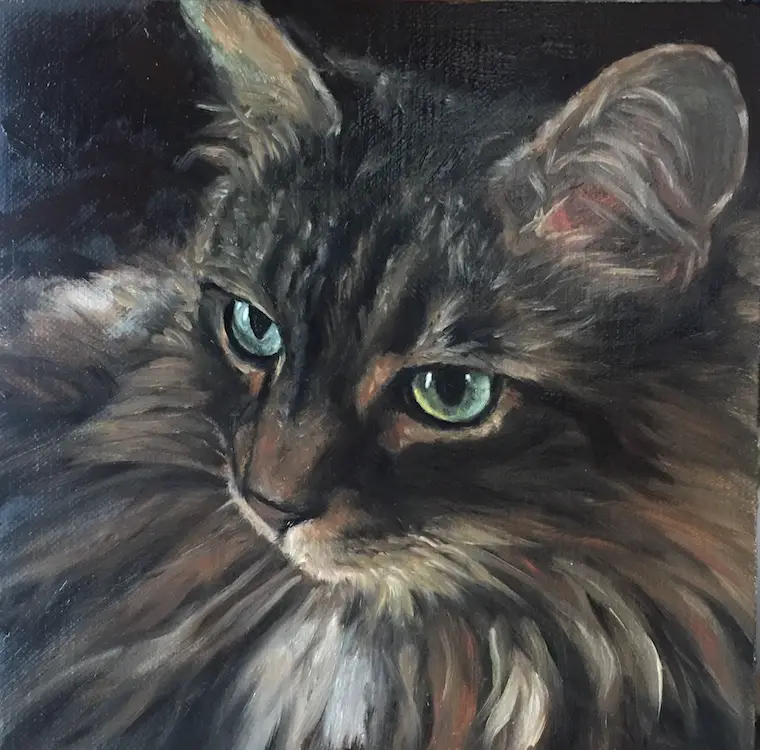
Painting A Cat In Oil – Calling It Finished
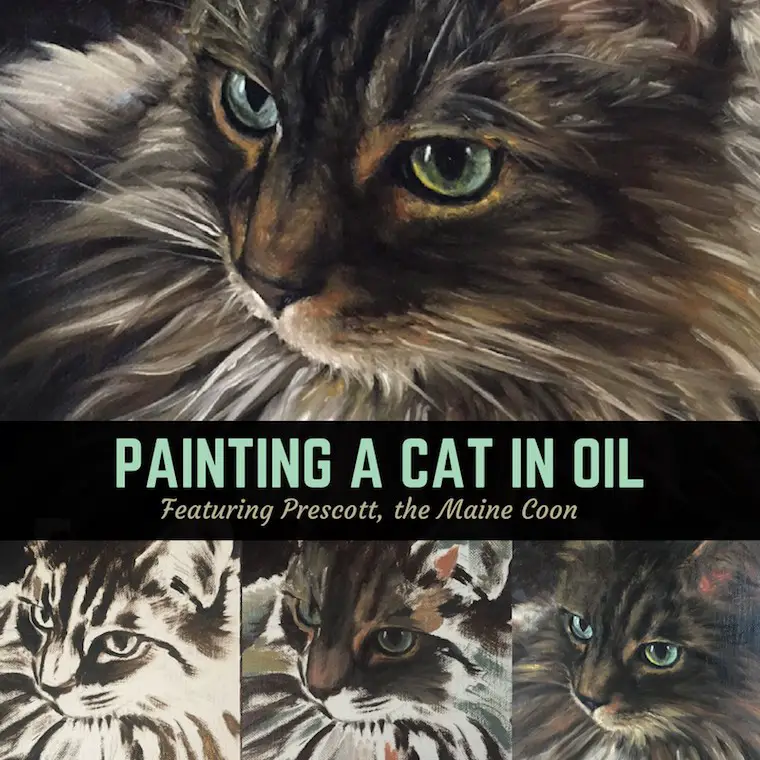
Below is the finished painting of Prescott. I’ve painted his eyes in more detail and allowed all the other parts of his face to be much more abstract. This keeps the focus on the eyes which I think are the most dramatic part of the painting.
If you look closely, you can see tones of the complementary colors in the fur which adds very subtle visual interest to the finished piece. The loose brush strokes also create movement and energy that keep the eye moving across the painting.
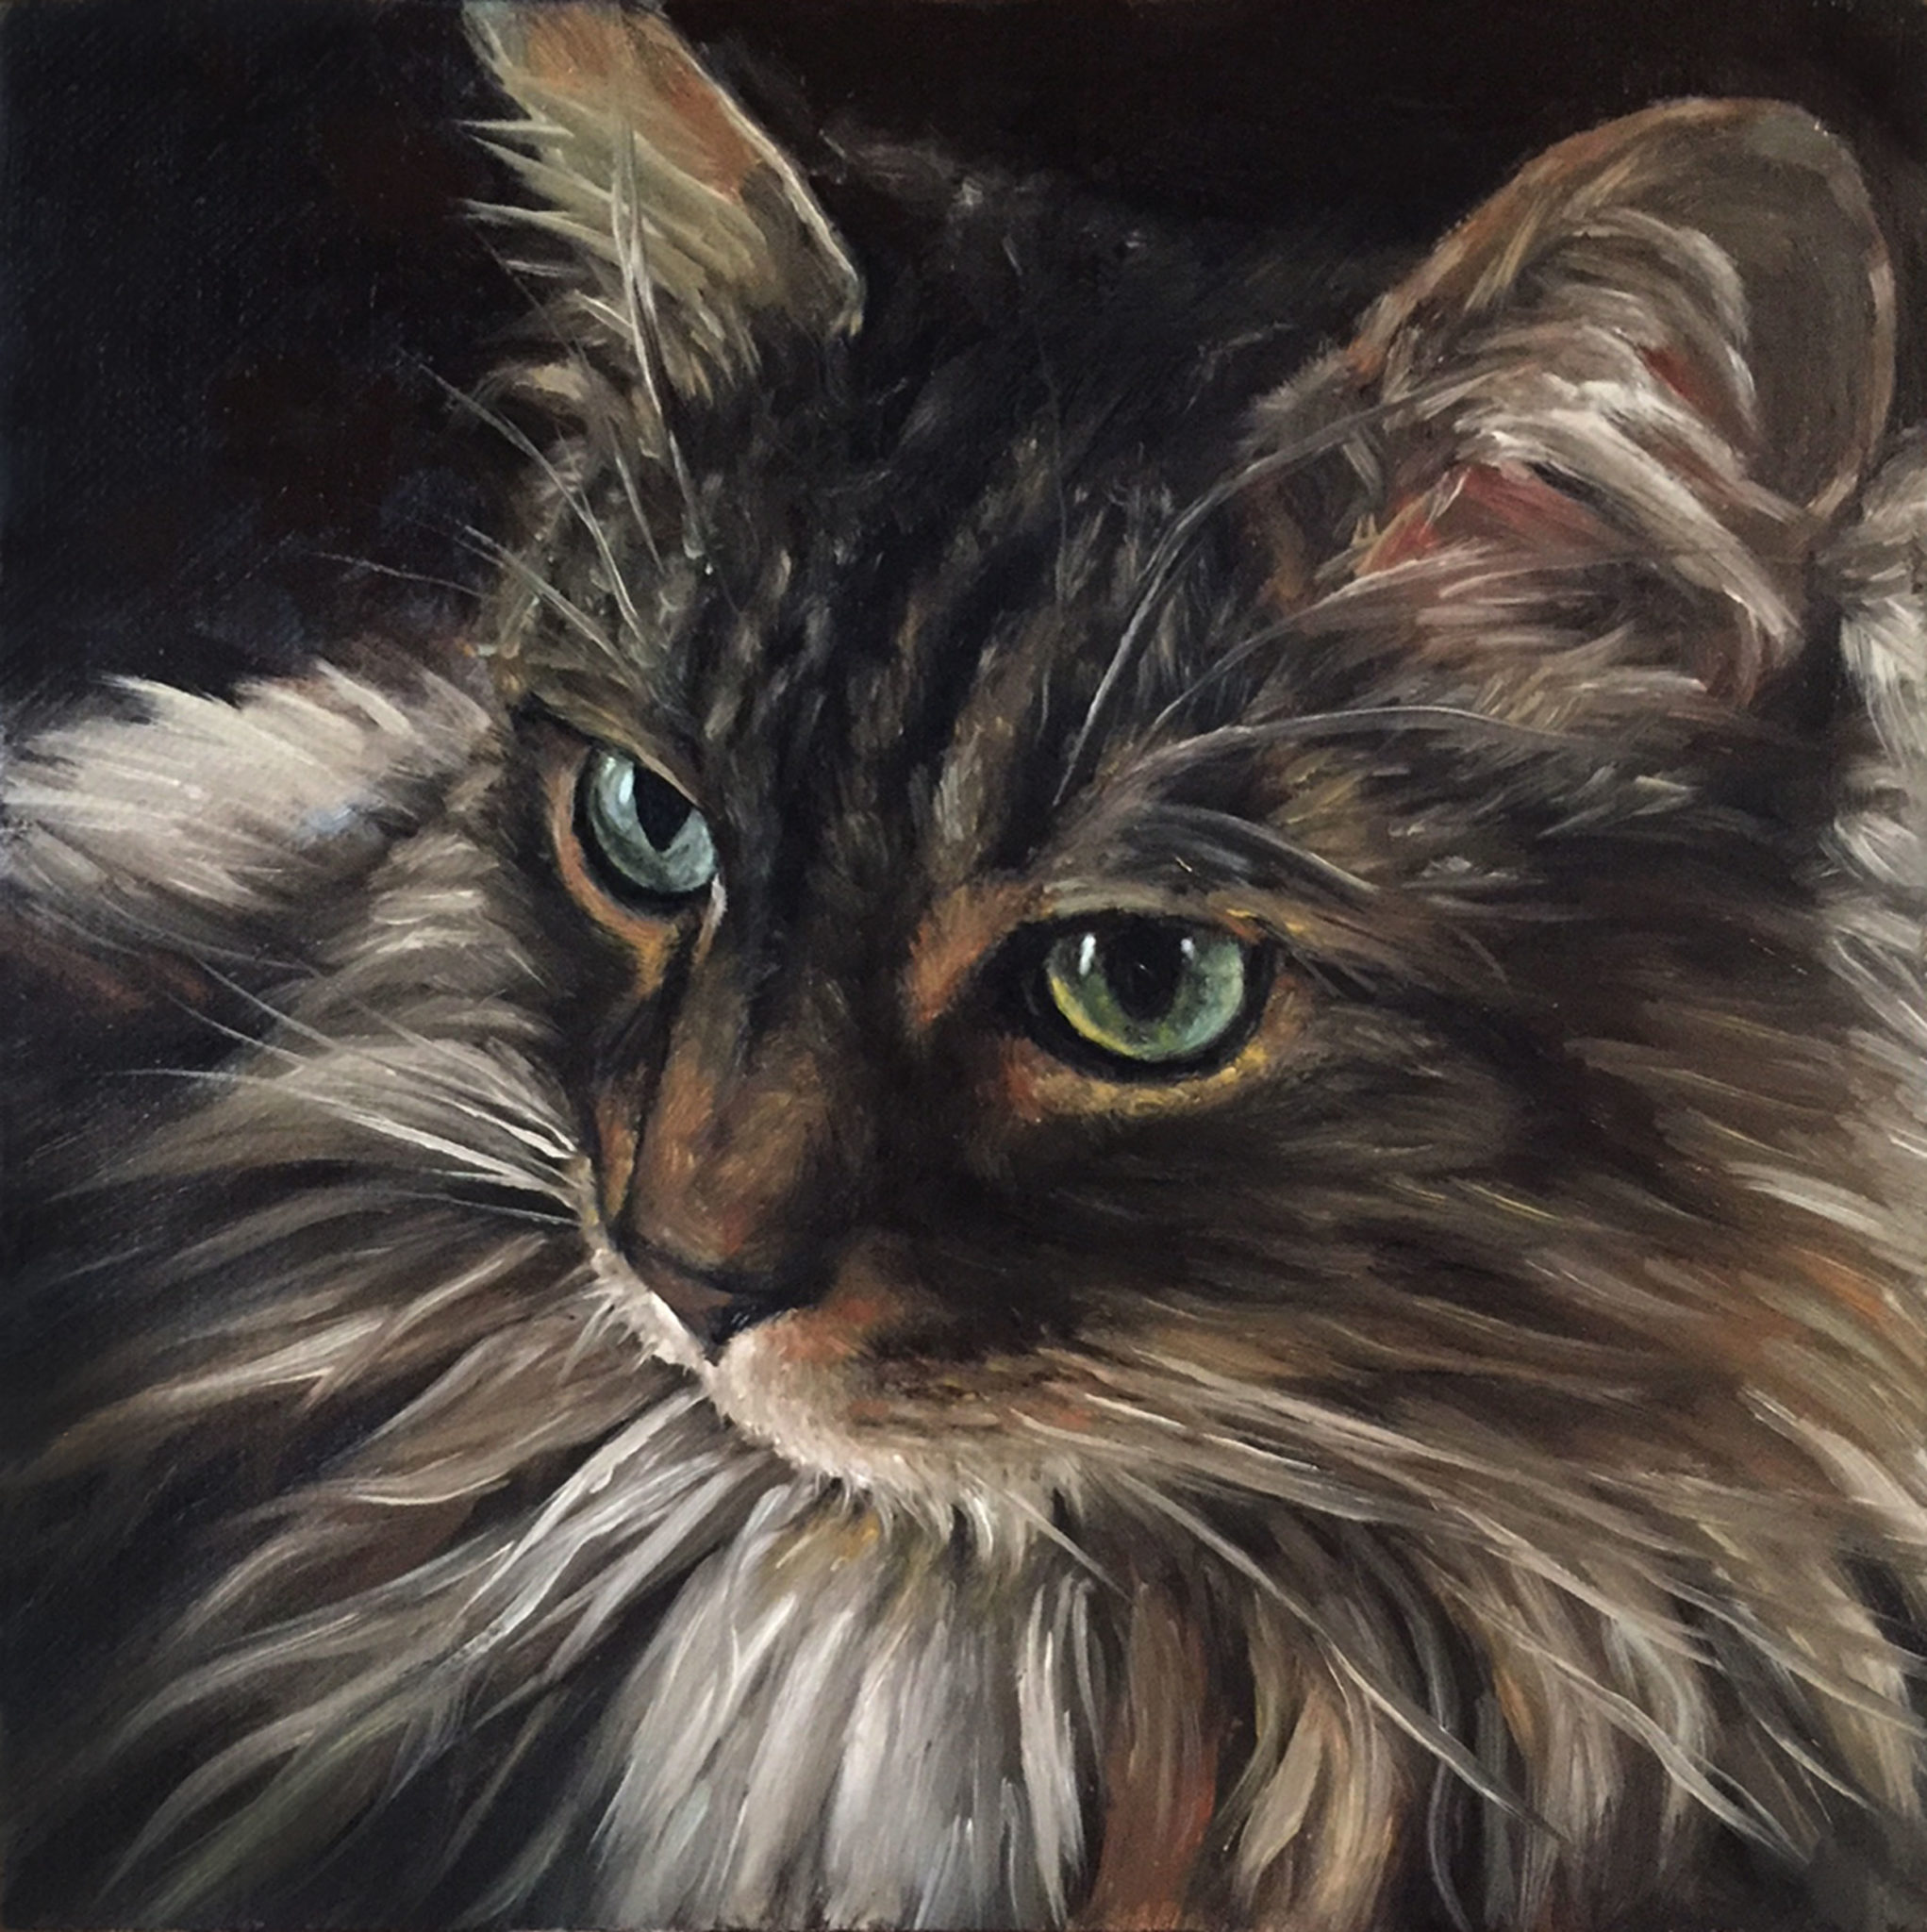
“Prescott” the finished painting. 6″x6″ oil on panel.
Could I continue working on Prescott and get closer to photo-realism? Of course! But for me, photo-realism isn’t what I want to achieve with the art I create. I love photo-realistic paintings and truly appreciate the skill and mastery that goes into creating that kind of work. It’s just not the kind of art that keeps me on the edge of my seat when I create it. The space in-between abstraction and realism is an exciting realm for me and an area where I can continue to grow as an artist.
What’s Next?
I have so much to learn and welcome you to join me as I continue on this path of creative discovery through my art. Stay tuned for my next tutorial on how to paint a silver object!
Other Popular Digital & Oil Painting Tutorials:
The #1 Way To Improve Your Painting – What Is Value In Art?
How I Paint On The iPad – A Step-by-Step Portrait In ArtRage
https://shelleyhannafineart.com/paint-on-the-ipad-step-by-step/
How To Paint A Cat On The iPad Pro – Digital Painting Tutorial
https://shelleyhannafineart.com/paint-a-cat/
Tips For Painting Silver Objects
https://shelleyhannafineart.com/painting-silver-objects/
8 Tips for Painting Black Fur
https://shelleyhannafineart.com/8-tips-for-painting-black-fur-traditional-digital/
7 Portrait Painting Tips For Traditional And Digital Painters
https://shelleyhannafineart.com/portrait-painting-tips/
How To Paint A Dog Portrait Step-By-Step In Oil
https://shelleyhannafineart.com/how-to-paint-a-dog-portrait/