


It’s always exciting to start a painting, but there are a lot of simple painting hacks that can make the process much easier. Below you’ll find 15 helpful painting hacks that I’ve used and some that other artists have shared with me throughout the years.
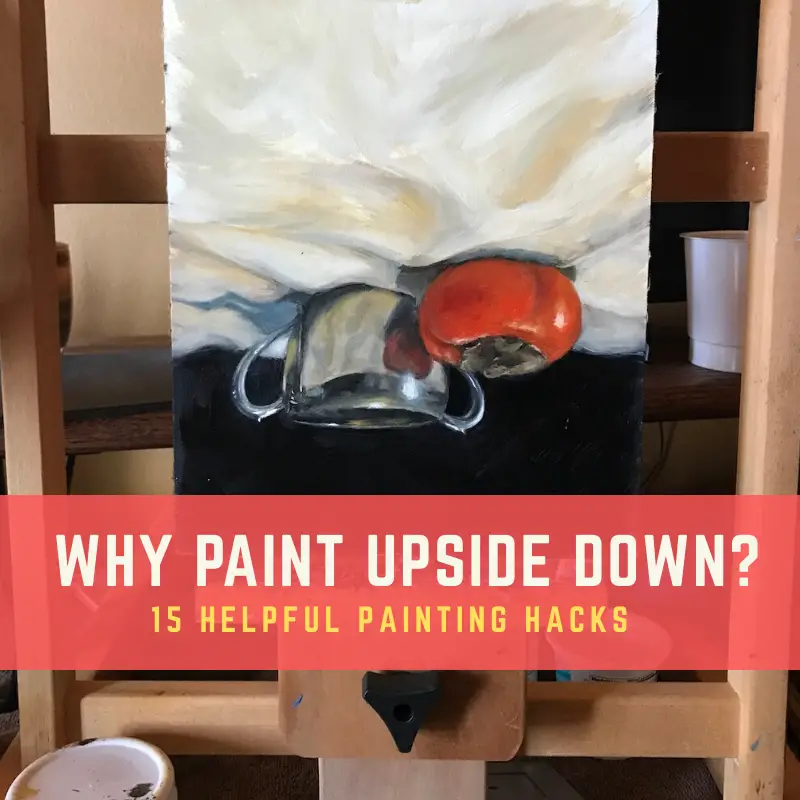
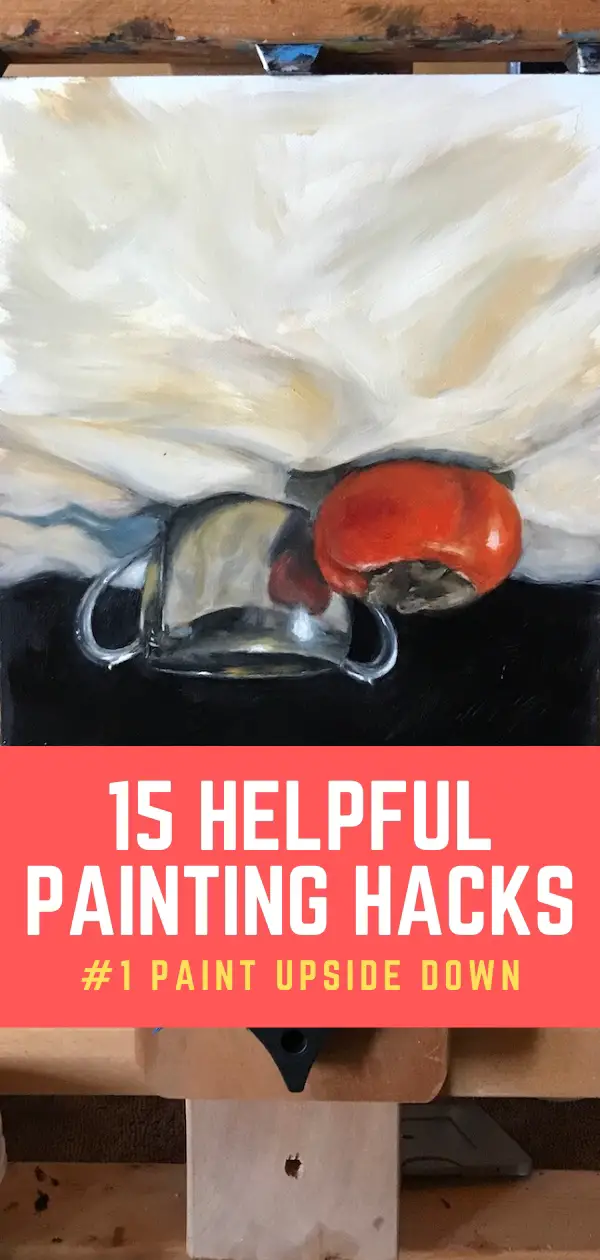
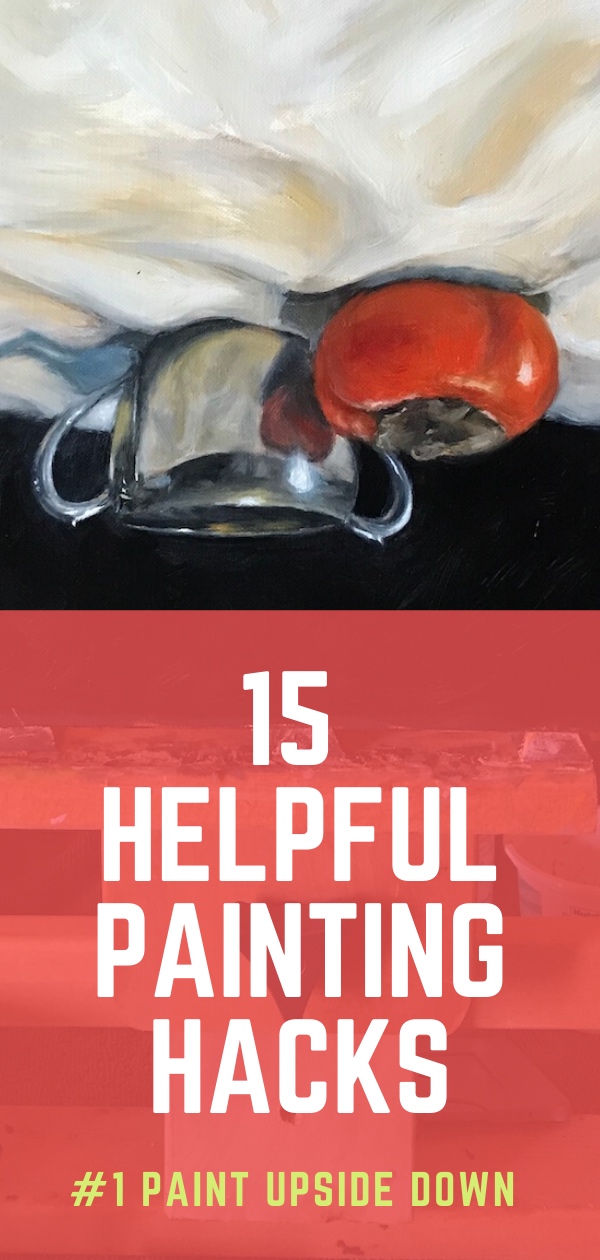
Helpful Painting Hacks #1 – Paint Upside Down
I learned this amazing trick decades ago, but continue to use it nearly every time I paint. When you look at your painting for too long, something bizarre happens. You can’t really “see” it anymore, at least you can’t see it the way another person would see it.
If this has ever happened to you, what you are experiencing is called a mental scotoma. It’s that phenomenon of not being able to see what’s right in front of you. It happens to everyone. Have you ever looked for your keys everywhere only to find them right on the counter? It makes you wonder if someone is messing with you.
Painting upside down disrupts how the brain processes information and helps you see mistakes
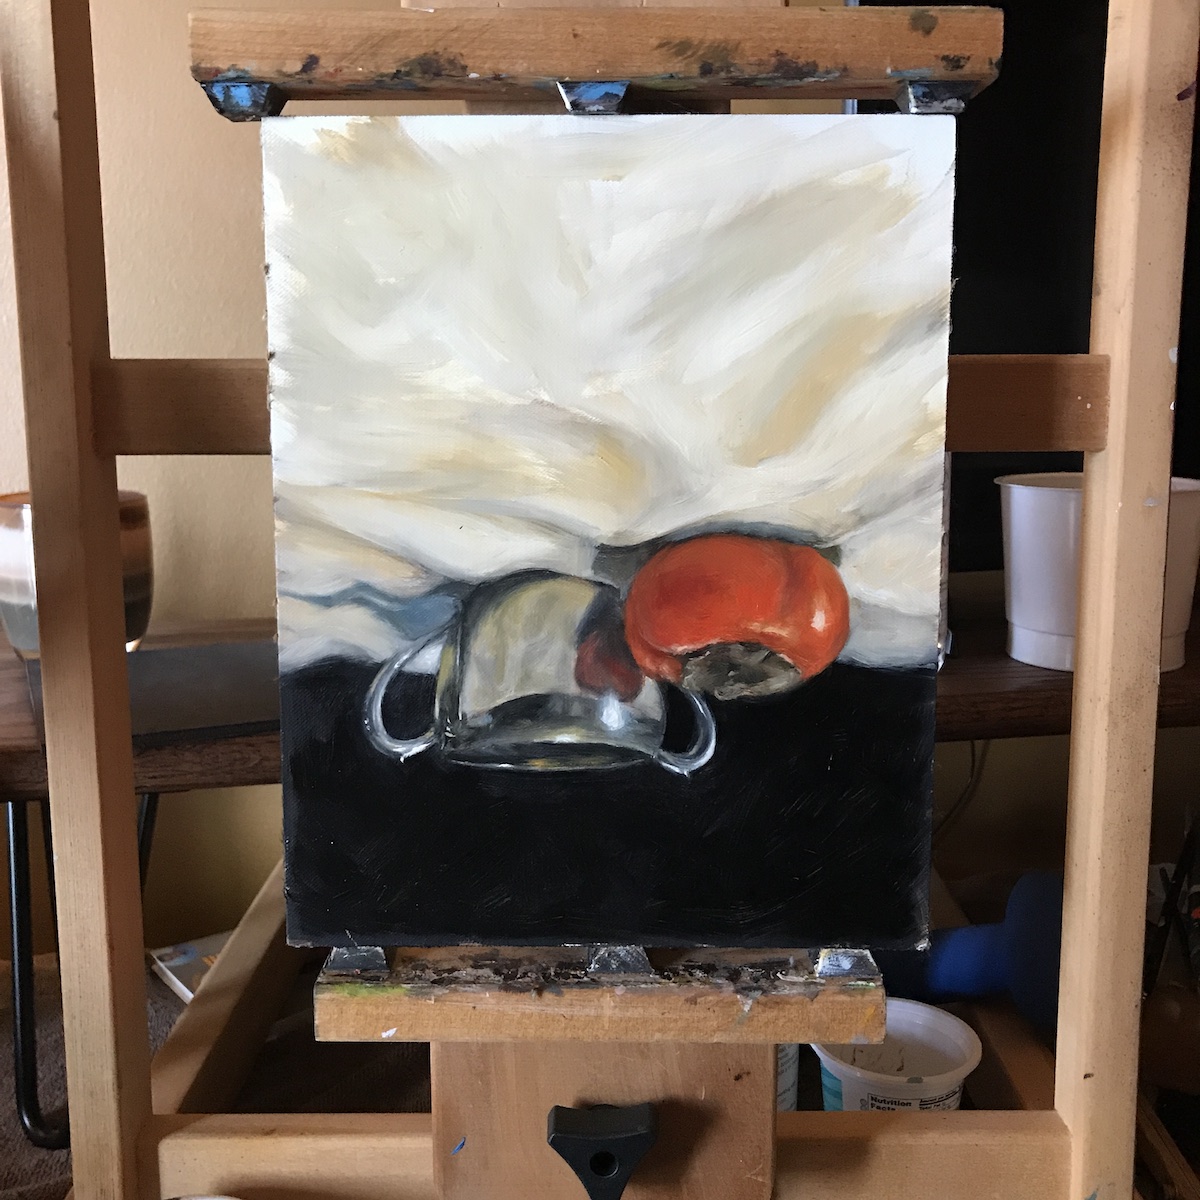
By turning your painting upside down, it interrupts the mental blind spot created by your brain and allows you to see your painting in a completely different way. You’ll be able to spot drawing, proportion and value errors much more easily by simply turning your canvas upside down and painting that way for a while. It may not be practical for painting from life, but if you have a reference photo, you can turn that upside down as well.
Helpful Painting Hacks #2 – Use A Mirror
If you are painting from life and are experiencing a mental blind spot, then bust out a mirror. Many master painters used this trick to help them “see” after they couldn’t figure out where the errors were in their painting.
This trick works for any type of painting, not just painting from life. I will take my paintings into the bathroom and hold them up in the mirror to take a look at them. It’s incredible how quickly areas that are out of proportion are suddenly obvious.
Some artists set up giant mirrors behind them so they can check out their work as they are painting. This may not always be practical as a mirror can reflect too much light back onto the canvas, distorting your color perception. Placing a black cloth over the mirror can help with this if you do experience bouncing light.
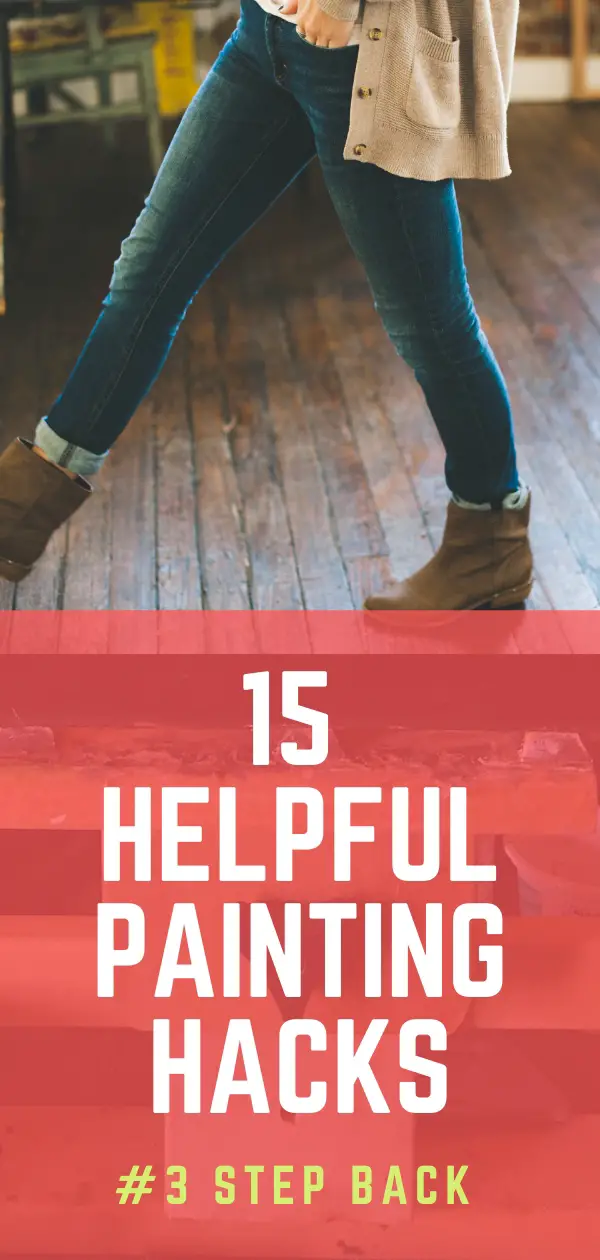
Helpful Painting Hacks #3 – Stand Back As Far As You Can
Sometimes you literally need to stand up and distance yourself from your work. John Singer Sargent was constantly walking back and forth from his paintings so he could see values and shapes. This helped him make better decisions with each brushstroke.
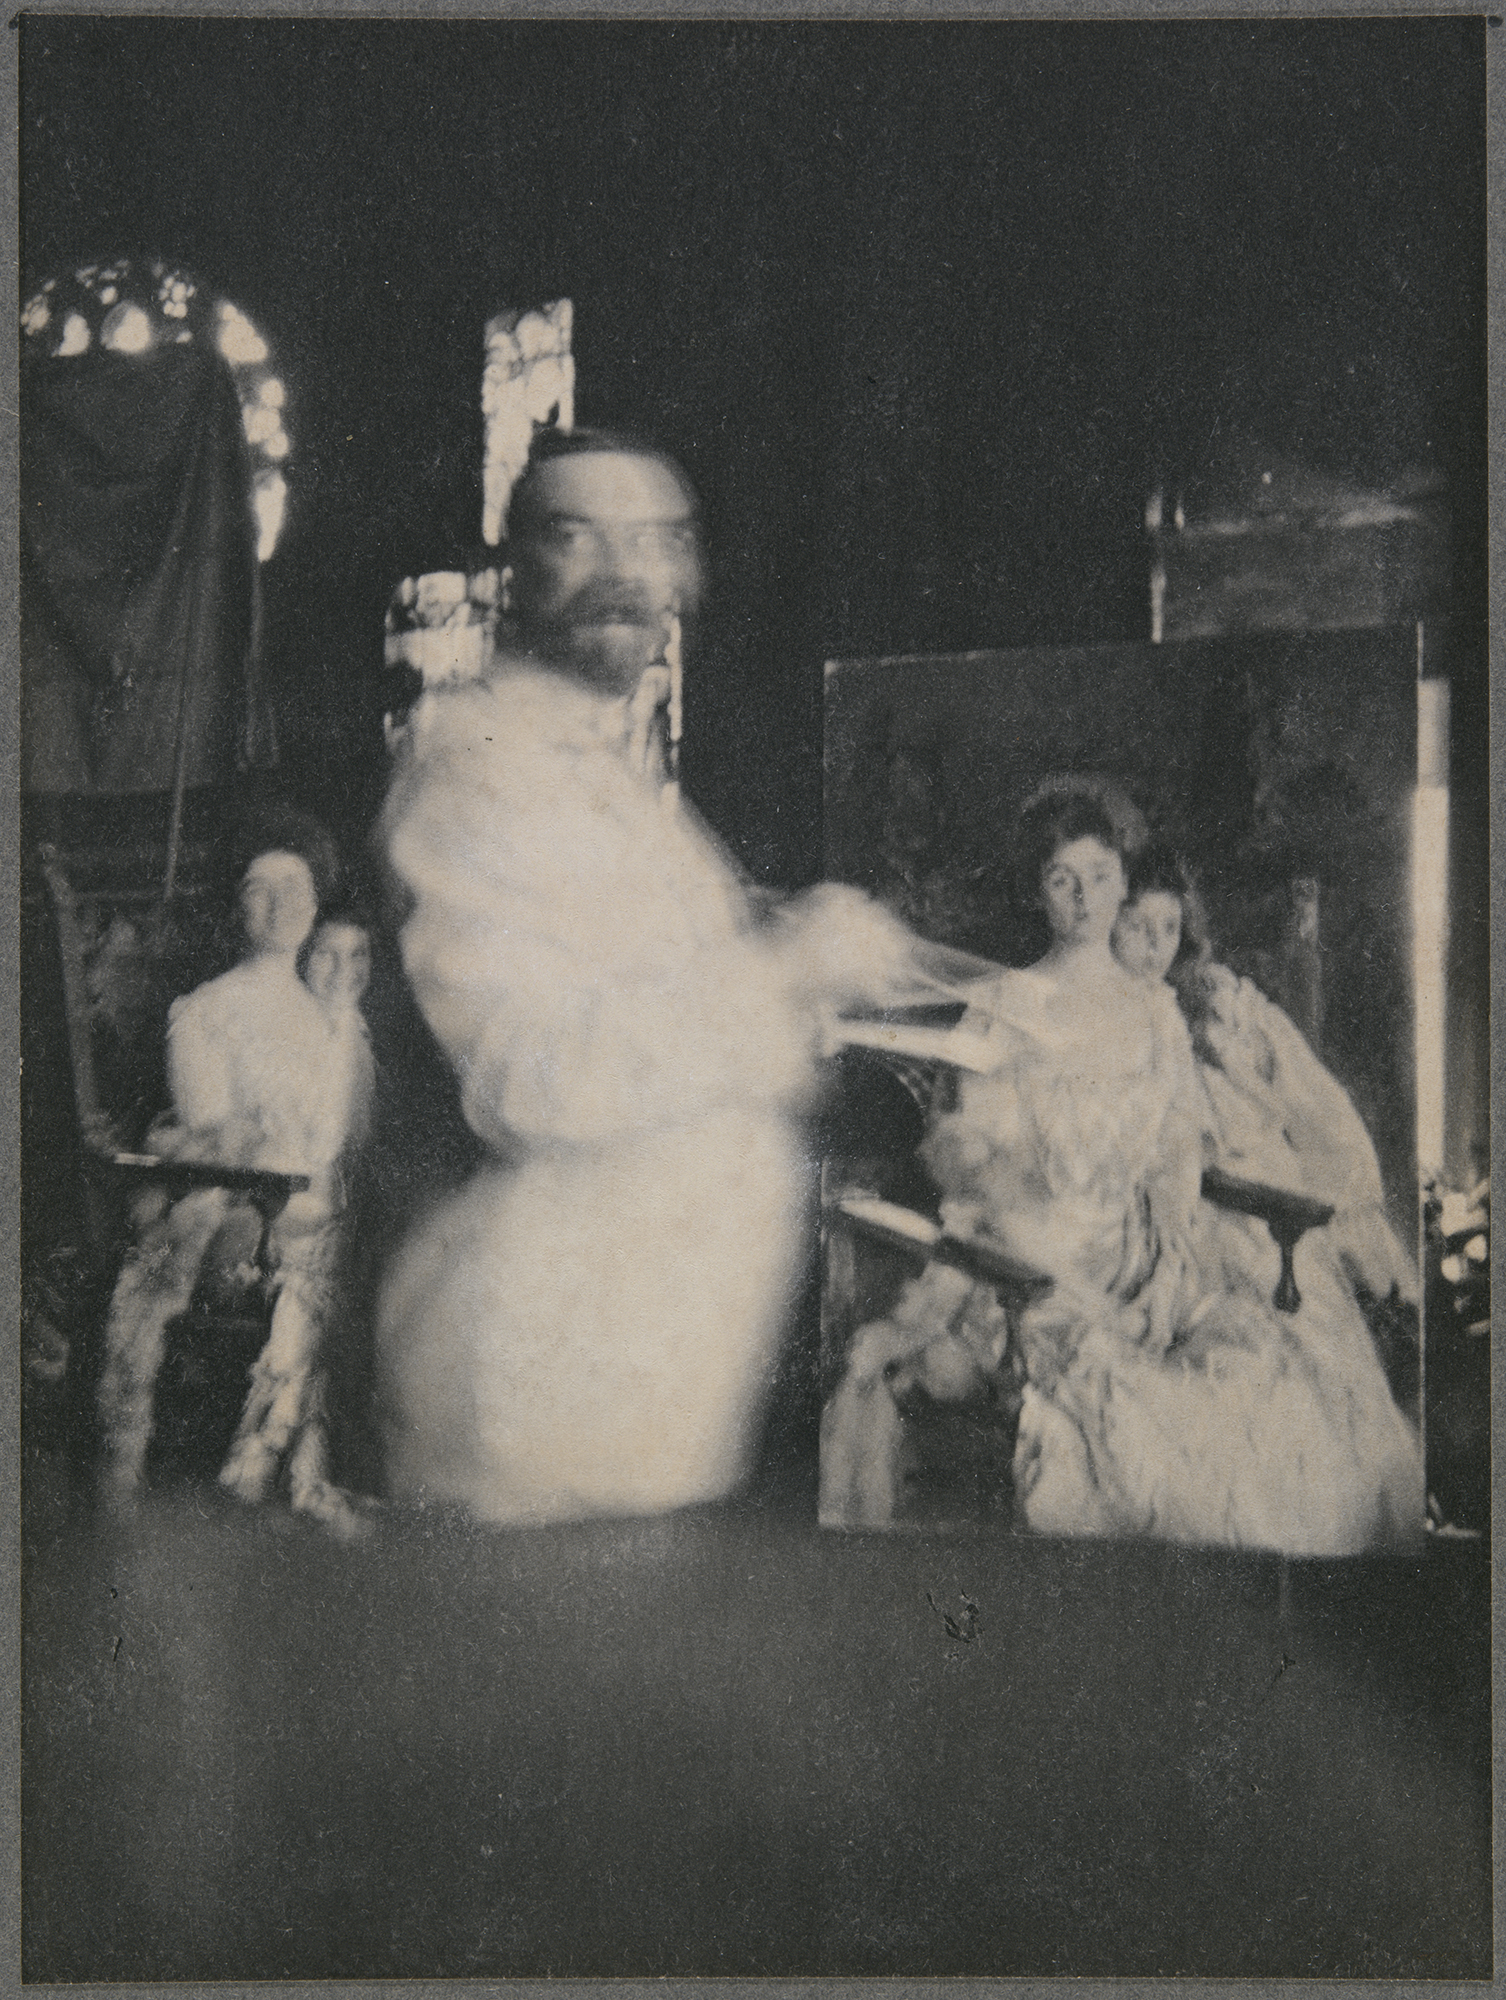
John Singer Sargent was always moving back and forth while he painted. Image: Isabella Stewart Gardner Museum.
Standing back helps you see the overall work. When you are up close and overly focused on one area, it’s very hard to see how that one part of the painting fits into the whole. If you fixate on that area too long without standing back and seeing how everything works together, it can throw the values off.
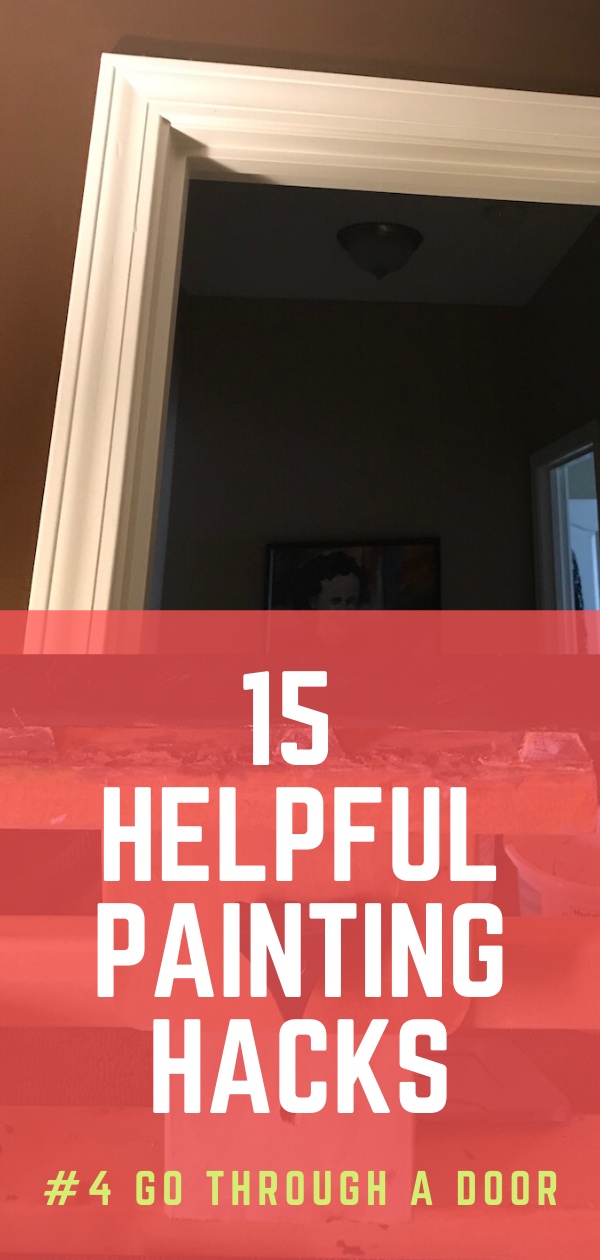
Helpful Painting Hacks #4 – Leave The Room Through A Door
If you still can’t see what is going on with your painting, then leave the room for a few minutes and come back. I do this all the time. It’s amazing how well this trick works.
In order for this to work properly, you actually have to walk through a door. The act of walking through a door creates a new “event boundary” in your brain. According to Notre Dame scientist Gabriel Radvansky, when you walk through a door “the brain effectively creates a file containing all the information about the first room, and what you did there, and tucks it away. It then starts to focus on the second room.”
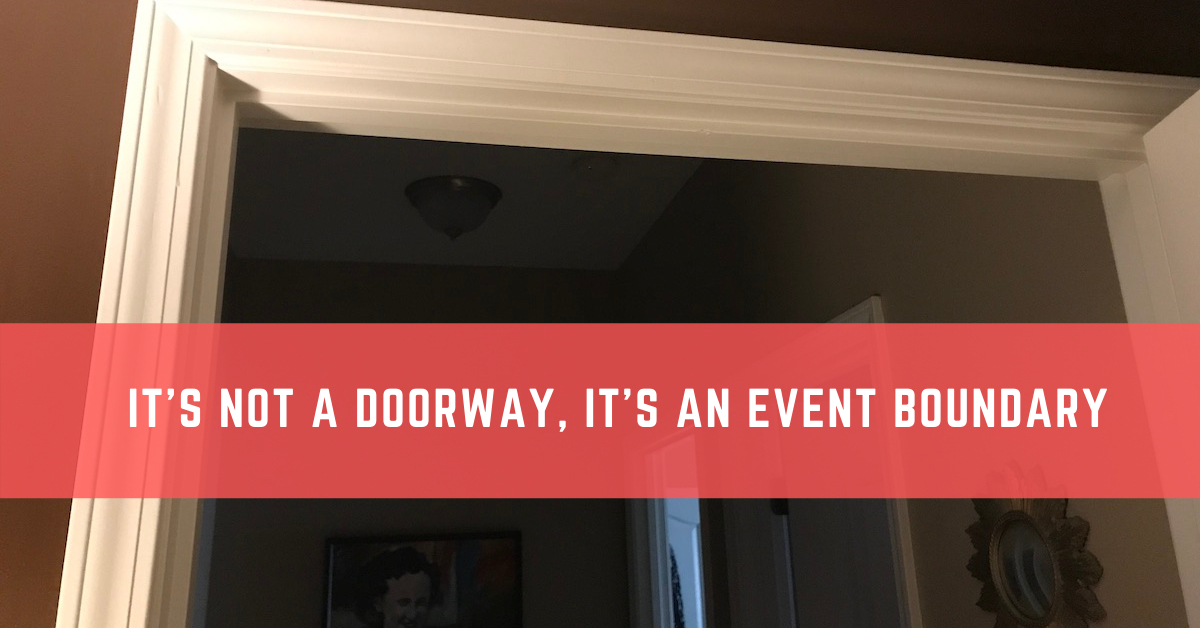
Walking through a doorway can cause you to forget what you were doing in the previous room
If you’ve always wondered why you can’t remember why you went into another room, this is the reason!
Going into another room helps your brain to shift just enough that when you come back to your painting, you’ll be able to see it with fresh eyes. I would recommend leaving for at least 5 minutes, but test out different times and see what works best for you.
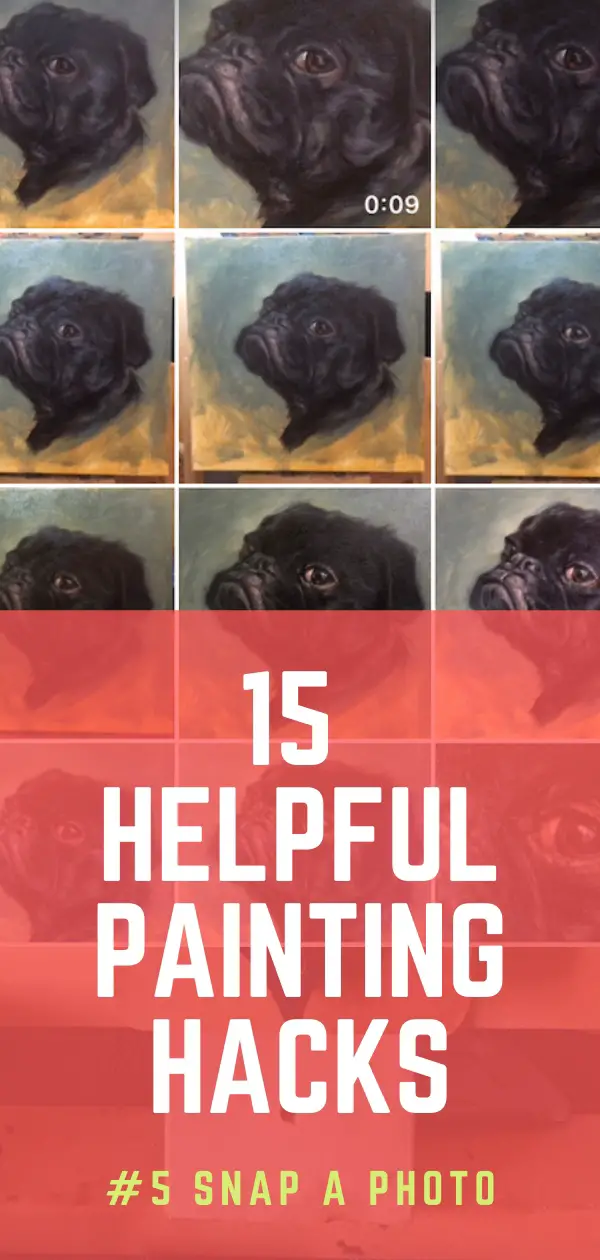
Painting Hacks #5 – Snap A Photo
This is one of my most favorite painting hacks and I use it every single time I paint. It serves a couple of different purposes. The first is that when you see your painting really tiny on a screen, it is so much easier to see the main shapes that you may have become mentally blind to.
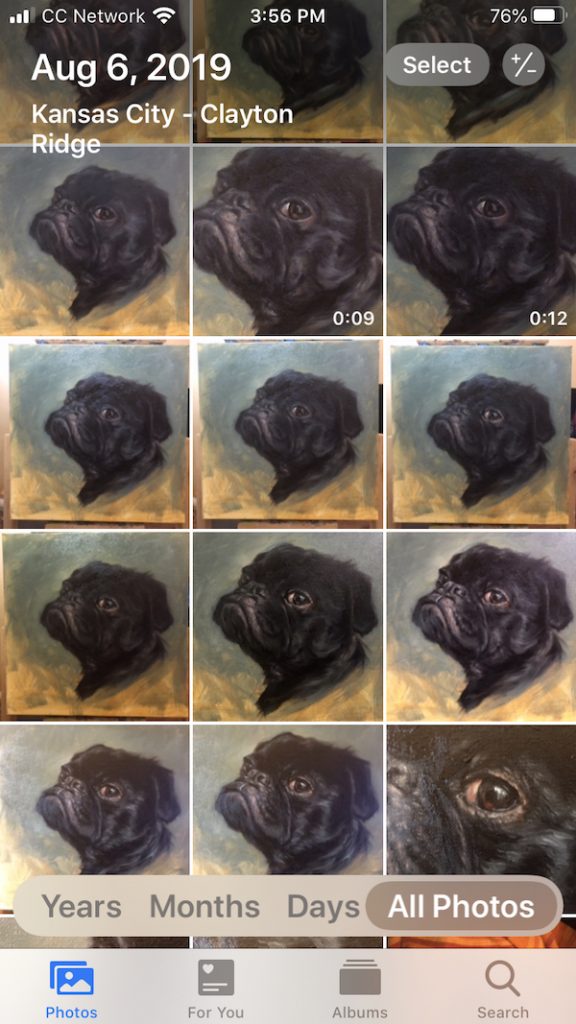
Taking photos of my painting in progress helps me to see where I need to lighten and darken areas
For some reason when I see the tiny painting on my phone, I instantly see where the values need to be lightened or darkened. This helps me to build out the forms more accurately.
The second purpose of taking a photo is that you’ll have progress pics of your painting to go back and reference. After a few years of reference photos, it’s fun to look back to see how you’ve improved your process. I use them to share my painting tutorials.
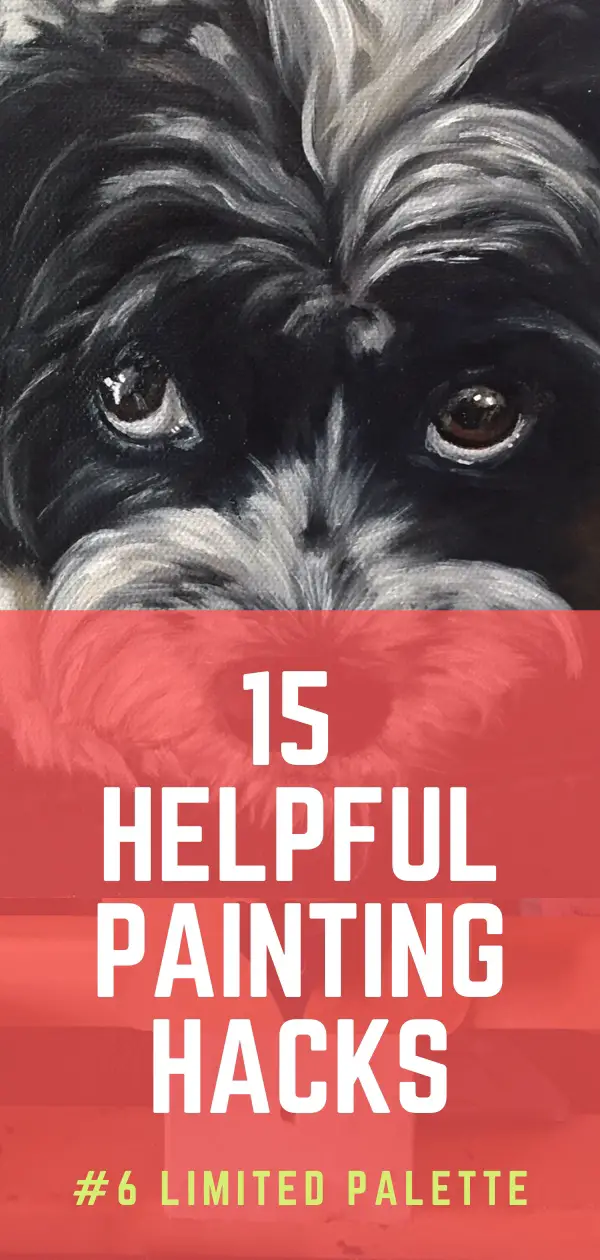
Painting Hacks #6 – Use A Limited Color Palette
If you learn how to paint in a class or an atelier, the instructors usually start you out with only doing charcoal drawings. This helps you to concentrate on creating accurate forms. The instructors don’t want to introduce color too soon because it adds too many decisions to the painting process.
The next phase of a painting class may be painting only in black and white. Again, this eliminates decisions and helps you to see values, the most important part of a painting. If you are in an atelier, you may not be able to use color for a couple of years.
Using a limited color palette when you do start with color can also keep the decision making to a minimum so you can focus on the overall painting. Many times beginning artists get carried away with all the bright colors and overuse them. Less is more when it comes to color – especially for realism.
A basic limited color palette consists of ivory black, titanium white, yellow ochre, and cad red. There are variations on the palette, but these colors combined together can give you a wide range of colors. Mark Carder gives a good overview of the Zorn limited palette in the video below.
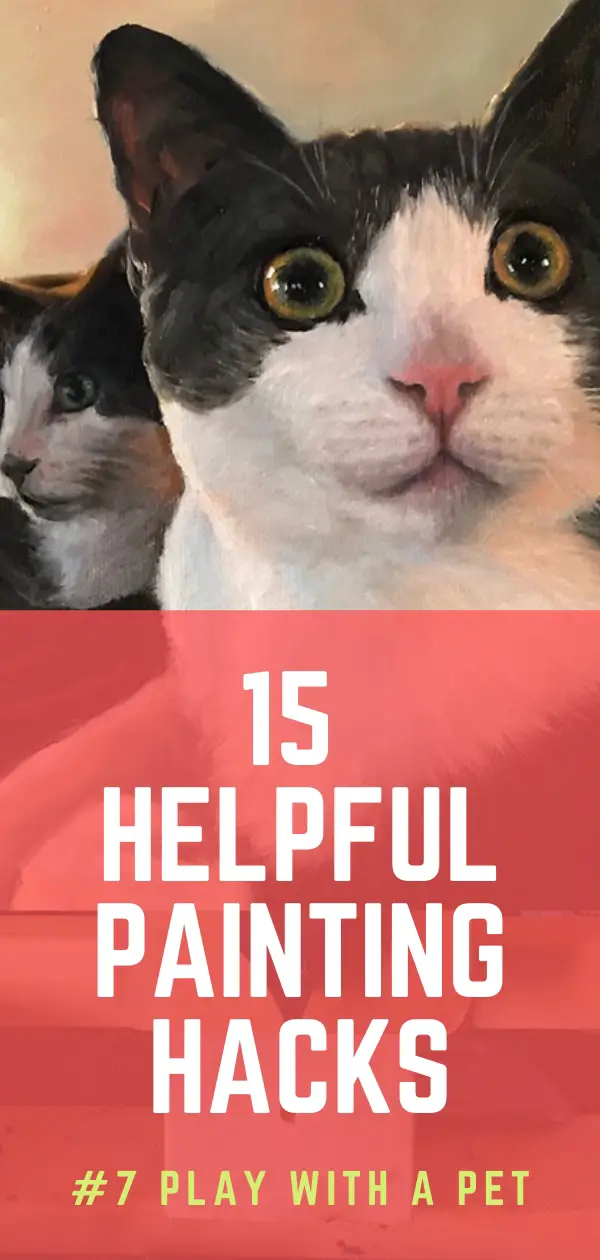
Painting Hacks #7 – Play With Your Pet
By now you are probably getting the idea that painting hacks have a lot to do with interrupting or tricking your brain. It is easy for artists to get in their own way and when you’re in the middle of “being stuck”, it can be very frustrating and sometimes infuriating.
That’s why this hack is all about your pet if you have one. Pets are great emotional equalizers and can help to pull you out of a funk or just snap your brain out of a stuck state. When you’re happy, it seems easier to solve problems. And a pet is a great way to feel a little happier.
If you don’t have a pet, then borrow one from YouTube. There are hundreds if not thousands of funny animal videos. Watch a few minutes and then get back to your work. If you are addicted to YouTube, I would suggest avoiding this hack.
#8 – Use A Palette Keeper
I’ve painted in acrylics for many years, but when I started painting in oils I went to a class. One of the supplies suggested in the class was using an airtight palette box. You can find one similar to the one I used here on Amazon.
If you use acrylics, you can use the sponge to keep your paint wet. Since I was painting in oil, I didn’t use the sponge. I also hacked my hack by getting a piece of glass cut to the size of the box. I then taped off the edges so I wouldn’t cut myself. This way I wasn’t using the paper palette.
Being able to go back and forth to class with my paints in the palette keeper was very convenient and kept my paints fresh for days.
#9 – Put Clove Oil On Furniture Pads
Another way to hack the hack above is to get some furniture pads like these, put a drop or two of clove leaf oil on them, and stick them to the lid of the palette keeper.
Clove oil keeps the paint from drying out. Just make sure to not over saturate your furniture pads. You don’t want clove oil dripping down onto your paint. If this happens, your paint may never dry.
I’d put about 8 pads onto the lid, but you may find that you can get away with fewer.
#10 – Use Plastic Wrap
Plastic wrap is great for keeping air from getting to your paints. If you use a palette keeper from hack 7, you can put the plastic wrap over the box before you put the lid on. This helps to create a tighter seal.
You can also put plastic wrap over your paint palette directly onto the paint. This creates more of a mess when removing the plastic, so it’s up to you to decide how much of that you want to deal with. If you use this method, try to press as much air out from between your paint piles as you can. This will help to slow down the oxidation process.
If you have a spare refrigerator, you can put your palette in it while you’re not using it, which helps slow down the drying process too. I would NOT recommend using a refrigerator that you store food in. Oil paints are toxic. Don’t go there.
#11 – Clean The Bathroom
If you are addicted to cleaning, then this may be more of a pleasant distraction for you. But if you are like me, taking a 10-15 minute break to go clean the bathroom or kitchen will be a distraction you want to keep short.
Keeping your environment clean has a way of helping you to feel more organized. I wish I was more motivated to do this, but I have found when I do, it’s a win-win. I give my brain a break from my painting and come back with fresh eyes AND my sink is nice and clean. That’s 10 minutes well spent.
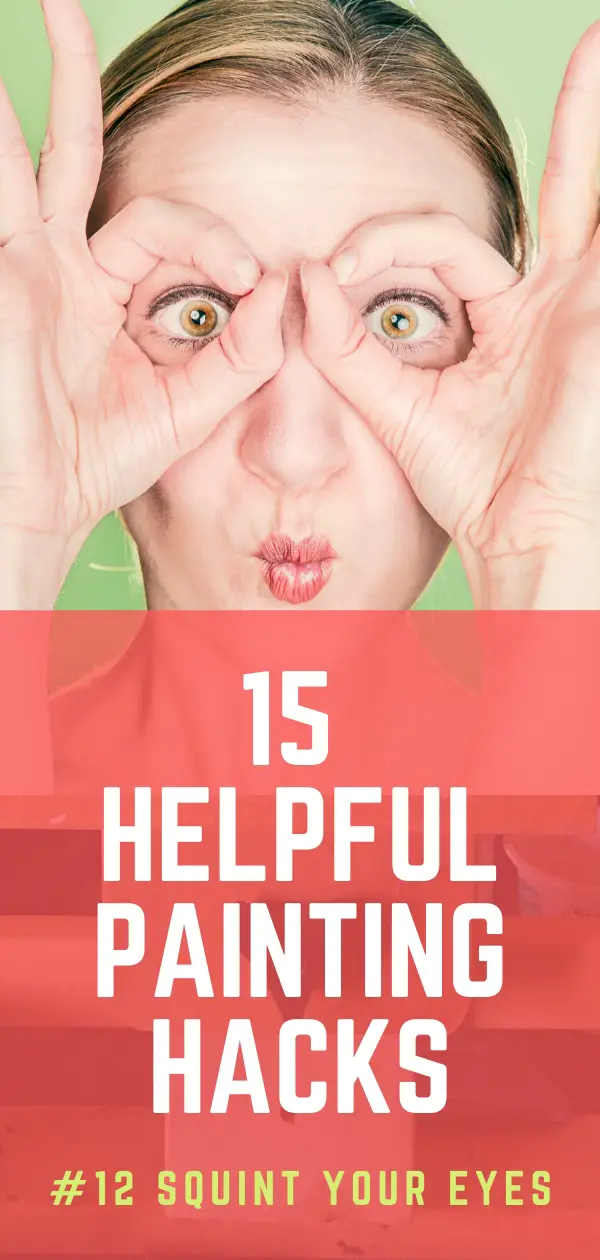
#12 – Squint Your Eyes
This is another personal favorite of mine. I learned this in high school. I can still hear my teacher saying “Shelley, squint your eyes”. He knew that if I squinted my eyes, it would eliminate a lot of detail from the object I was looking at.
Focusing on detail too soon keeps an artist from seeing overall basic shapes. If you are trying to finish drawing in a nose before you get the fundamental shapes of the entire face sketched in, you’ll be spending a lot of time redoing things. It, of course, also helps with seeing values.
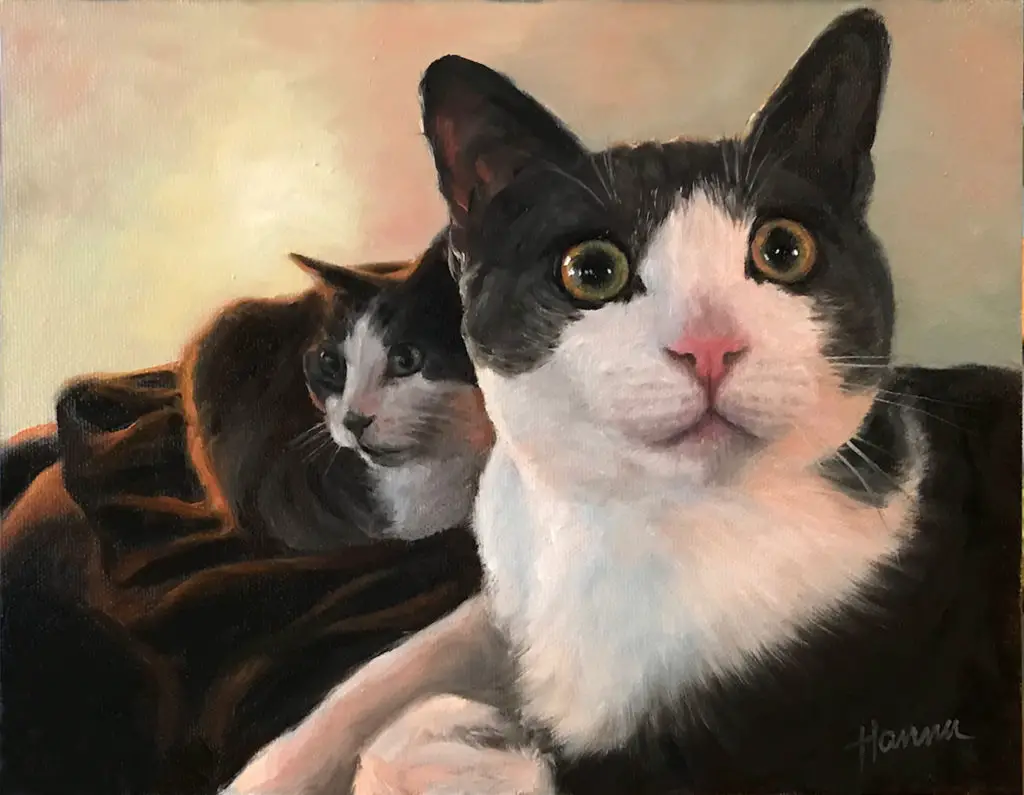
I did a LOT of squinting while painting Jorge & Nacho
There are some artists that can start a painting with an eye or nose and fill in the rest with everything being in proportion and having the correct values. I don’t really know how they do it. If you are one of those artists, do what works for you.
Painting Hacks #13 – Watch A Painting Video (Or Make One)
Nothing motivates me or inspires me more than to watch other artists paint. It’s even inspired me to create my own painting videos.
Sometimes when I get stuck, I will go to YouTube to see if there is another artist who has solved the problem that I am working on. Usually, there is somebody out there that is willing to share their process. It’s not only a great distraction, but it also helps you to learn something new while supporting another artist’s efforts.
I’ve found that going through the effort of making my own videos has helped me to learn more about my own process. Sometimes we don’t know why we do what we do until we teach it to others.
Painting Hacks #14 – Use A Glass Palette
I had always used a disposable paper palette but disliked having to go and buy them all the time. They were very convenient to use, but the stark white background of the palette made it difficult for me to mix paint values accurately after I toned my canvas.
I like to tone my canvas with a darker wash, so having a palette color that is closer to the value of my toned canvas is useful. One thing you can do is get a poster frame, paint a piece of canvas or paper a color that is similar to the tone used on your canvas and “frame” it. Then you just lay the frame on the table next to you and voila – glass palette.
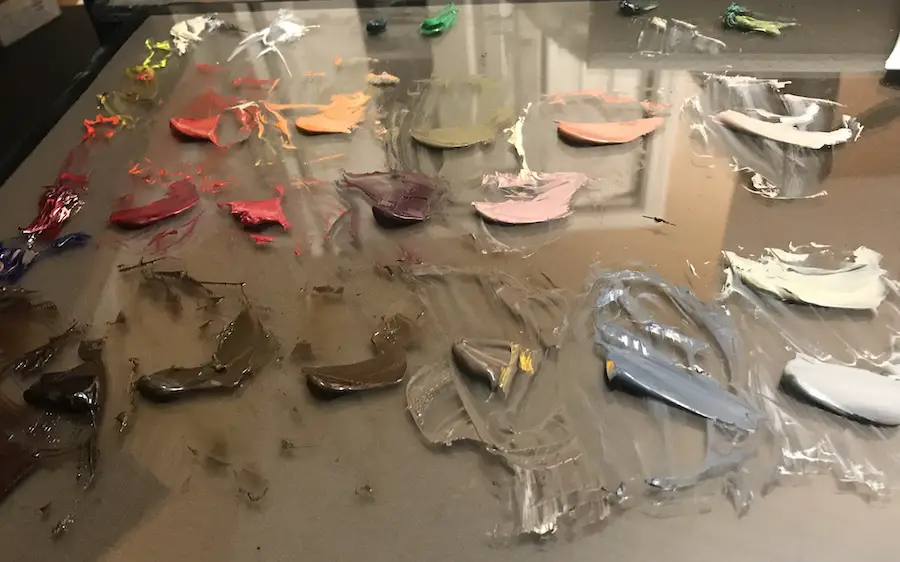
Glass palette with a toned background
I’ve used different sized frames with the glass in them for different palettes. The only problem with this is that many times, the frames in stores are plexiglass which can scratch. And if there is glass in them, it may be a little too thin and could crack if you get too ambitious mixing your paints. You can always go to a glass cutting shop and get a thicker piece of glass cut to any size you want and make a palette out of that.
Painting Hacks #15 – Make Brush Dip
I’m not fond of constantly cleaning my brushes, so I use a recipe to make my own brush dip. By dipping brushes in between uses, it keeps the paint from drying out and hardening. You have to keep dipping your brushes if you won’t be painting for a few weeks though.
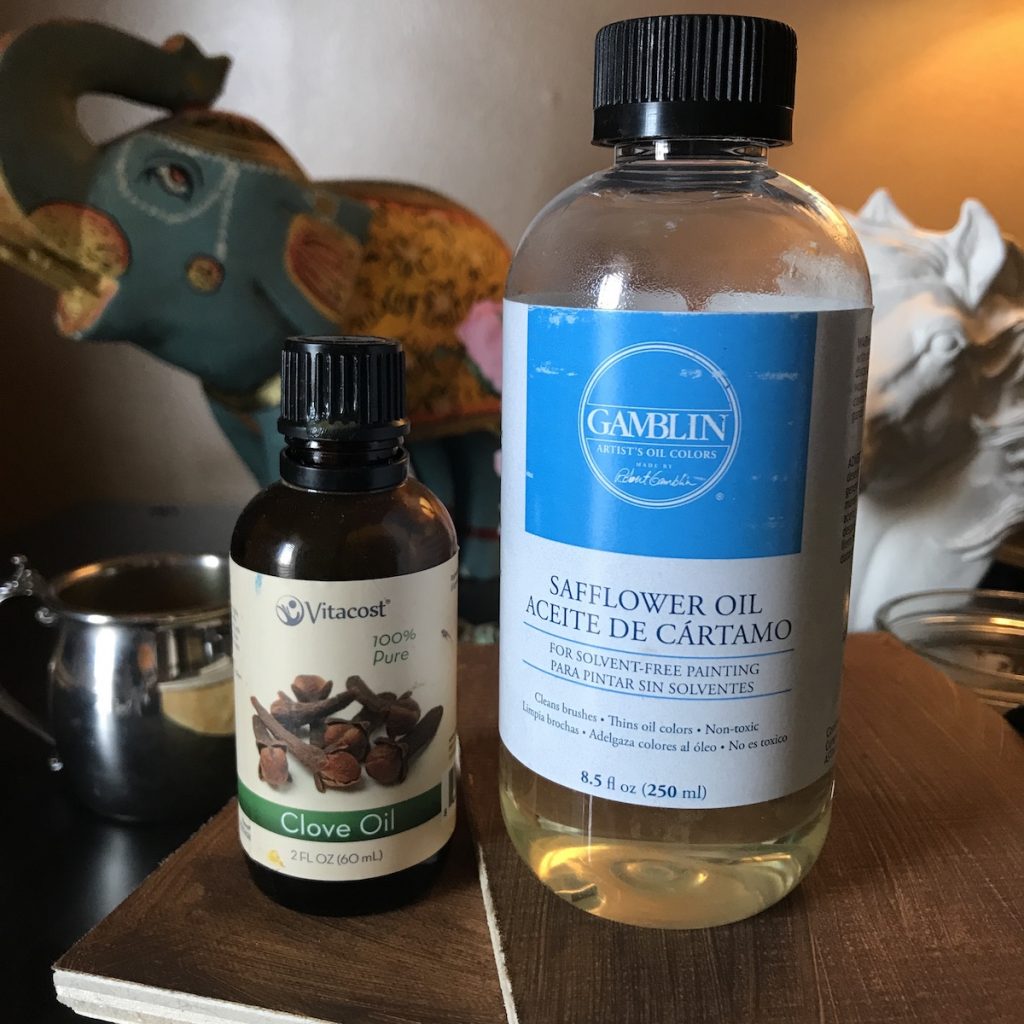
I mix these two ingredients to make my own brush dip
The brush dip is pretty simple to make and only requires two ingredients. I use artist-grade safflower oil and add about 2% clove leaf oil. I didn’t buy a special clove leaf oil as I already had some in my cupboard. It seems to work fine. Plus, it smells amazing. If you don’t want to mess around with making a brush dip, you can buy it from Geneva Fine Art Supplies here.
Bonus Hack – Use Murphy Oil Soap To Clean Brushes
When I was at my oil painting class, one of the students who has been an oil painter for many years told me about Murphy Oil Soap. She said soaking her brushes in a jar of the soap overnight has saved brushes she thought were goners.

I love pouring some Murphy Oil Soap into a jar to soak and clean my brushes
I’ve been using Murphy Oil Soap for the last couple of years with very good results, so I highly recommend giving it a try. Your brushes will thank you.
Thank you for stopping by!
If you enjoyed this article and are interested in more posts like this, below are my other popular posts and painting tutorials. Simply click on a title below to view the article:
How To Paint White Fur – Painting A White German Shepherd Step-By-Step
Painting A Cat In Oil Featuring Prescott, A Gorgeous Maine Coon