


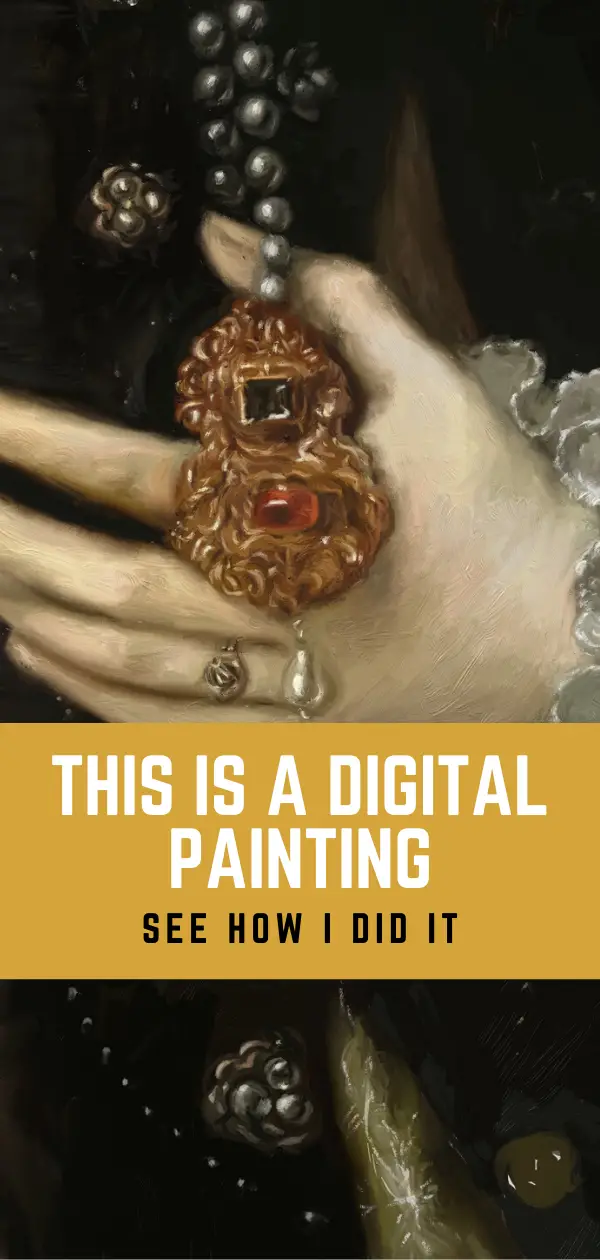
Ever since I picked up an iPad and started painting, my number one goal was to make my digital painting look like a traditional oil painting. I wasn’t convinced it was possible and, of course, I can still tell the difference. However, a lot of people that view my work can’t tell the difference between my digital and traditional paintings.

Yes, it is possible to make a digital painting look like a traditional oil painting. Use the same process that traditional painters and a program that gives a natural application of paint. This will give you a good result. Throughout the rest of this article, I will show you a practice painting I did using ArtRage on my iPad Pro.
I am a long time traditional painter and resisted using digital methods until a couple of years ago. Now I see it simply as another tool to help me practice painting and drawing.
If you are not a digital painter, you will still get something out of this article since I am using the same approach digitally that I use traditionally.
Using A Renaissance Painting For Inspiration
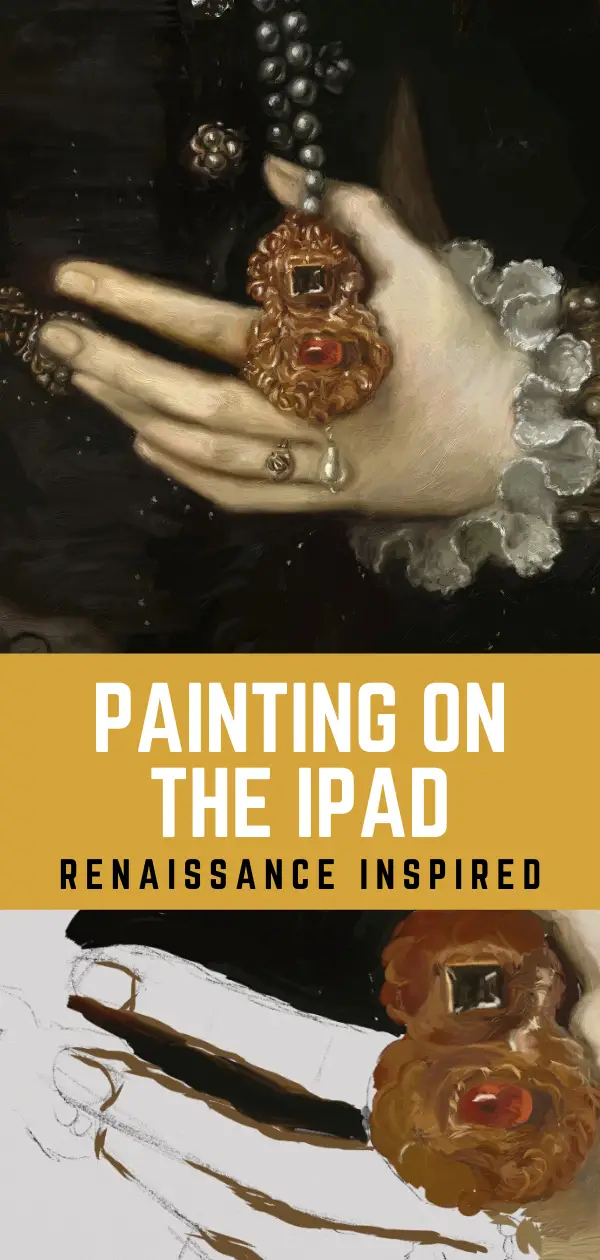
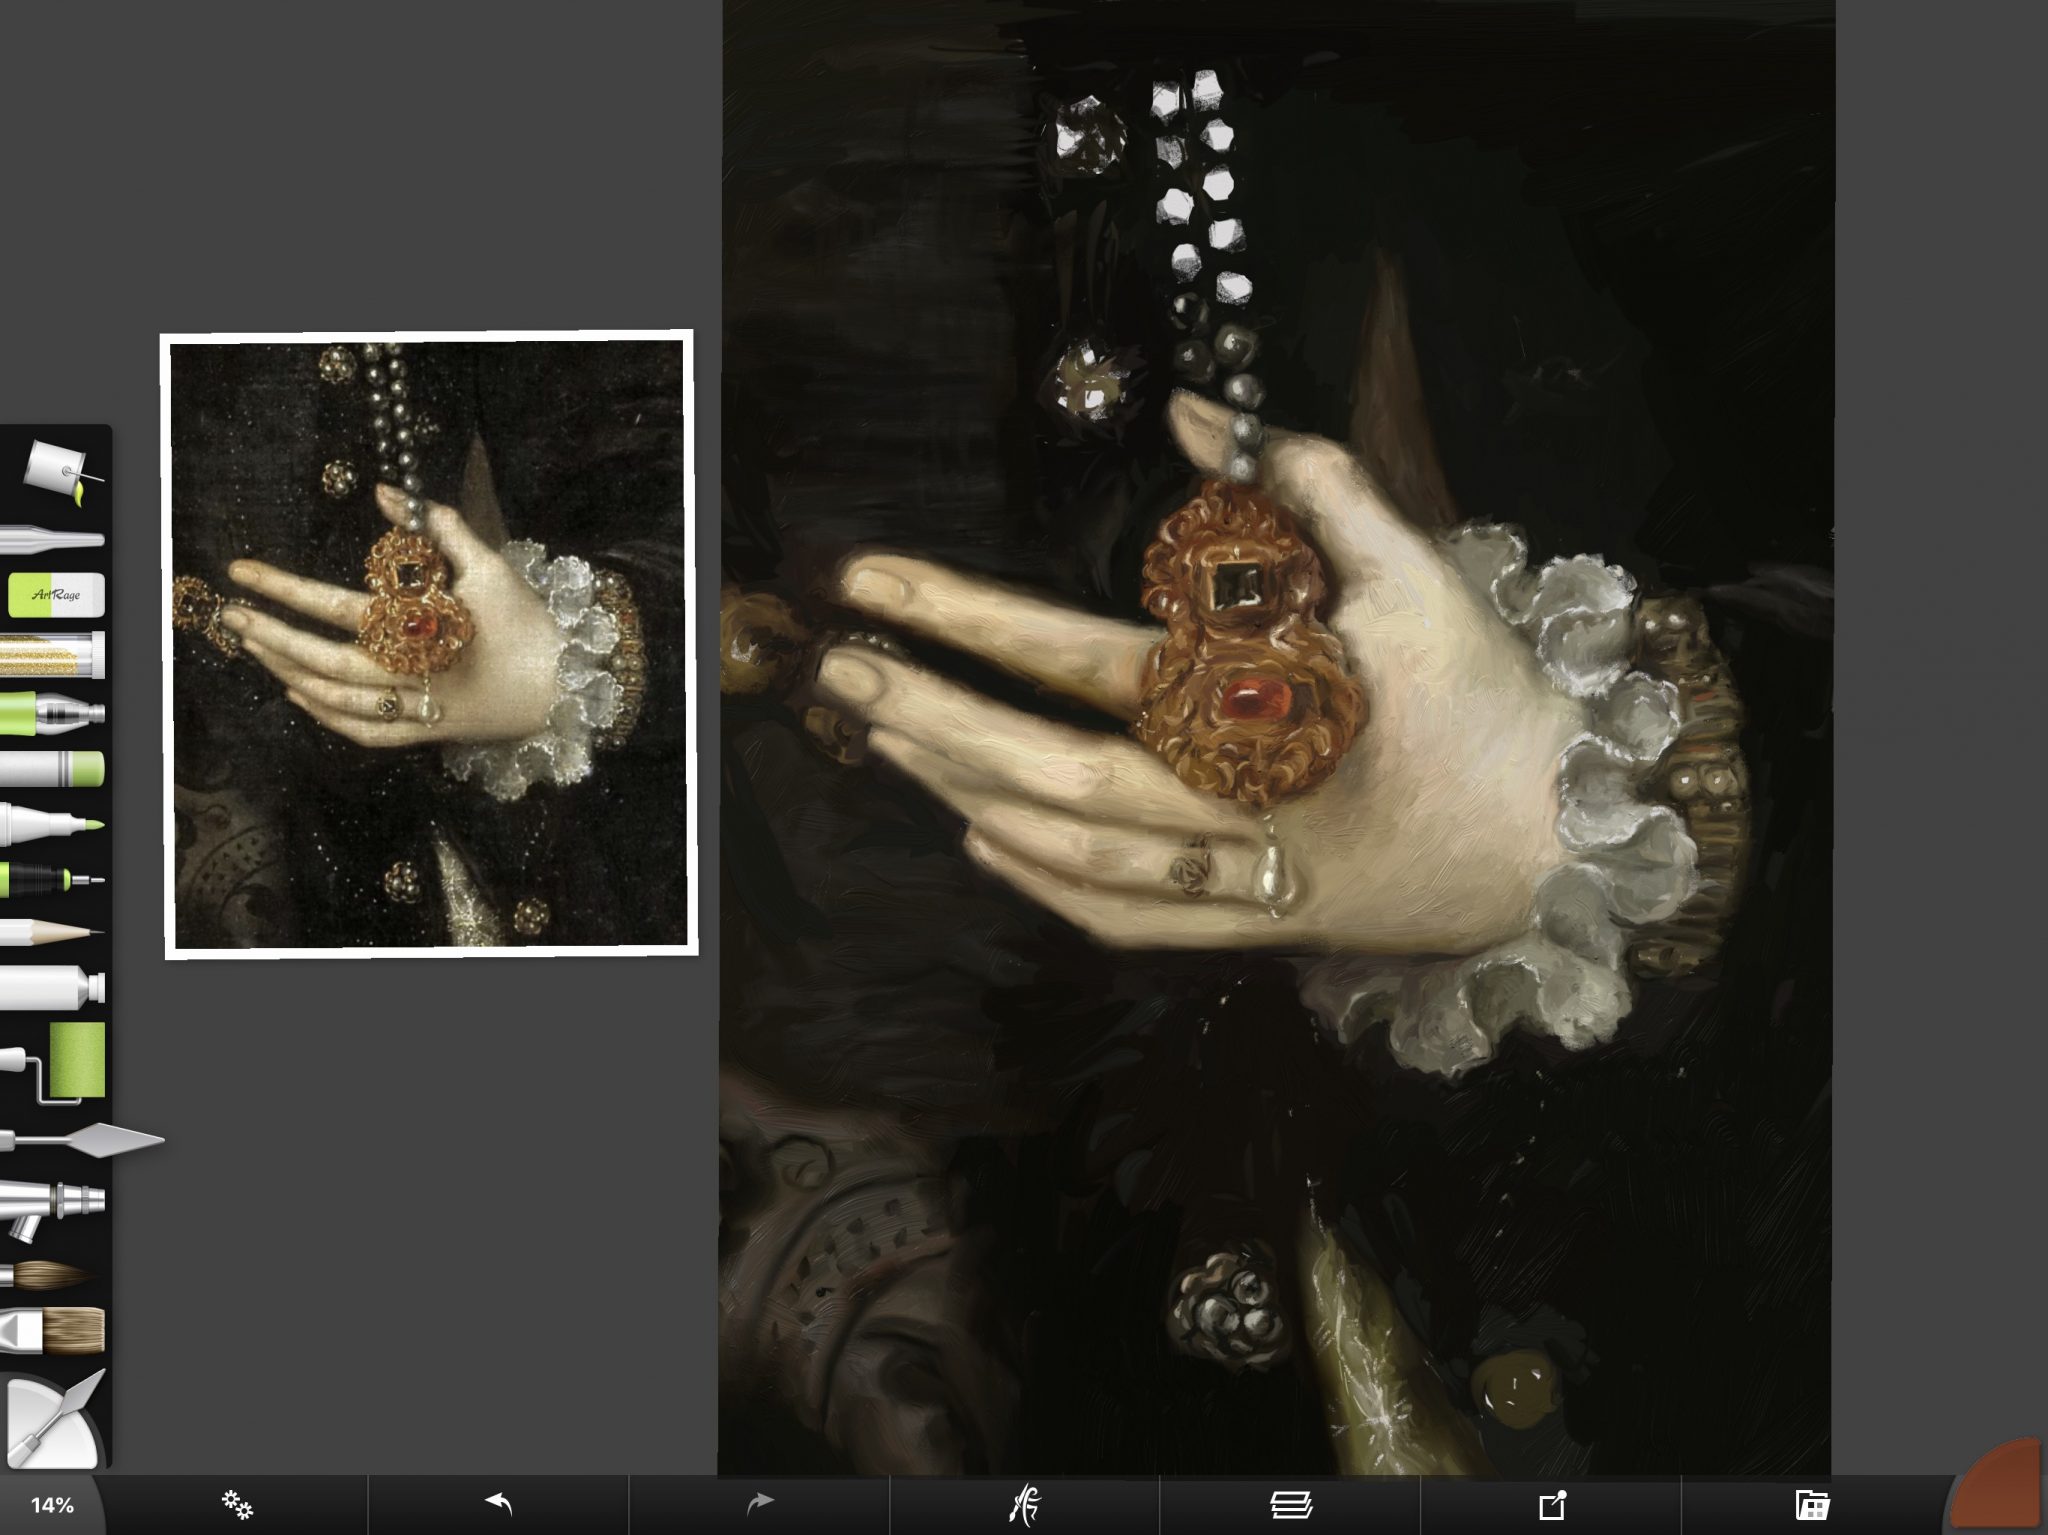
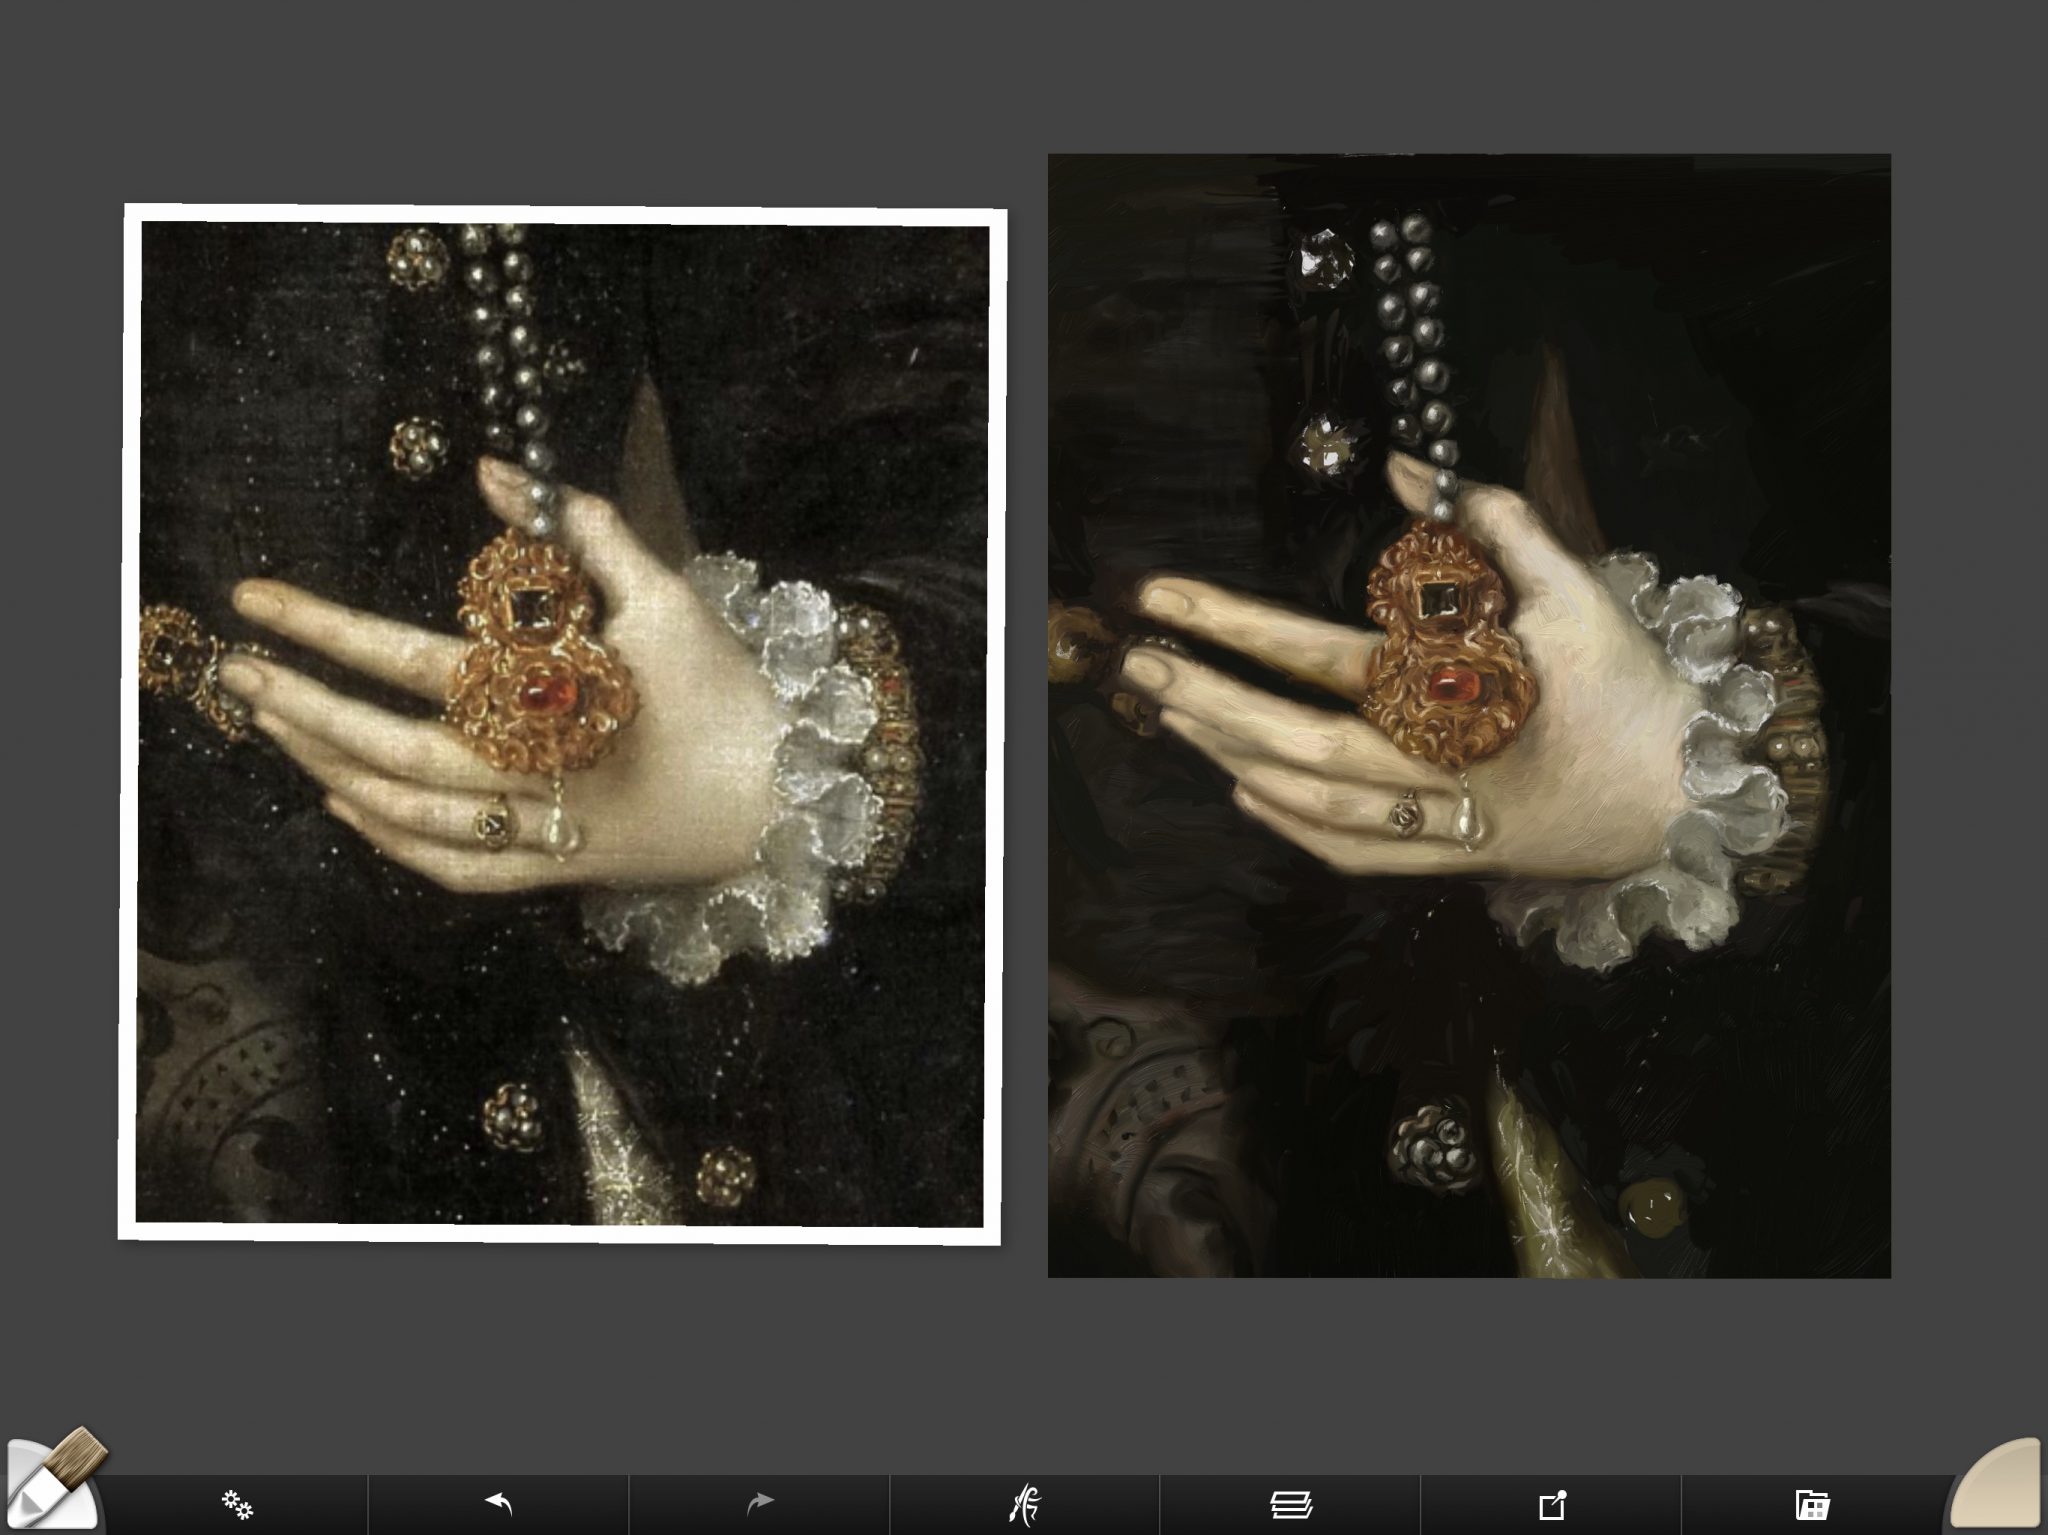
My reference image is a detail from “Portrait of a Lady” by Antonio Moro (1520-1578). I originally just wanted to practice painting the jewel in the middle of the image, but then started to get carried away. There were so many great elements to study that I couldn’t help myself. Hands are always a challenge to paint and so are pearls. The ruffle on the sleeve also captured my attention.
Since I didn’t plan on finishing this practice painting, I didn’t take very many screenshots in-between stages, but I think I have enough to explain my approach.
As I mentioned above, I used ArtRage on my iPad Pro to paint this. I’ve tried painting in Photoshop and Procreate before, but could not get the painterly effect I was looking for. ArtRage has a much more natural application of paint than any other program I’ve used.
In the desktop version, you have even more control over the brushstrokes and can make your own custom brushes. I didn’t have that kind of control in the iPad app, but I think I still got a pretty good result. The iPad app is very inexpensive, so give it a try if you have an iPad that you can use for painting.
The First Steps In The Digital Painting Study
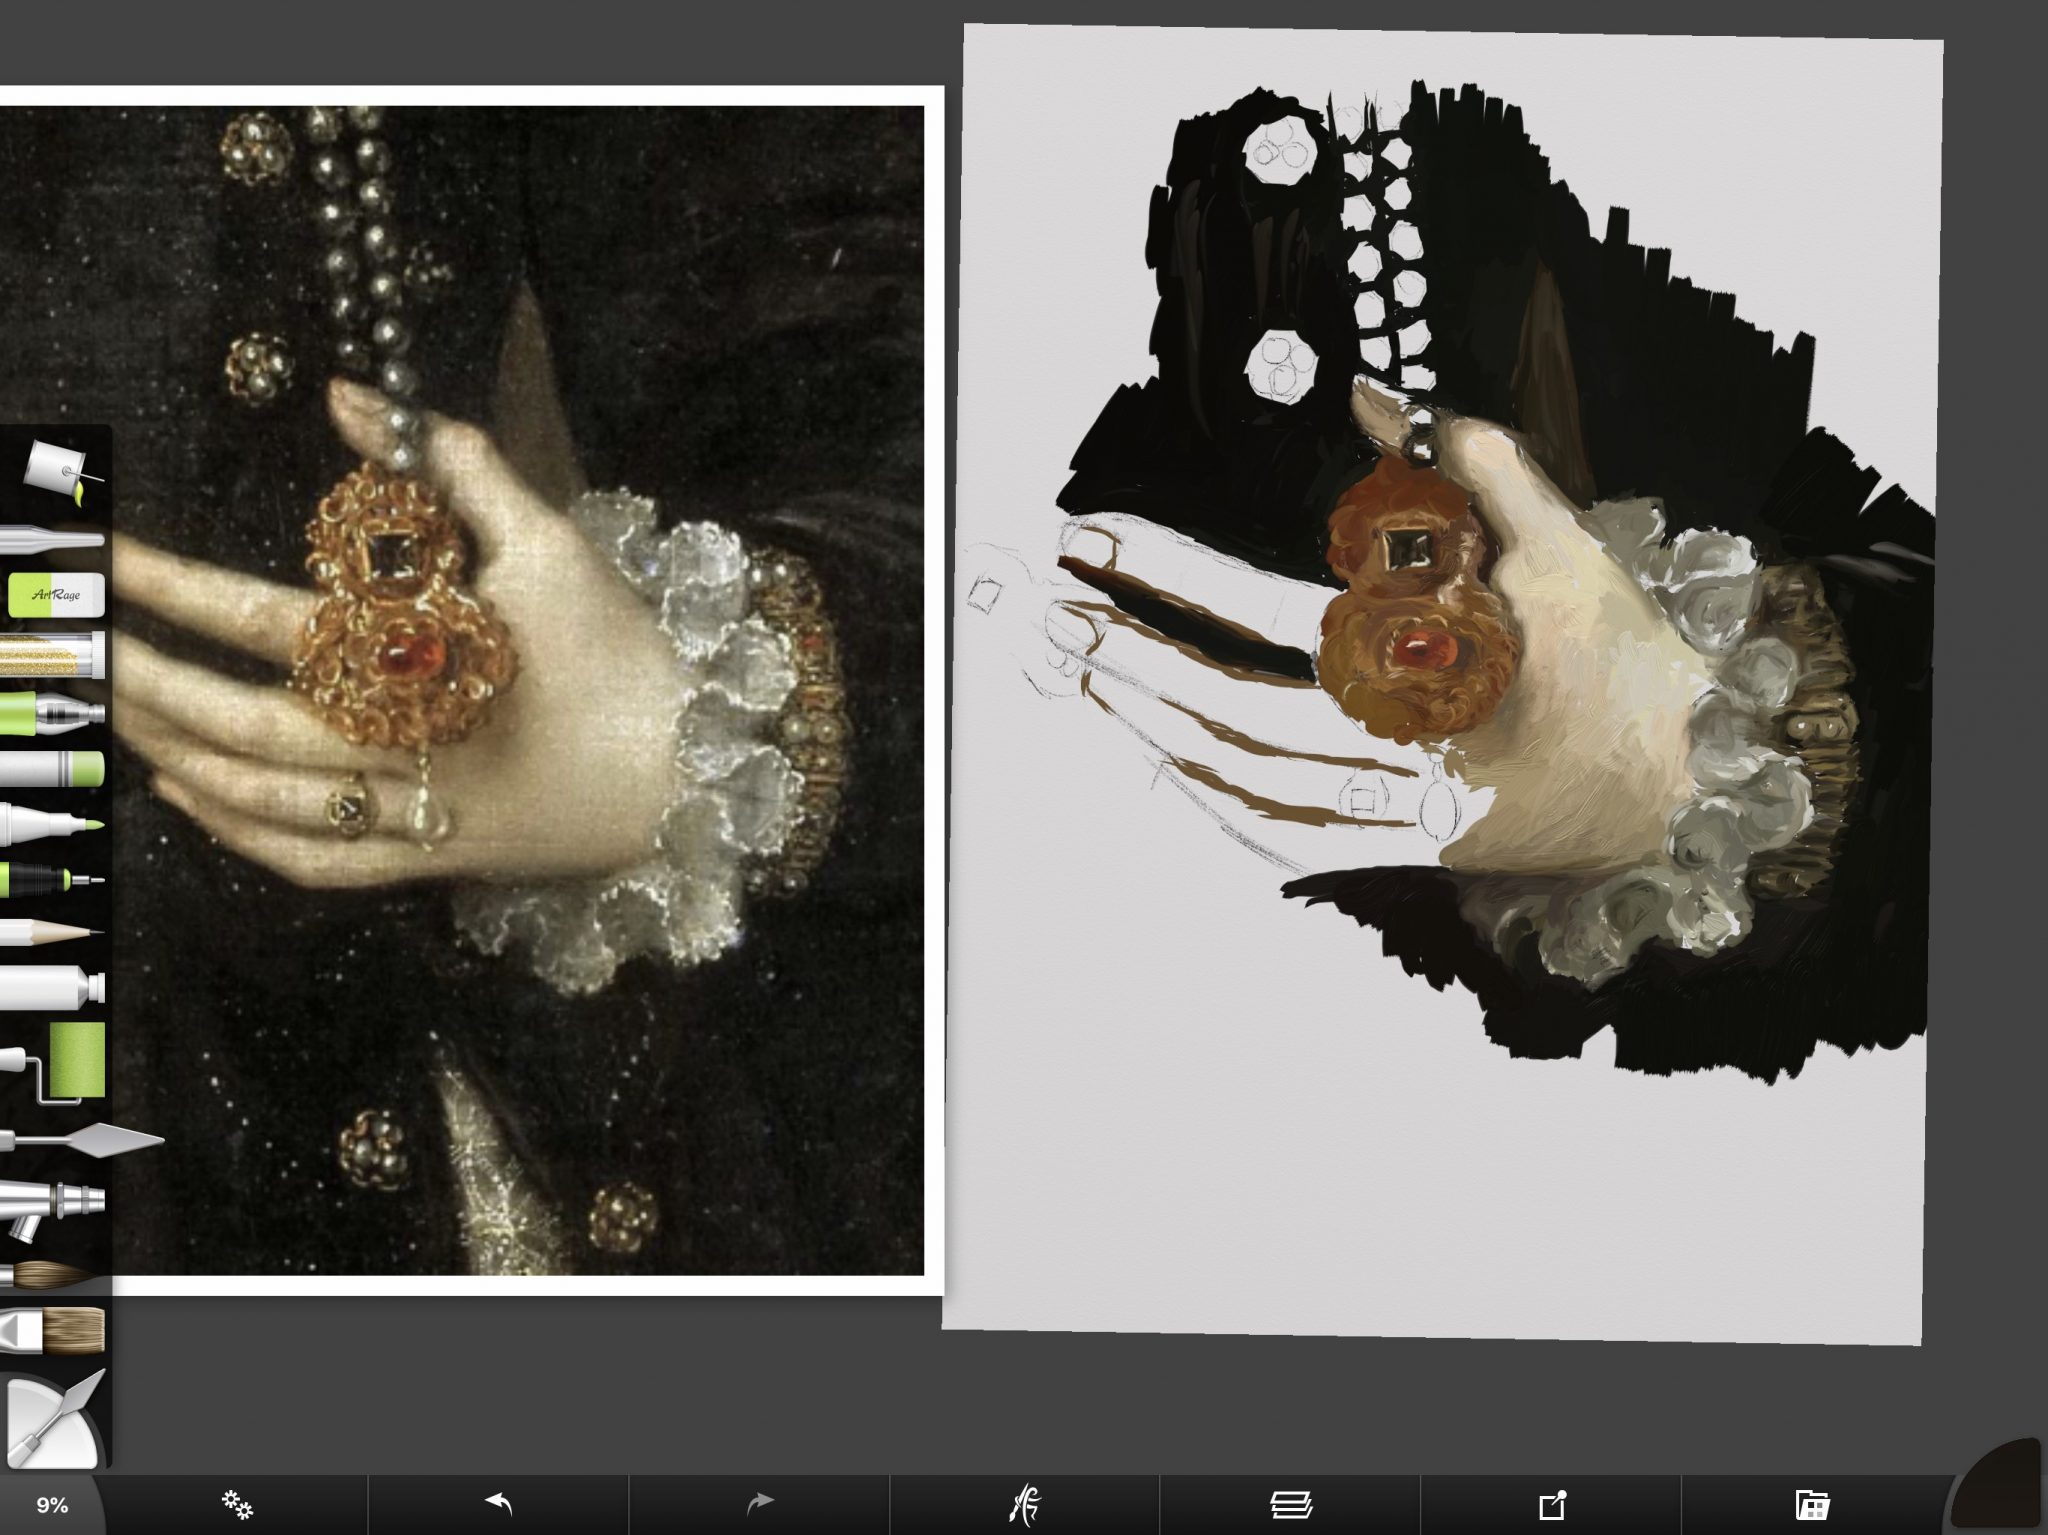
As you can see below, I started out with a very rough pencil sketch. I wasn’t trying to aim for perfection with the sketch. I’m constantly adjusting the drawing as I paint so there was no point in getting too caught up in the sketch.
Use A Limited Palette
I started painting the jewel in the middle since that was all I was going to paint initially. The original painting used a limited color palette, which is great for learning how to paint. If I had painted this traditionally, I would have definitely limited myself to the Zorn palette.
The Zorn palette consists of Ivory black (which also serves as a blue), vermillion or cad red, yellow ochre, and white in oil paint (for you traditional painters). Although the palette is limited, it can give you a surprisingly wide range of colors to work with.
Roughing in masses of color
Using a limited palette is very beneficial when doing digital painting because it keeps the artist from having to make too many decisions about color. In the digital world, there is an infinite number of colors and it can be too tempting to use all of them.
Usually, I will create swatches ahead of time and put them on the side of my painting. You can see an example of me doing that here. I didn’t do that in this painting because I already knew the range of colors I was going to use.
Rough-In Color Quickly
As you can see in the image above, I wasn’t being too careful when laying down my paint. I typically use the oil paintbrush with the pressure at 85-90%, thinners at 13% or less, and loading at about 90%. The only thing I vary is the size.
When getting started, I use the biggest brush I can and get the canvas covered with paint as quickly as possible. I do this in my digital painting because it is exactly what I do when I paint with real oil paint. I start with big brushes at the beginning and work my way down to smaller brushes for the details.
This rough stage is known by most artists as the ugly stage. It makes you wonder if you should keep on painting or give up and do something more fun like go to the dentist. I would suggest staying with the painting. Eventually, things start to come together.
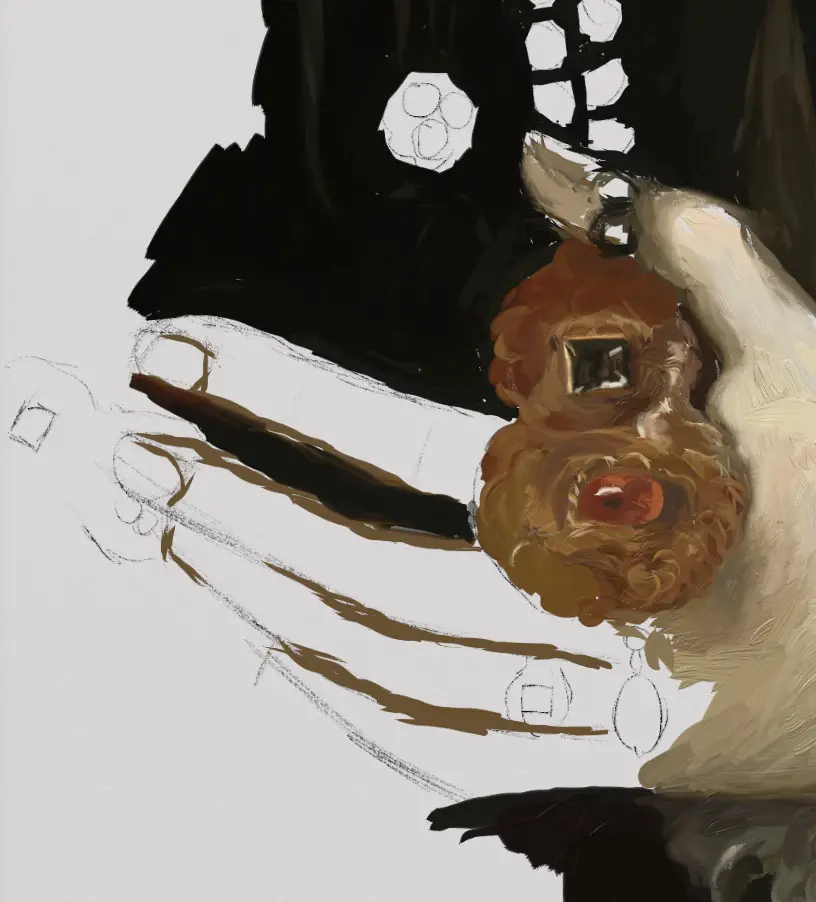
Wow – things look really ugly up close
Stay “Zoomed Out” For As Long As Possible
In the close-up above, you can see just how ugly things really are. I try to keep the painting small for as long as possible while I’m roughing in the color. The reason is if I keep zooming in like the image above, I’d constantly be trying to fix little details rather than looking at the overall picture.
When you are in the weeds with details, you can be in danger of getting your overall proportions and values wrong. Below I’m still laying all the color down and everything looks pretty good. The values look right in comparison to the reference photo and for the most part, the proportions are correct.
I can guarantee you that the whole painting was a TOTAL mess like in the image above when I zoomed in closer.
If you would like to learn more about why values are so important in painting, I recent wrote an article about it you can find here.
Keep Your Painting On The Dark Side
One of the reasons why Renaissance paintings are so dramatic is because there is a lot of dark paint on the canvas. This provides contrast for the lightest color to appear very bright and attract a lot of attention. If you start out with your values darker than your reference, you can always lighten them up and create a very dramatic result.
Most beginning artists think things are lighter than they really are and start with values too light. If you do this, you could run out of a range of values to work with and create a painting that is too flat looking. So always start dark and work your way to the light.
There are always exceptions, but as a rule of thumb, this is the best process to use whether you are doing digital painting or traditional.
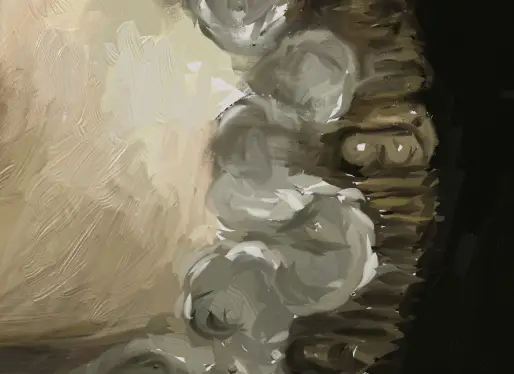
Tonal Variety Adds Interest In Dark Areas
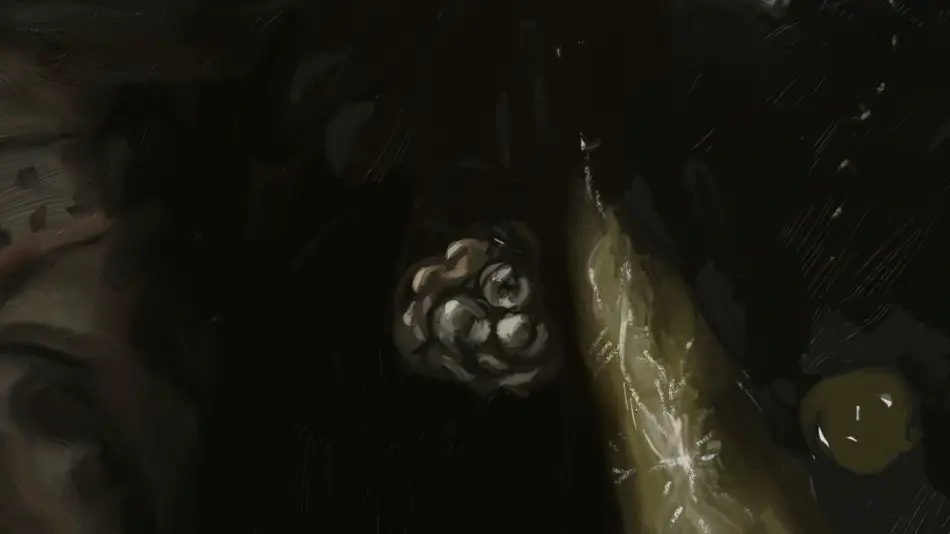
In the close-up above, you can see how subtle the tonal variations are. These variations added a lot of interest in the dark fabric. The fun part about areas like this is that a few abstract brushstrokes may look like nothing up close. But when you step back away from the painting, that part is full of texture and draws the viewer in.
I never did clean up this area very much since I didn’t finish the painting, but it still reads quite well from a distance.
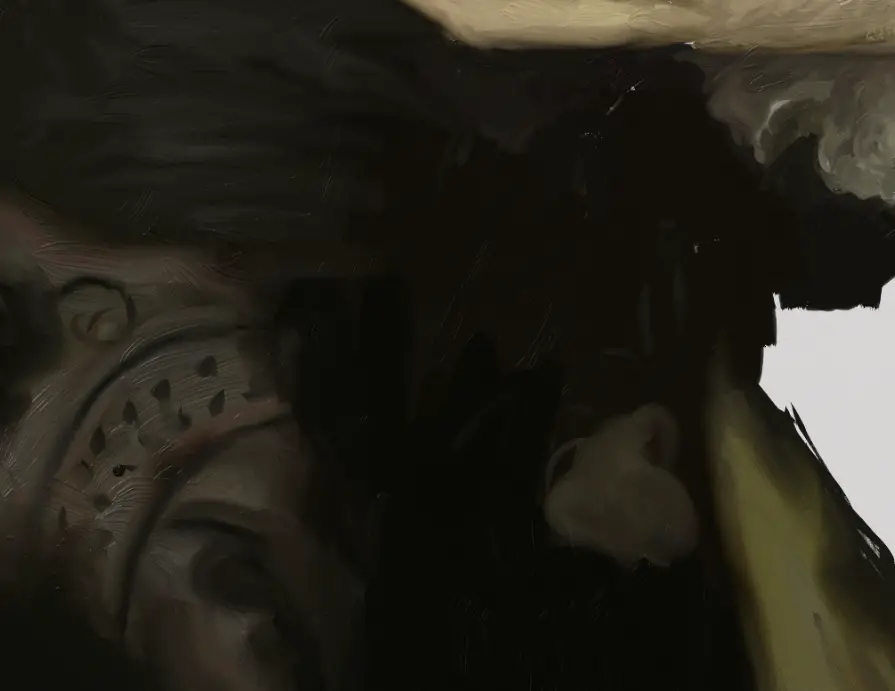
It looks so scary up close, but squinting will help you to see if you are on the right track
Squinting Is Your Friend
The close-up of the digital painting above is really scary. The marks look horrible and I was struggling with how to paint the intricate jewels. But one thing I realized was that the original painting was sort of a mess when you looked at it up close as well. That jewelry is just a bunch of squiggles created by a brush.
This is where squinting while you paint, whether traditional or digital, helps you to see if you are capturing the reference accurately.
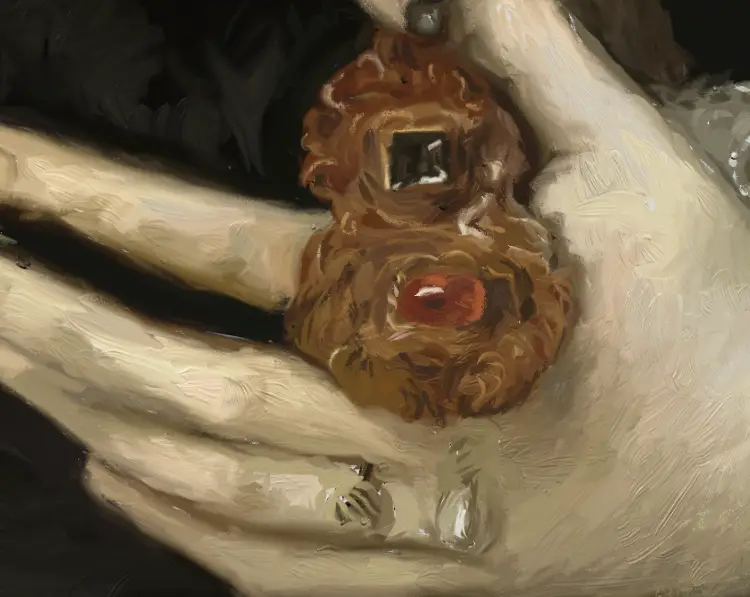
You can always go in and blend out your strokes, but capturing the overall essence of the subject before you get to the little details is important. Below you can see that the jewelry is starting to look like the reference. It still looks terrible up close though.
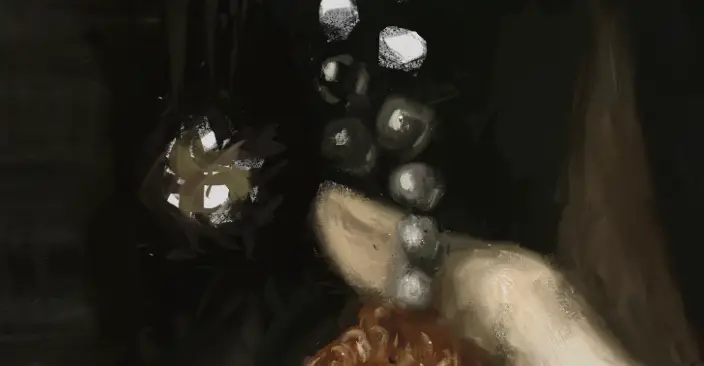
As we zoom in below, you can see how rough the pearls are at this stage. Pearls are really weird to paint. They are like painting a bunch of Christmas tree ornaments and are very reflective. I tried to paint the pearls as simply as possible. Overworking small details can steal some of the magic out of the painting.
Details And Blending
As I got closer to the end of this study, my brushes got smaller and smaller. I also was blending out some of my brush strokes with the knife tool. If I were painting this in oil, I wouldn’t use a knife to blend but would allow my brush strokes to blend into each other.
In ArtRage, the knife tool is set to “Just Blend Color”. There is no loading on the knife and very little pressure if any at all. I started adding highlights to the ruffled cuff and white pearl below.
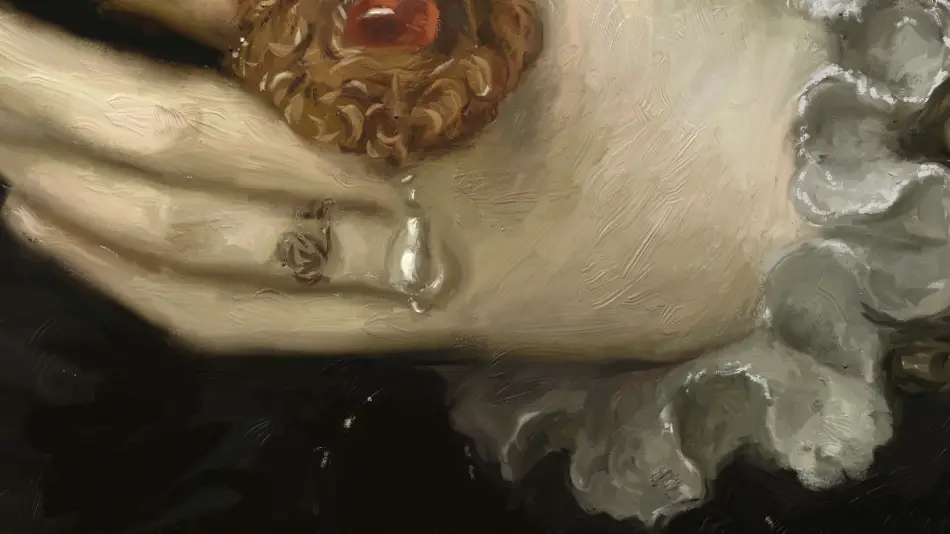
It looks like for the detail in the fabric above and below, I tried using a pastel brush since it looks a little chalky. This can be blended out with the knife tool as well.
In traditional painting, I would never do this as I’m pretty sure pastel wouldn’t mix well with oil. I would just use a very small brush with a light value and probably a little linseed oil to help the paint flow. For bright highlights like on the pearl above, I would load a small brush with quite a bit of white paint and dab in the light areas.
A Note On Layers
While many digital painters use a lot of layers during the painting process, I hardly ever do. I like to keep things as simple as possible and close to my actual painting process. You can use layers in oil painting, but you can’t undo marks as you can in digital painting. You can only paint over things to change them.
I find layers to be very confusing when doing digital art so I just stay away from them. Every once in awhile I will add a layer so I can get highlights added in the right place. For some reason, ArtRage likes to change the color on the brush as soon as I try to add my highlight. I don’t know why it does this. I’m sure it’s something I’m doing wrong.
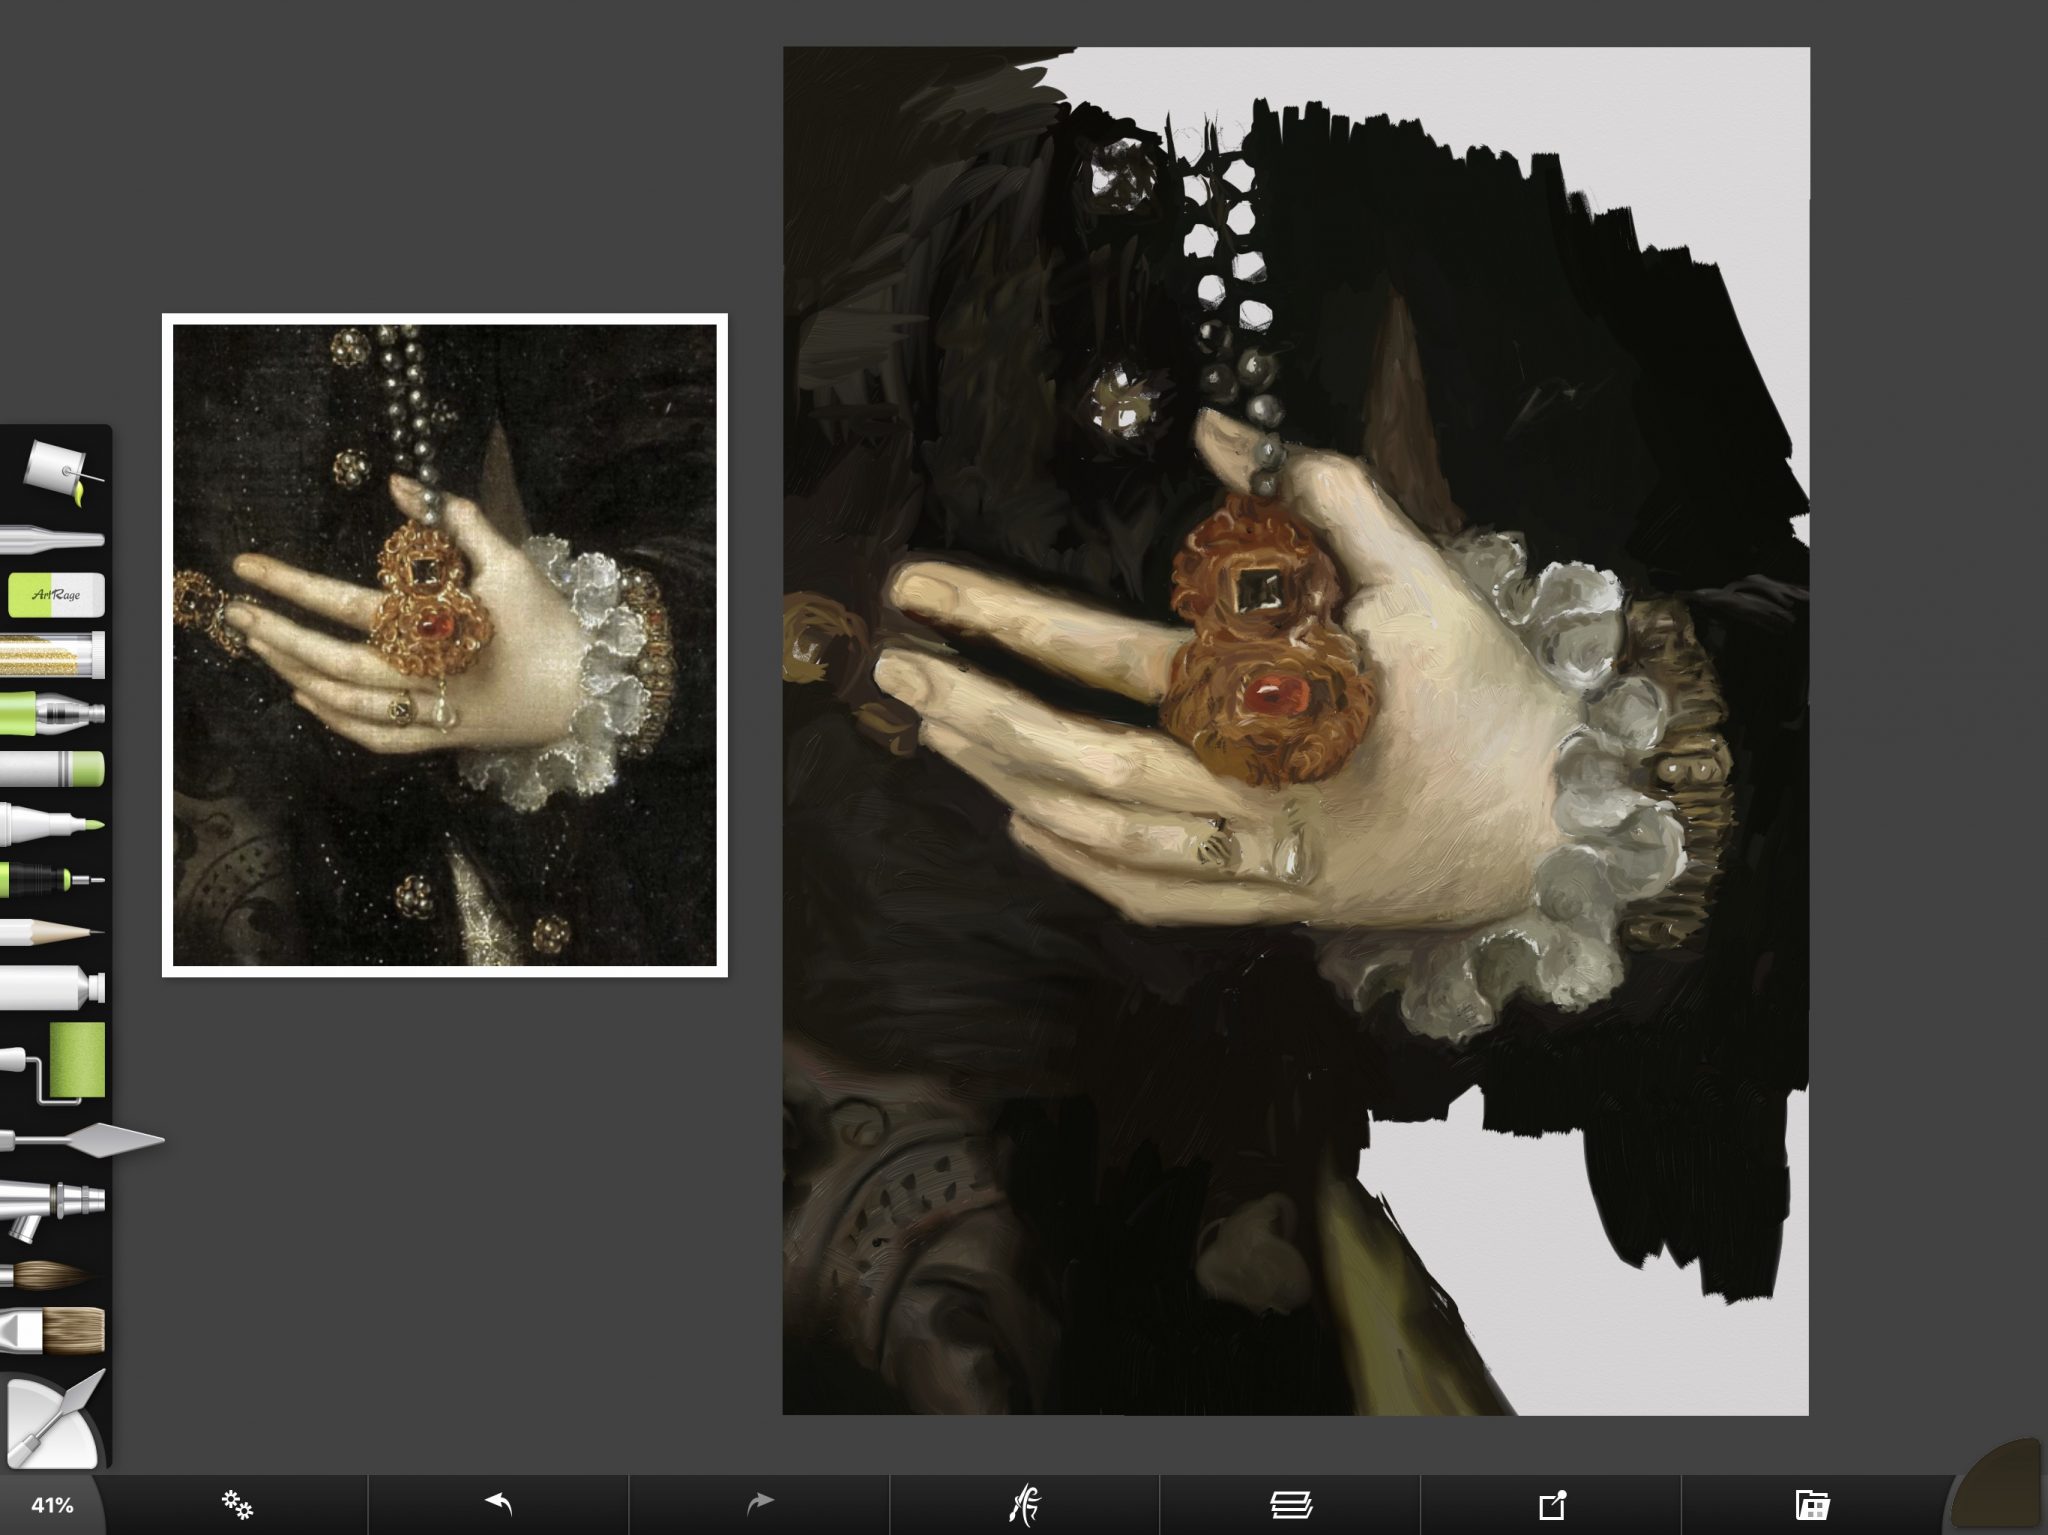
Checking Your Work
Whenever possible with traditional oil painting, I like to use the site-size method. This is where the reference and the painting are at the same size. What is nice about this is that it is easy for your eye to go back and forth between the painting and the original to check for differences. I go into this in more detail in this tutorial.
Below you can see how things are coming along. I still have some highlights I can strengthen, but for the most part, the values are looking pretty good.
Below you can see where I zoomed into the jewel and cuff to add more highlights.
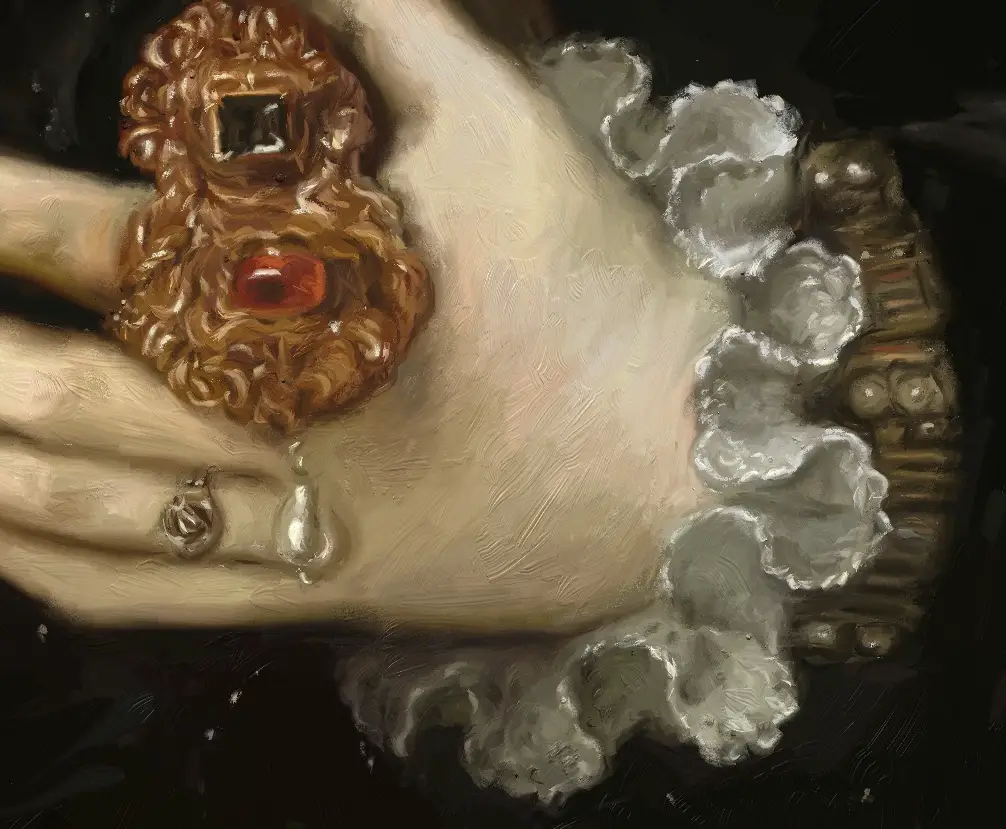
It’s starting to look better up close, but the brush strokes are still abstract
The “Finished” Study
OK, so I never actually finished this painting. For the most part, I use digital painting to help me practice my art or do value studies for paintings I’m working on. I recently did a digital study to help me work out some tonal areas when I painted a dog with white fur in oil.
I didn’t have to muddy up my canvas solving problems, waste paint or start a separate canvas to do the study on. Many artists sell their color studies, so there is a good reason to do a physical study.
Plus, blending physical pigments is very different than blending digital pigments. Mixing paints is an art in itself and takes a lot of practice, so there is a lot of value in physical studies. However, digital paintings can and do have a place in the traditional artist’s toolbox.

Summary For How To Get A Digital Painting To Look Traditional
Here are a few things to keep in mind if you want your digital paintings to look like traditional oil paintings:
- Use the same process that traditional painters use
- Use a limited color palette
- Rough-in color quickly with as big a brush as possible
- Stay “zoomed out” for as long as possible to help you see values
- Start dark and go to light, not the other way around
- Squinting helps you to see the values correctly
- Save details and blending to the end, using a smaller brush
- Paint all in one layer, just like you would on a canvas
Thank you for stopping by!
If you enjoyed this article and are interested in more posts like this, below are my other popular posts and painting tutorials. I’m also including my most popular oil painting video tutorial from my YouTube channel where you can watch me paint a pug:
Painting A Cat In Oil Featuring Prescott, A Gorgeous Maine Coon