
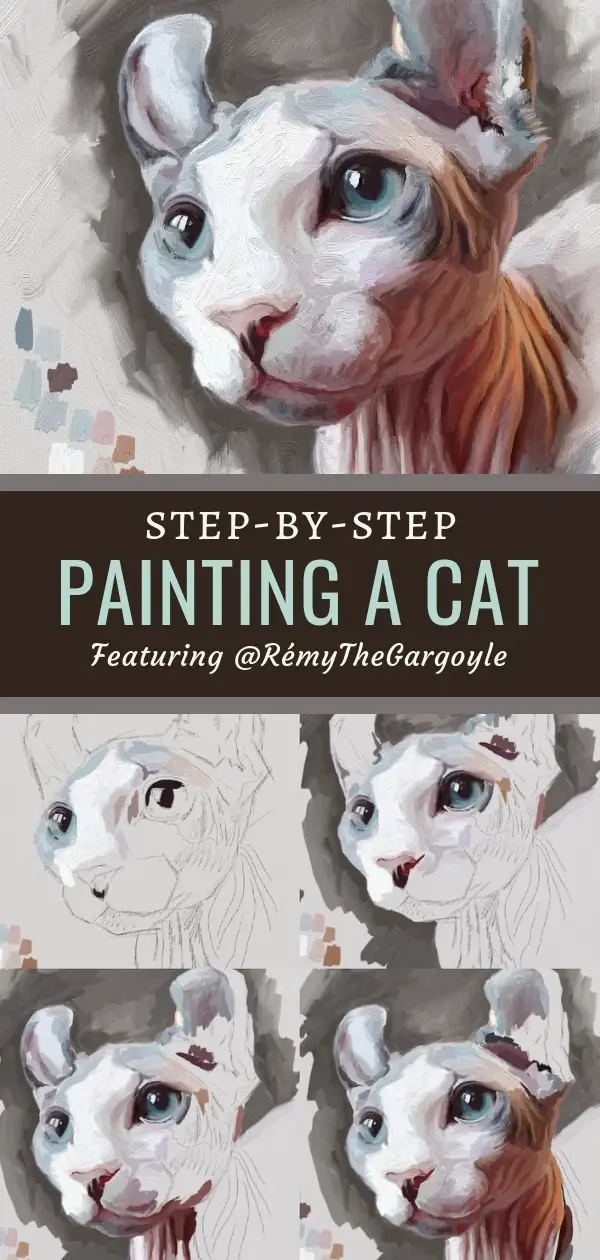
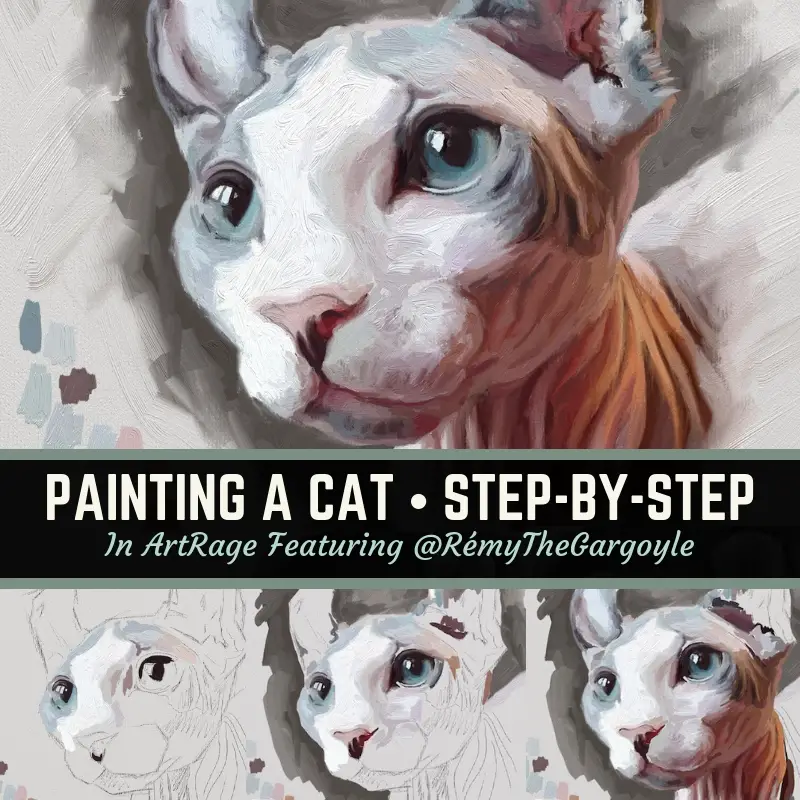
Here I am once again painting a cat study in ArtRage. AND – once again – it’s a bare naked Sphynx cat. But this is no ordinary hairless kitty. Nope. This is Rémy the Gargoyle who is gaining fame due to his gorgeous eyes, adorable little elf ears and curious view of life on Instagram.
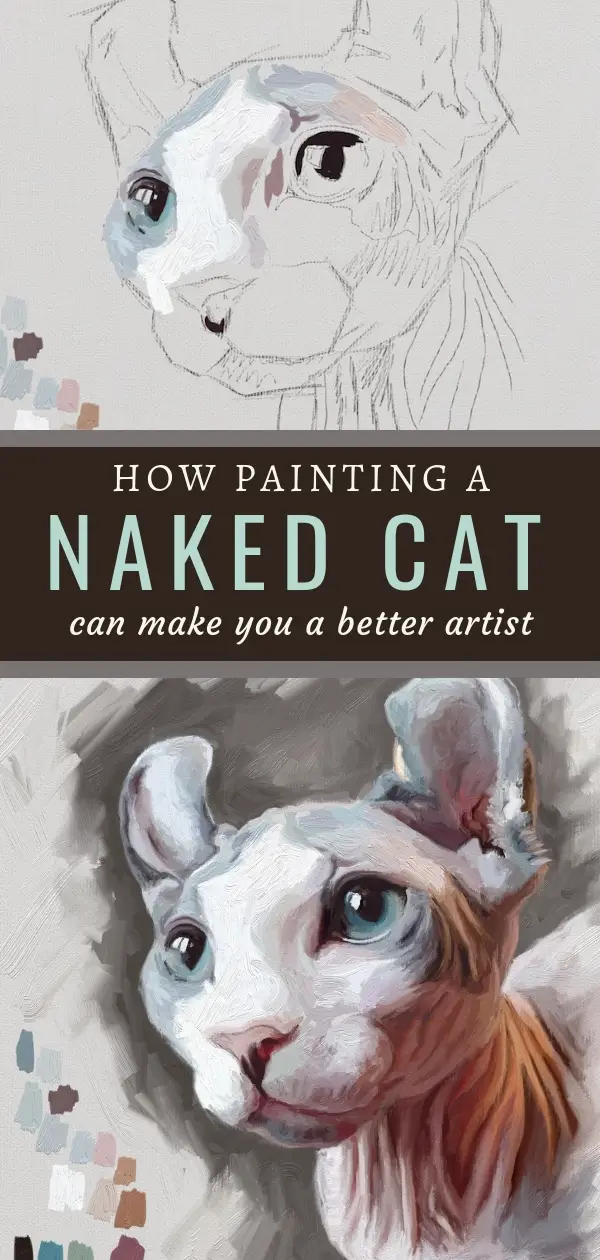
How Painting A Cat In All His Naked Glory Can Make You A Better Artist
My parents hate it when I paint naked cats as they find them to be “ugly”. That’s their opinion. A lot of artists like Jennifer Gennari love painting Sphynx cats because they are so challenging. If you’re an artist and want to improve your skills, these
little naked cats will help you to level up in several ways:
- Painting their wrinkles helps you learn about how light and dark values create form
- Painting their eyes helps you to learn about painting reflective objects
- Their complexity challenges you to not get too caught up in details and keep strokes simple
Step 1
If you’ve been on my studio site before, you know I’ve become a little obsessed with painting in ArtRage. I love practicing my skills in this program because I can paint anywhere on my iPad Pro, easily take screenshots of my progress to share on Instagram and don’t end up getting paint all over my clothes. It’s also the most intuitive digital program for painters that I’ve come across so far.
Plus, there is a full desktop version as well as a less expensive “Lite” version of ArtRage to take your skills to the next level.
For Rémy’s portrait, I started with a loose sketch. Check out my tutorial on painting a step-by-step portrait in ArtRage if you’d like to see how to start a drawing from scratch on the iPad. Tips For Painting Silver Objects is another tutorial that starts the drawing from the very beginning.
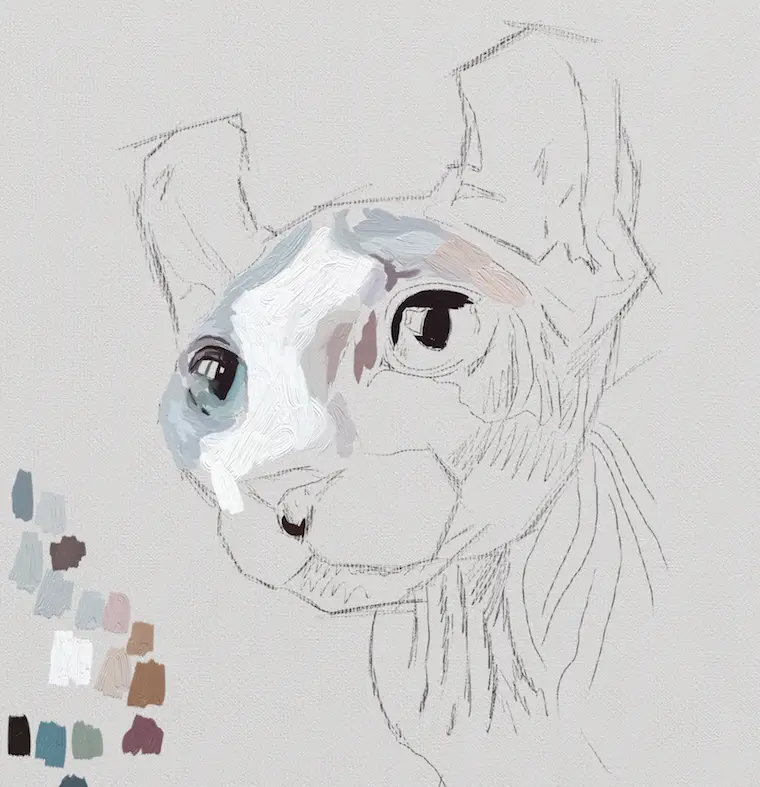
Step 1 – start with a loose sketch
For painting a cat in ArtRage, I picked a palette of colors I wanted to use with Rémy somewhere between steps 1 and 2. Some of my recent paintings have been in warm and dark tones, so
I wanted to stick to a lighter neutral palette. I like to keep swatches on my canvas so it reminds me to stick to the plan as much as possible.
Step 2
You got a preview of step 2 in the last step as I forgot to take a screenshot of the sketch alone. After the sketch is blocked in and colors are chosen, I usually start with the darkest areas which in this case were the eyes. I went ahead and quickly put in a few of Rémy’s skin colors near his eye before I went further. If you don’t get the adjacent colors in, it may be hard to judge the correct color of the eye as you paint.
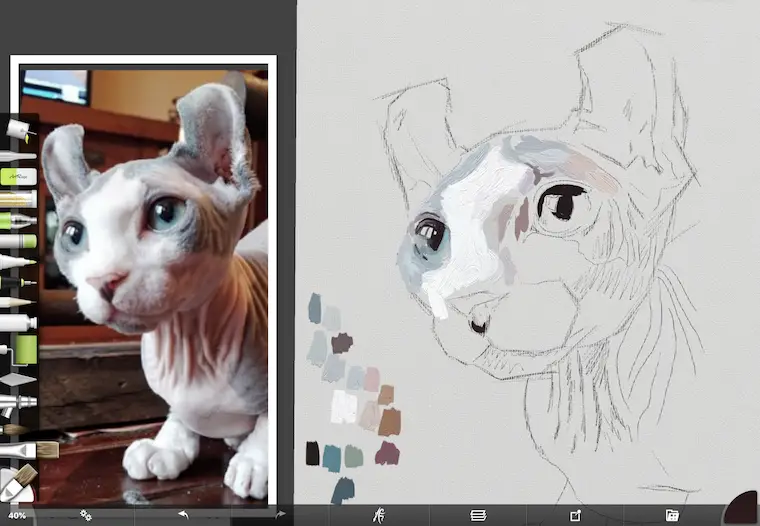
Step 2 – establishing key dark areas and flesh tones
In ArtRage, you can always sample the color from the reference photo, but I think that tends to be limiting and doesn’t always match what I’m seeing. It can get close, but I find myself going into the color picker and adjusting the color a bit. In the beginning, it’s more important to get values established than match colors. I’ve found using a gray scale and value finder is a very helpful tool for both digital and traditional painting.
Painting A Cat: Step 3
I’m one of those painters that have to get the eyes in right away. I rarely wait until the end to finish them. For me, when the eyes are looking good, it motivates me to keep things moving on the rest of the painting. Painting is all about problem-solving and knowing I’ve got one problem figured out early on is a “win” for me.

Step 3 – blocking in the eyes. Rémy’s eyes have the slightest bit of a yellow tone complementing the blue tone
Eyes can be intimidating, but if you break them down, they aren’t that hard. There are three main parts to doing eyes:
- Establish the dark areas remembering to capture the cast shadow created by the eyelid at the top
- Block in the medium tones of the iris including hints of complementary colors
- Add the highlights – this makes the eyes magically come alive
Painting A Cat: Step 4
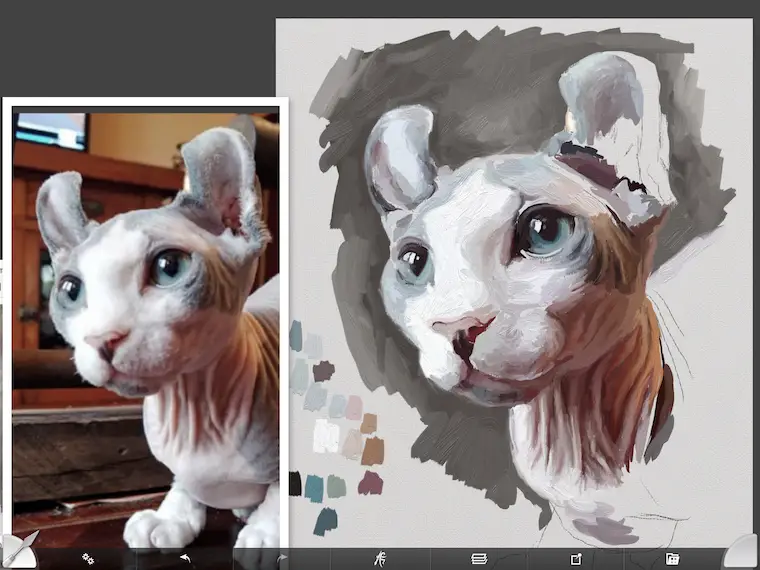
As I started to add color to the ear on the right, I realized I’d needed to block in the background so I could blend out the edges. I decided to go with a dark neutral grey rather than follow the colors in the photo because I wanted all the focus of this study to be on Rémy’s eyes.
Since his overall coloring is light and neutral, I thought having a strong warm background color might steal attention away from the focal point. By keeping the background neutral as well, it lessens the chance that the viewer’s eye would be drawn away from Rémy’s eyes.

Step 4 – blocking in the background
It can be tricky changing out background colors as surrounding colors can drastically change how a color is seen on your subject, so be cautious when doing so. Generally, if you match the values in the background and go neutral or darker, you should be OK. This “rule” is for painting in realism. If we wanted to turn Rémy into a pop icon, we could swap out the neutral grey for bright orange, but that’s for another day. And probably another artist.
Painting A Cat: Step 5
Step 5 of painting a cat in ArtRage has us venturing into the “wrinkle zone”. This can be a scary place and I usually get turned around when I attempt to paint a lot of wrinkles, but they aren’t so bad if you stick to a fairly simple plan. Just like with the eyes, establish your darks, paint in your mid-tones and then add your highlights on the side of the light source. You can see an example of painting wrinkles in oil here.

Step 5 – moving into the “wrinkle zone”
Above you can see where I started with the darker areas and began adding in some mid-tones. I’m not going to lie, it was intimidating starting in on that wrinkly neck. A few deep breaths and several breaks always help when moving through challenging areas while painting a cat in ArtRage. I’ve found that continually going back in and reestablishing my dark areas always helps me get through the tough stuff.
Step 6
During this phase of painting a cat in ArtRage, I was concentrating on getting the values right on the neck. Squinting your eyes helps to make sure you are on track. I also will take screenshots of the image and then look at them on my phone. I do this with my traditional paintings as well.
Step 6 – always check your values
When you view the painting really small on a phone screen, you can tell immediately what areas need to be darker and what areas need to be lighter. I have thousands of photos on my phone due to checking my work. Because of this, I have lots of photos to do tutorials with. It’s a win-win!
Step 7
After spending quite a bit of time on the neck wrinkles, I needed a break and decided to move on to the cute elfin ears. I wasn’t going for perfection on this. I was slapping paint down as quickly as possible and trying to maintain the values. There was a lot of squinting going on here as well.

Step 7 – moving on to elfin ears
As I mentioned before, I’m continually going back in and establishing my dark areas. When painting a cat in ArtRage, I usually go a little darker because it’s much easier to lighten up dark areas than darken light areas with wet paint. Of course in a digital medium, you can always go in and use the erase tool if things get too milky, but I never do that. I like to keep the painting as close to what I would do on a real canvas as possible.
You can paint on separate layers in ArtRage, but I always paint in one layer using the alla prima (wet-on-wet) method. I find multiple layers to be confusing while painting, but it has its uses and there are a lot of ArtRage artists out there that love using effects with layers. I think I’m simply too impatient to mess around with all that stuff.
Painting A Cat: Step 8
With step 8 I’m in the home stretch but have some decisions to make that I hadn’t thought of when I started. Since this is a study, I can leave areas unfinished but I still want the painting to “come together” in a finished fashion.

Step 8 – deciding how to finish the work
I wasn’t interested in the painting bleeding off the right edge, so I decided to paint in some of the canvas color around the edges and then blend that into the rest of the painting with the knife tool. This sort of thing always takes a bit of finessing, but it looked like it was going to work out well.
Rémy’s Finished Study
Below is the finished study of the adorable Rémy. As you can see, the painting is far from photo perfect and that was done consciously. There is a wide range when it comes to realism. I always try to push myself more towards the impressionistic side of realism rather than land on the hyperrealism side. I’ve done some more hyperrealistic paintings but always start to feel bogged down in the process. Perfectionism can be a wicked taskmaster.
I added some expressive brushstrokes around the edges of the background. This creates energy in the painting and can be done successfully if it stays within the style of the composition. It may be a tad too aggressive here, but can always be toned down at a later date. Yet another great thing about digital paintings – the paint always stays wet!

The finished painting of Rémy the Gargoyle
One thing I love about this painting is Rémy’s coloring. He naturally has a limited, neutral color palette. But that doesn’t mean it’s boring. The cool neutral blue tones are complemented perfectly by the warm neutral orange tones. Add in a few grey colors, muted purples, and rich dark tones and voilá! An adorable cat appears.
I kept the swatches on this version but would probably take them off if I decide to have it printed. I recently had one of my digital paintings printed on canvas and it turned out great. I’ll share that experience in a future post.
Other Popular Digital & Oil Painting Tutorials and Articles:
iPad Painting Tutorial – How To Paint A Cat
https://shelleyhannafineart.com/paint-a-cat/
Tips For Painting Silver Objects
https://shelleyhannafineart.com/painting-silver-objects/
How I Paint On The iPad – A Step-By-Step Portrait In ArtRage
https://shelleyhannafineart.com/paint-on-the-ipad-step-by-step/
7 Portrait Painting Tips For Traditional And Digital Painters
https://shelleyhannafineart.com/portrait-painting-tips/
How To Paint A Dog Portrait Step-By-Step In Oil
https://shelleyhannafineart.com/how-to-paint-a-dog-portrait/
Painting A Cat In Oil Featuring Prescott, A Gorgeous Maine Coon Cat
https://shelleyhannafineart.com/painting-a-cat-in-oil/
1/4 cat, 1/4 gargoyle, 1/4 rat, 1/4 wrinklytoe
Every time I see the description above of Rémy on his Instagram feed it makes me laugh. His handle is @RemyTheGargoyle and he’ll do just about anything to get his paws on some quality catnip. He’s a very entertaining cat and he’d love for you to stop by and say hi to him.
Thanks, Rémy, for being my naked cat supermodel in this study. I’ll always be one of your biggest fans.
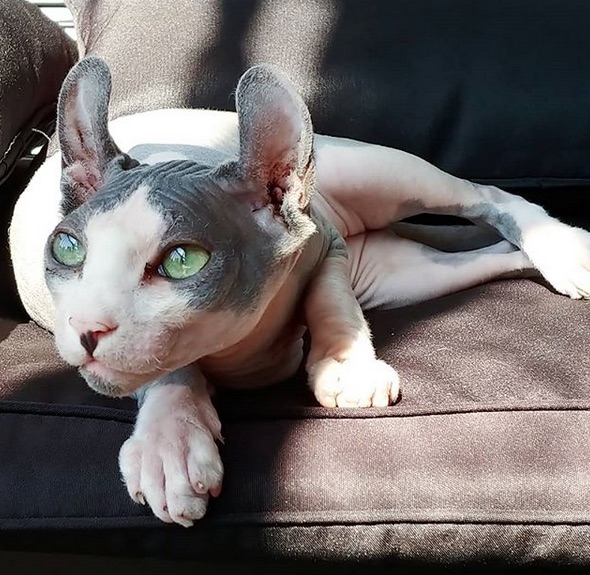
The real Rémy – his eyes look extraordinarily green in this pic from Instagram

Rémy in all his naked glory
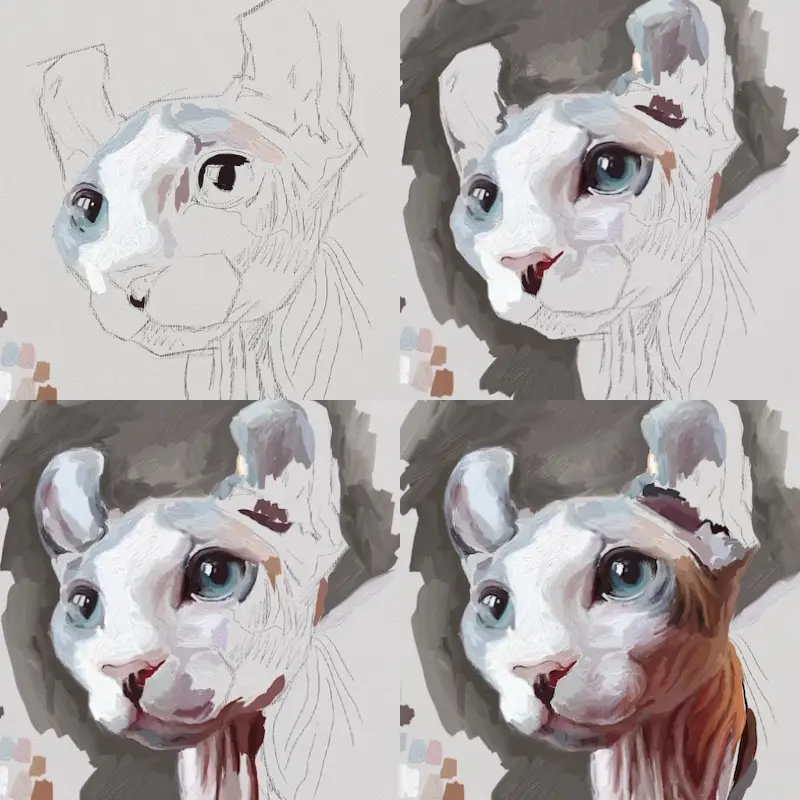
The progression of painting Rémy the Gargoyle