

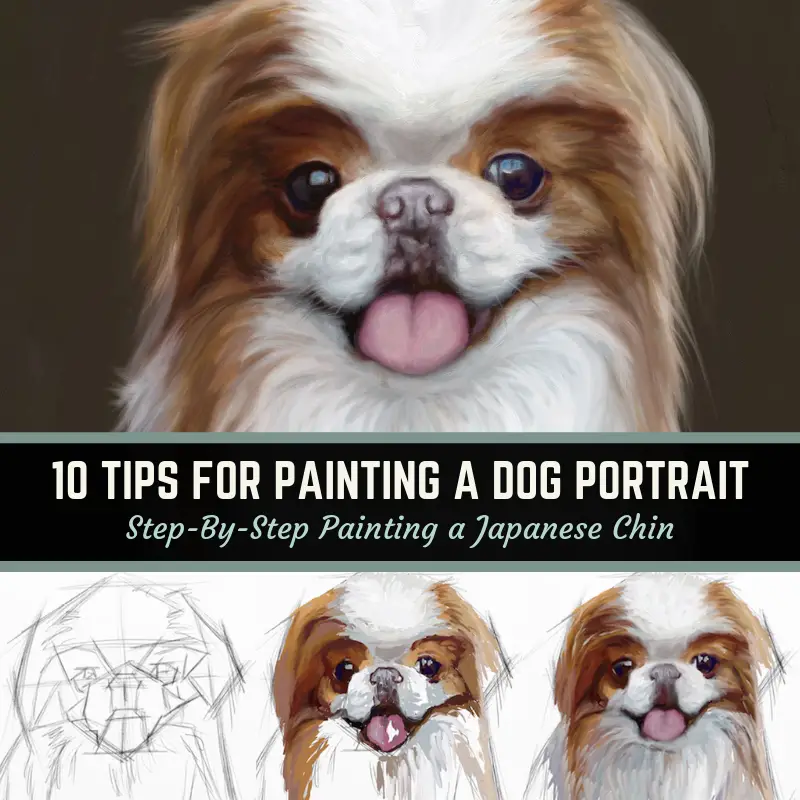
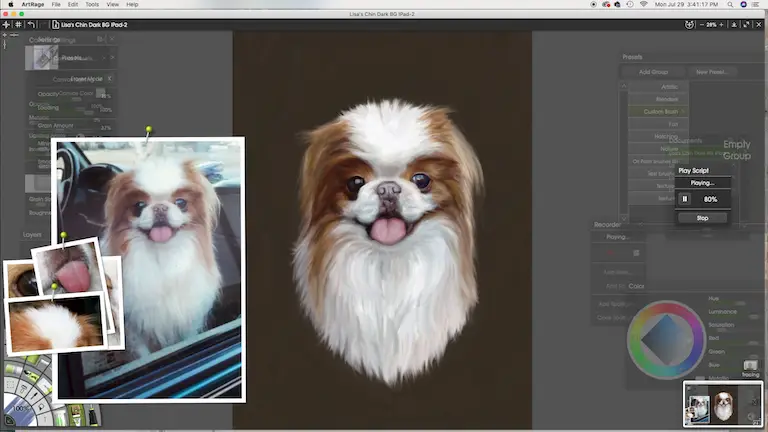
In today’s tutorial, I will go over 10 tips for painting a dog portrait. The images in this post came from screencasts of a painting I started on the iPad with ArtRage and then finished on the desktop with ArtRage 6. I use the same approach to digital painting as traditional painting, so whether you paint on a canvas or a tablet, the steps below will apply.
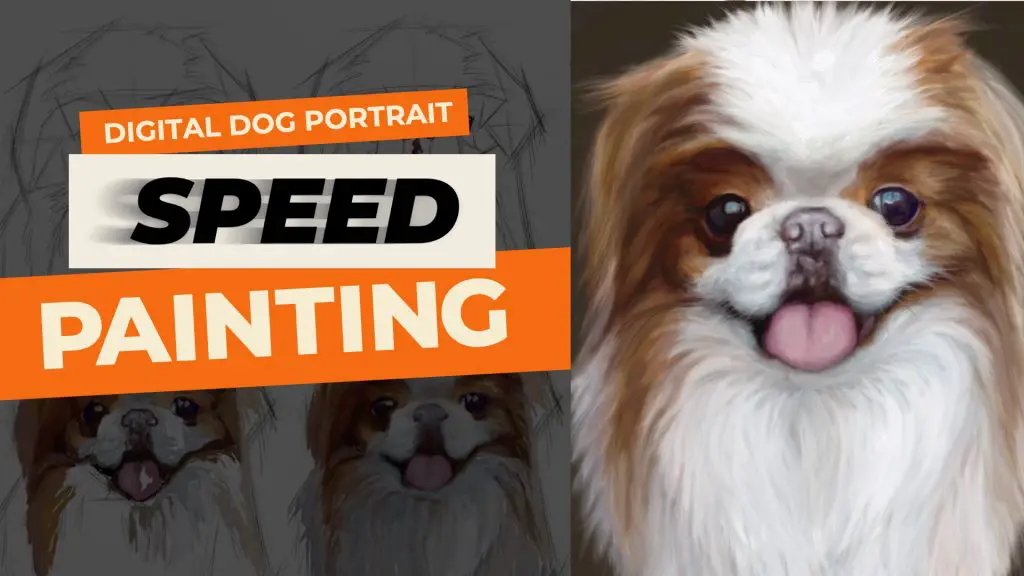
If you’d like to watch the speed painting I created from the screencasts, click the image below to watch the YouTube video. It will open in another window so you can stay on this page and reference back and forth. I chose not to narrate the video since I was writing this article. Plus, watching the video is like doing a 7-minute meditation so feel free to take some time to chill out.
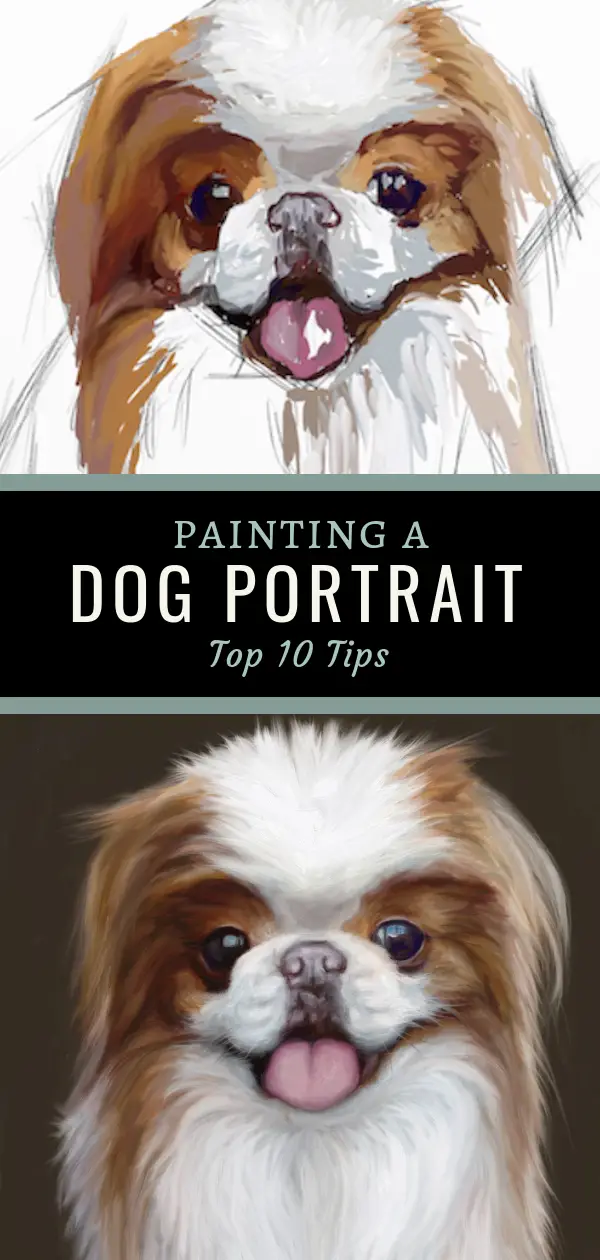
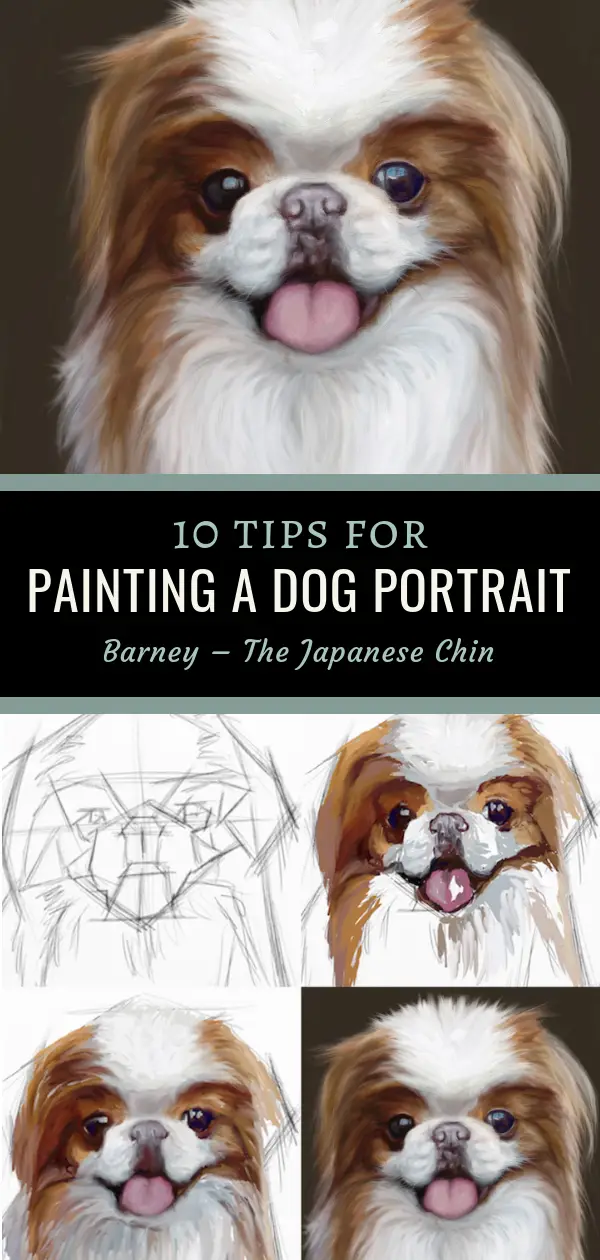
This painting of Barney, a very handsome Japanese Chin, was done digitally which is relatively new for me and I still have a lot to learn. Painting a dog portrait in ArtRage is a great way to increase skills and try out new techniques.
Note: some of the links below are affiliate links for products I use and may receive a small commission. As an Amazon Associate, I earn a small amount from qualifying purchases.
Using ArtRage
I’m pretty comfortable with the ArtRage app on the iPad, but it has some limitations with brushes. The ability to export my file to the desktop version of ArtRage 6 was very convenient. Recording a script file for video playback on the desktop version works much better for me. I don’t have much luck with exporting script files from my iPad for some reason. I have found a way to record my screen while painting, so it’s all good.
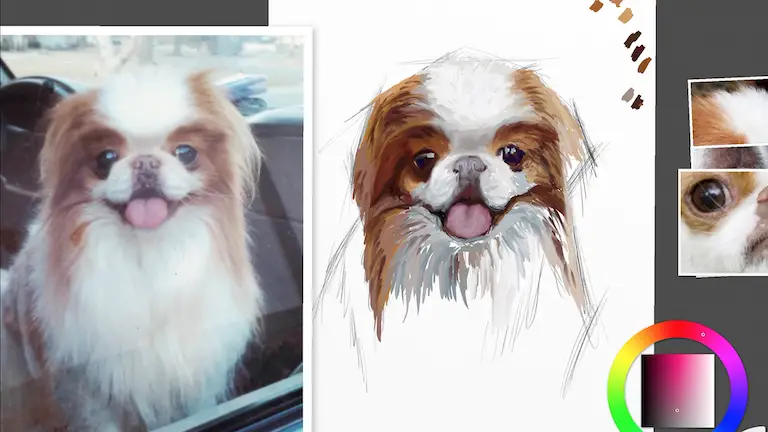
As always, I start out with a quick sketch (below). Clearly, I didn’t spend a lot of time on this, but if you want a more in-depth tutorial about drawing on the iPad, check out my step-by-step article here.
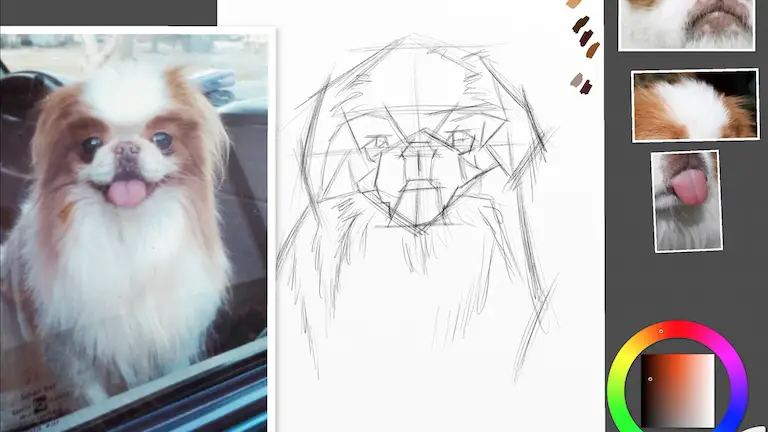
Tip 1 for Painting a Dog Portrait
Establish your dark areas first. I say this over and over again as it really helps to create a foundation for your painting. You are basically drawing with paint at this stage. There are cases to be made for starting with your brightest colors first so as not to contaminate the color, but I would recommend establishing this dark to light habit first as it helps you to paint values correctly.
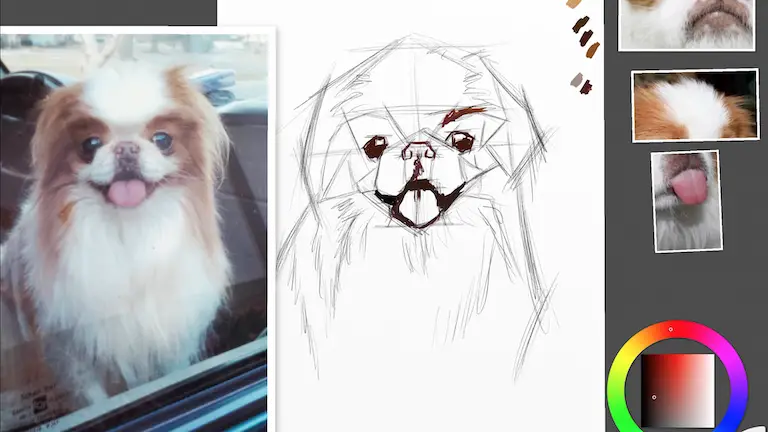
After roughing in the dark features, I started laying down some of the darker mid-tone colors. This photo was tough for me to figure out Barney’s true color as it was faded and shot through a car window. I enhanced the image a bit and chose to add in richer colors to start out. I’ll tone them down as this dog portrait painting progresses.
Tip 2 – Don’t Get Caught Up In Details Early On
This step is the hardest one for me to follow. I always get a feeling of anxiety when painting – especially when I get into the “ugly” stage. Many times I will at least paint in one eye to near finish so I have a successful part of the painting to look at. It’s so easy to get discouraged at the beginning and middle parts of a painting because it can look like a mess. Especially in a digital format with a small brush.
In hindsight, I should have started out the painting on the desktop with a giant brush to block in colors, then export it back over to my iPad for some detail work. After detailing on the iPad, I can send the file back to the desktop for finishing. Getting used to the programs and figuring out a workflow has been a challenge, but it’s also fun to learn something new.
Tip 3 – When Possible, Scale Your Image To The Same Size
Below you can see I’ve sized my image down close to the same size as the reference photo. When you move your eyes back and forth quickly between the reference and painting, it’s easier to spot differences.
There are a lot of small differences at this stage. Many times with digital paintings, I will keep the image small while blocking in colors. I then have to brace myself for how horrible it looks when I bring it back up in size. I keep telling myself it’s a good exercise to break perfectionistic habits.
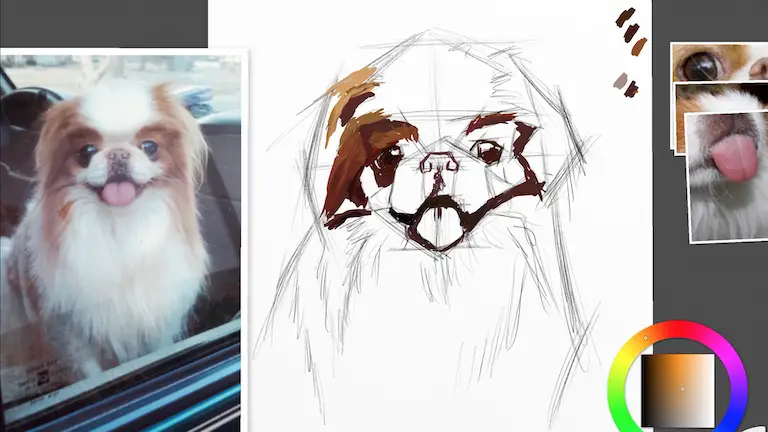
Tip 4 – Make Light Fur Darker At First When Painting A Dog Portrait
Painting fur can be tricky and what I’ve found is to always start out darker, defining undertones in the fur and then build to lighter tones. When painting in oil, you can always go lighter but it is much more difficult to darken areas after you’ve got white on the canvas.
With digital paintings, you can erase areas, with oil you need to wipe or scrape the paint away. There is nothing wrong with that, but it’s good to take your time establishing undertones first.
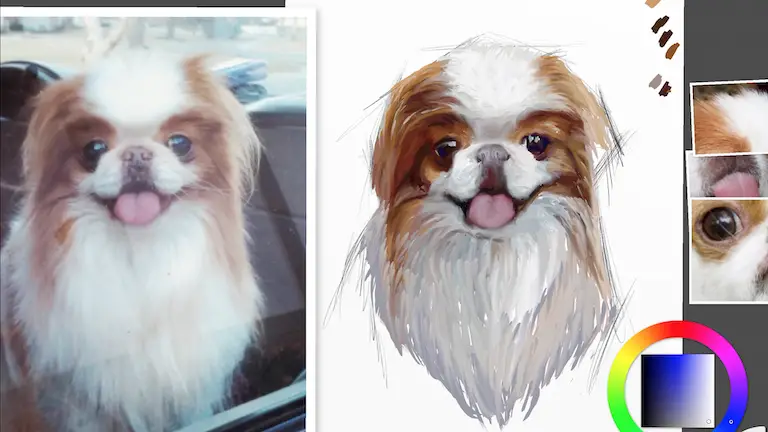
Above you can see the area I’ve blocked in for the white fur is quite dark. When I go back in with a second pass, it will create depth and dimension. It looks terrible now, but it will get better. I am still working on the iPad, so my brush is much too small for blocking color.
I should have done this with larger brushes on the desktop which I will do in the future. When painting on canvas, make sure to use your large brushes for blocking in these areas.
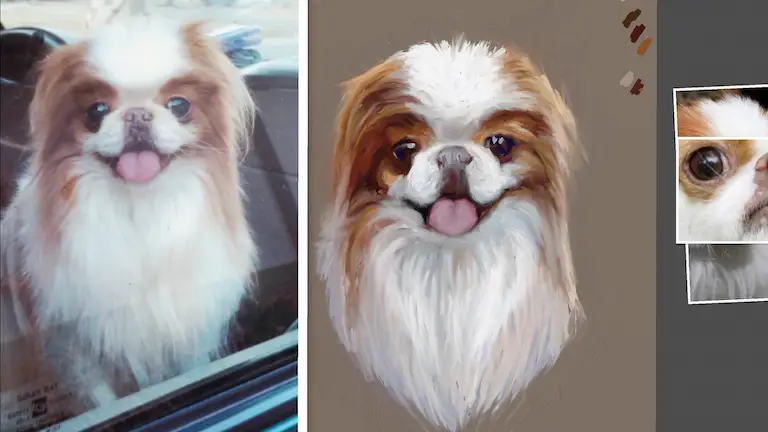
Tip 5 – It’s OK To Change The Background Color
As I was painting this portrait, I was struggling with creating drama around Barney. I like the idea of my paintings being light and bright, but I always end up feeling something is missing or wrong if I don’t have enough contrast.
My first effort resulted in changing the background to a neutral warm grey. It felt a little better than where I was at with the white background, but as you will see later, I change my mind again.
In ArtRage, you can simply pick a color and use the paint bucket. I usually work all in one layer but decided to try this on a separate layer first. ArtRage automatically makes a mask around what’s been painted, so I could have done this on the same layer. I ended up merging these layers so I could blend edges.
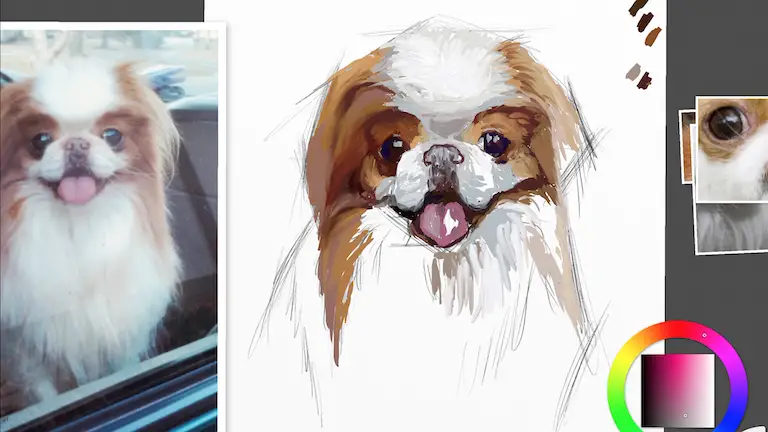
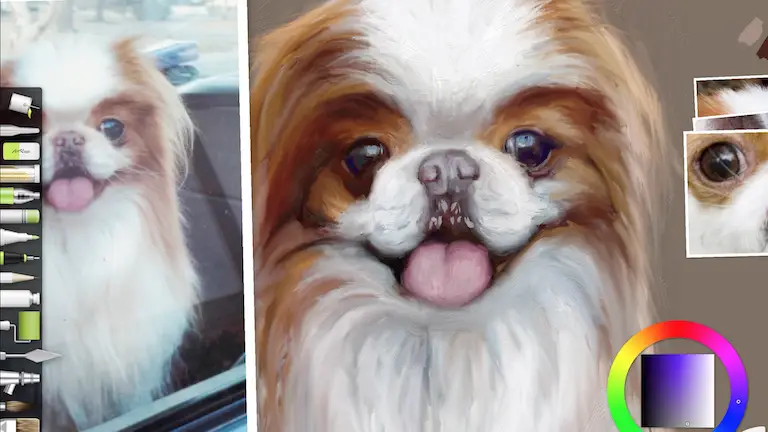
Tip 6 – Focus On Details After Values Are Blocked In
Once I had blocked in all the values, it was time to zoom in and clean up the mess. It’s always horrifying to me when I enlarge the painting and see how the ugly all the brush marks are.
This is where I started to use the knife tool and “just blend color”. I sometimes use the pastel tool to smooth out weird blobs of paint that show up from randomly from painting so quickly.
Above you can see how sloppy the marks are in the dog portrait. It’s OK though because values are in the right place and now a smaller brush can be used to correct the details.
Below I’ve fixed a lot of the brush marks around the eyes and started modeling the nose. Watching this part of the video is kind of fun to see these areas shape up.
Tip 7 – Continually Think About Reestablishing Dark Areas
Even when I plan things out to start from dark to light, there are always areas that will get away from me and are lighter in value than they should be.
Human brains like things that are light and bright – it’s how we are wired. We think things are brighter than they really are, so evaluating the work along the way is important.
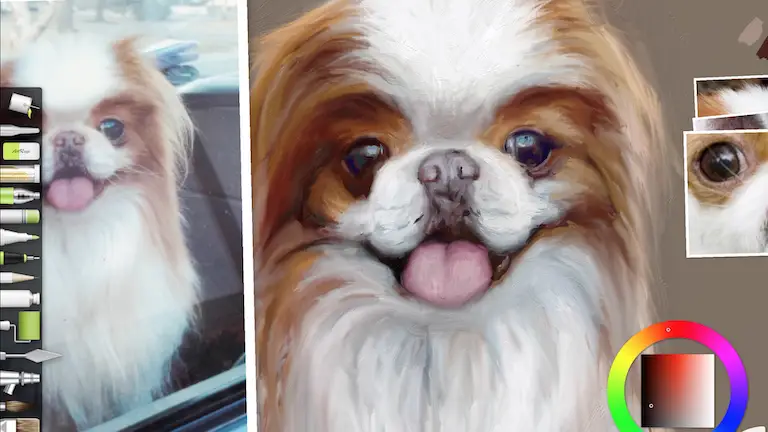
Above you can see where I’ve gone back in to reestablish some of my dark areas. It’s subtle, but it’s something I’m always thinking about. One of the biggest mistakes beginners make is to not maintain their dark and medium values.
Always remember your brain thinks things are lighter than they actually are so while you paint, consciously ask yourself if the darker areas are represented on your canvas correctly.
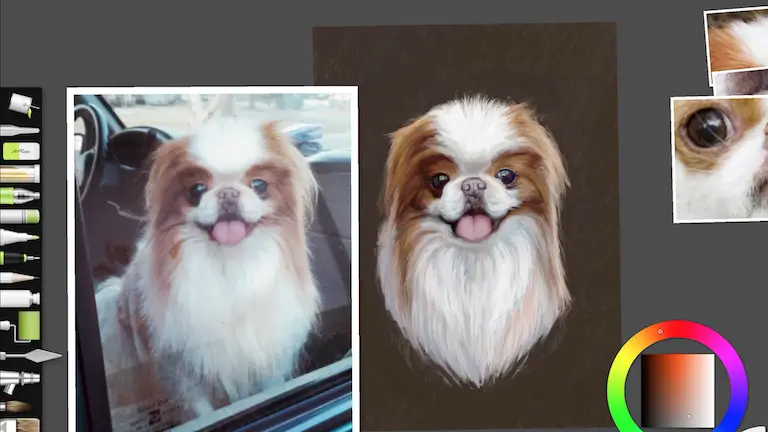
Tip 8 – Ask “Does This Dog Painting Need More Contrast?”
Once again I darkened the background because the neutral grey was just feeling too flat. By adding a dark background, it increases contrast. Any time you increase contrast, it registers as adding drama/emotion.
Think of an actor on a dark stage with a spotlight. The bright light in contrast to the dark background puts focus on the actor which creates a lot of drama. You can do the same with any still life or portrait.
Because Barney’s fur was such a neutral tone already, giving him a darker background helped to separate him from the background and give him the spotlight he so rightfully deserves. It also plays off of his eyes and darker features nicely.
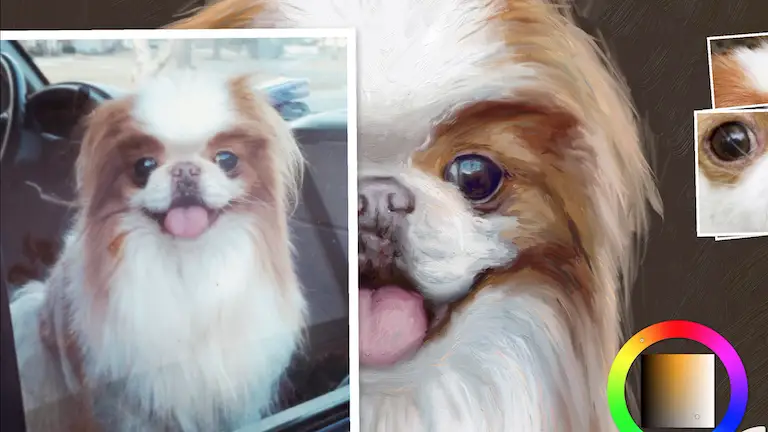
Tip 9 – Step Back, Walk Away Or Make Things Small
The biggest challenge of painting a dog portrait is seeing correctly. Artists can get too caught up focusing on specific areas of a painting and miss overall cohesiveness.
When painting on an easel, stepping back often and squinting helps to break the trance and see shapes more correctly. Walking away and taking a break also helps an artist come back to the painting with fresh eyes.
When working digitally, a trick I use a lot is to make things really small. This simulates stepping back from the easel. And if you are working on an easel, my favorite trick is to take a picture and look at the painting small on my phone. It’s so helpful in seeing areas that need to increase or decrease in value.
Other popular tricks are to view the painting in a mirror and/or flip the canvas upside down. On the desktop, you can flip the image horizontally or vertically. I haven’t figured out how to do this yet but it’s on my list to learn.
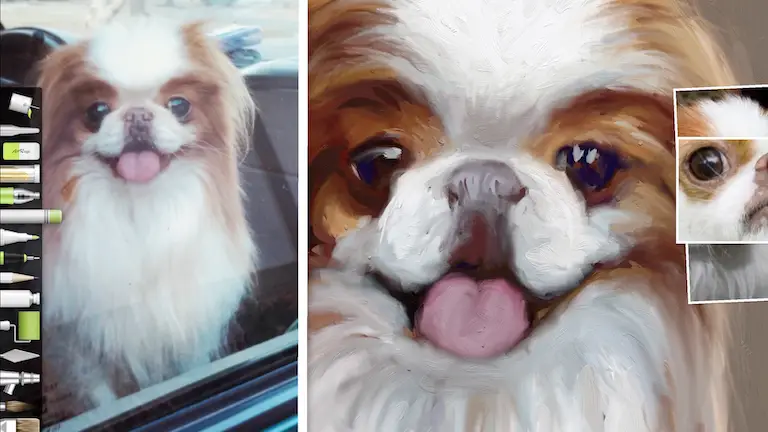
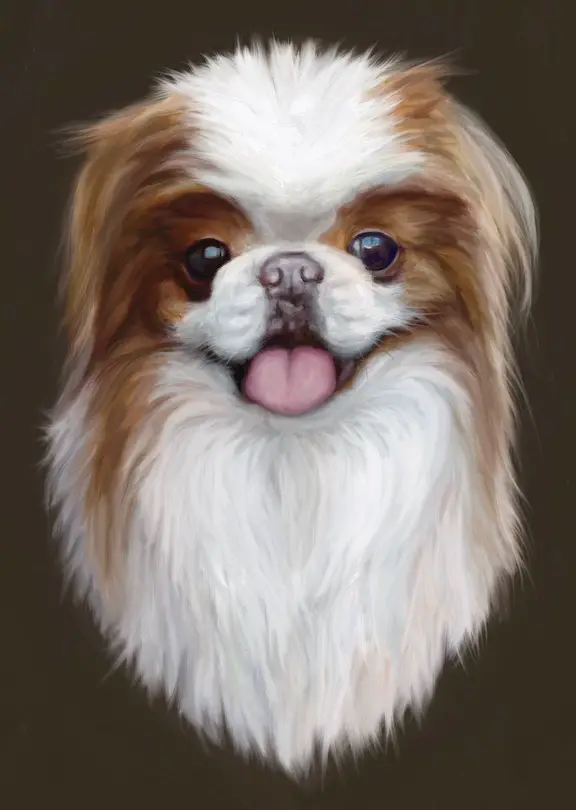
Tip 10 – How To Know When You Are Done Painting A Dog Portrait
Nearly all of the images of this dog painting are screenshots from the iPad, but the image above is from the desktop version of Artrage 6. This is where I went back in and used the custom brushes to get a nicer, finished effect. I love working on the iPad app for convenience, but the brushes do not have a satisfying “start and finish” to them. The custom brushes solve that problem and allow for a more natural brush stroke. I’m still learning how to use this feature so even as I look at the “final” painting, I’m wondering if it is really finished or not.
This is always a dangerous place for any artist to be because you can enter the “overworking zone”. I could argue I have already overworked this painting, but I could also say the painting may benefit from some special touches or flourishes. When I start to debate this in my head, I usually put myself in a time out and get away from the painting for a couple of days.
Giving your brain a break from the work can do wonders. When I come back to the painting I may think it’s great and not do anything to it. OR, I may see something that obviously needs to be fixed. Either way, taking a little time to separate from the work is always a good idea. I recommend starting another painting or do something completely different. This helps to reboot the brain and allow for better decisions when it comes to determining if the painting is finished or not.
What do you think? Is the painting finished?
Thank you for stopping by!
For your convenience, below are my other popular painting tutorials. Simply click on a title below:
7 Portrait Painting Tips For Traditional And Digital Painters
How To Paint A Dog Portrait Step-By-Step In Oil
Simple Step-By-Step Tomato Painting
Tips For Painting Silver Objects
How To Paint A Cat On The iPad Pro – Digital Painting Tutorial Featuring Tippy
How I Paint On The iPad – A Step-by-Step Portrait In ArtRage
8 Tips for Painting Black Fur
How To Paint A Cat In Oil Step-By-Step With Jorge & Nacho
30 Faces 30 Days Portrait Painting Challenge
Painting A Cat In ArtRage Featuring Rémy The Gargoyle
Painting A Cat In Oil Featuring Prescott, A Gorgeous Maine Coon Cat
How To Paint A Sphynx Cat In Oil Step-by-Step